Overview
This document describes the carrier and shipment options associated with Stamps.com support in Ship Center.
Definitions
SCAN Form – End of the day form with a barcode; used to have a single, scannable page instead of having the mail carrier scan every package.
Carrier Settings
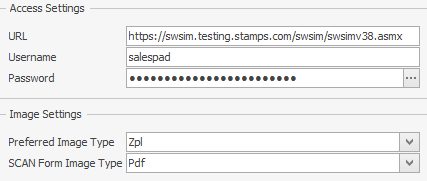
- URL – This can be set to either a Release URL (https://swsim.stamps.com/swsim/swsimv38.asmx) or Testing URL (https://swsim.testing.stamps.com/swsim/swsimv38.asmx).
- Username – Username for the Stamps.com account.
- Password – Password for the Stamps.com account.
- Preferred Image Type – Sets the image returned for labels generated by Stamps.com.
- SCAN Form Image Type – Sets the image type shown at the URL returned from the SCAN Form image request.
Shipment Options
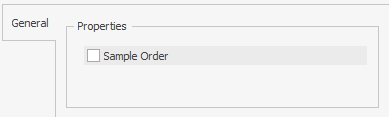
The majority of options for Stamps.com are per package (due to there being a lack of Shipment concept within Stamps.com). Sample Order simply flags that the order should not be used to purchase real postage.
Shipment Line Options
Each Shipment Line has two possible set of options: General and Customs.
Shipment Line Options – General
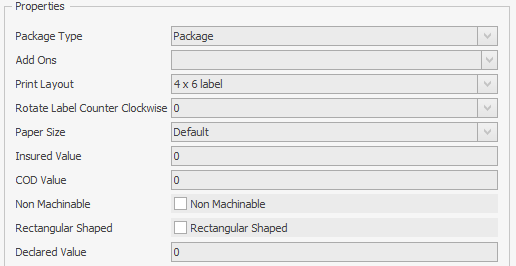
- Package Type – In case a standard package is used (like flat rate shipped boxes), these package types can be set in lieu of setting up a package.
- Add Ons – This multi-select drop down is used to specify which add ons should be applied to the shipment (like COD).
- Print Layout – Sets the expected printable results. This is useful if Customs data is desired or non-thermal label printers are used.
- Rotate Label Counter Clockwise – Sets the default label rotation. This cannot be updated later.
- Paper Size
- Default – Whatever the requested Print Layout returns as.
- LabelSize – Whatever a standard label would be for the requested print layout.
- Letter85x11 – An 8.5 x 11 paper size.
- Insured Value – The amount the package is insured for. Requires the Insurance add on.
- COD Value – The Cash On Delivery amount. Requires the COD add on.
- Non Machinable – Sets whether or not the item being shipped can be processed using stand equipment.
- Rectangular Shaped – Sets whether or not the item being shipped is rectangular.
- Declared Value – The amount the package should be valued at. Necessary for both international and insured shipments.
Shipment Line Options – Customs
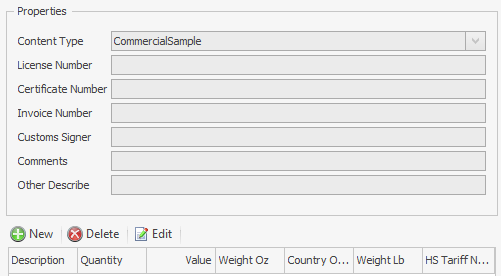
- Content Type – The Customs content type for the package.
- License Number – The Customs license number.
- Certificate Number – The Customs certificate number.
- Invoice Number – The Customs invoice number.
- Customs Signer – The individual responsible for the package.
- Comments – Any comments that should be included with the package.
- Other Describe – Any descriptive words for the package.
At the bottom of the page is a grid that represents contained package components.
Purchasing Postage
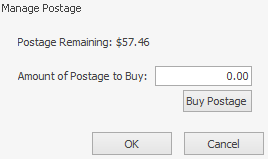
Any Stamps.com shipment can be used to purchase postage by locating the Manage Postage action. In the following image, the action has been configured to appear in the tool strip:

Clicking the Manage Postage button will pop up the postage dialog. Any postage bought through this interface will be billed directly to the connected Stamps.com account.
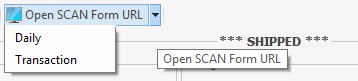
Getting a SCAN Form
Any shipped Stamps.com shipment can be used to generate a SCAN form by using the Open SCAN Form URL action in the tool strip (or right-click menu in the Shipments card). The two options represent what kind of SCAN form is desired; the Daily SCAN form is used to generate that that shipment’s day’s SCAN form, while Transaction will generate a SCAN form that only represents data associated with the selected shipments (in the Shipments card, users can multi-select shipments using Ctrl + Click or Shift + Click and select Transaction to only represents those transactions on the form).
SalesPad Support
Comments