Shipments
The Shipments screen is used to view previous shipments and create new shipments without using a Source Document. Clicking New Shipment or Edit Shipment will start the Shipment Editor.
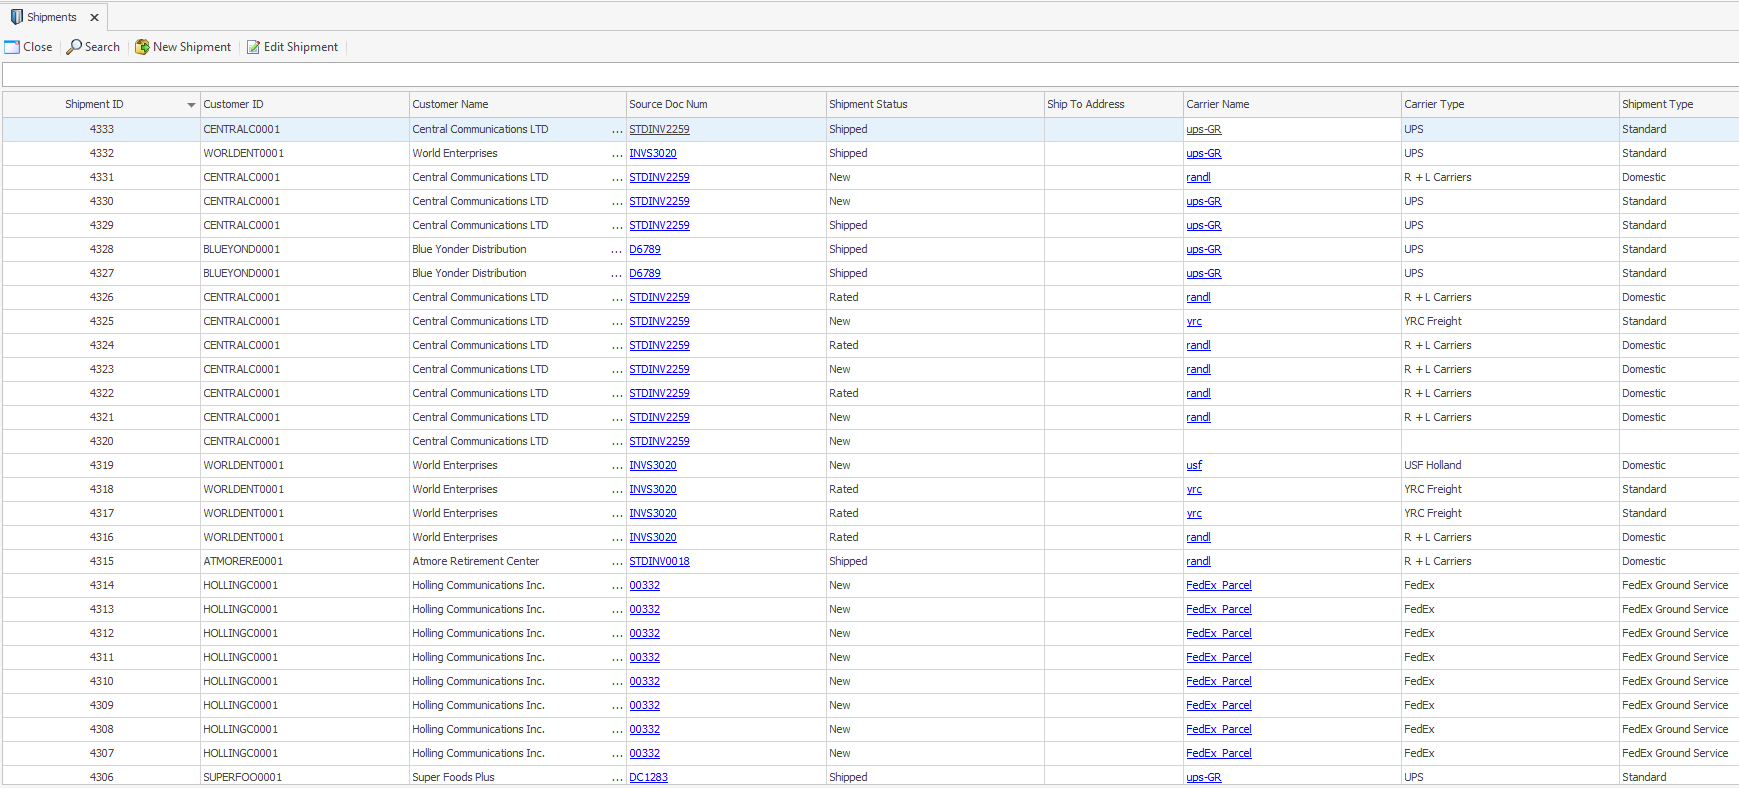
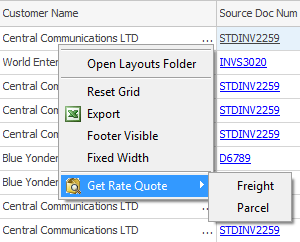
Right-clicking on a shipment will present the user with a Get Rate Quote option that specifies either Freight or Parcel; this will load up the Rate Comparison screen, which can be used to generate new shipments.
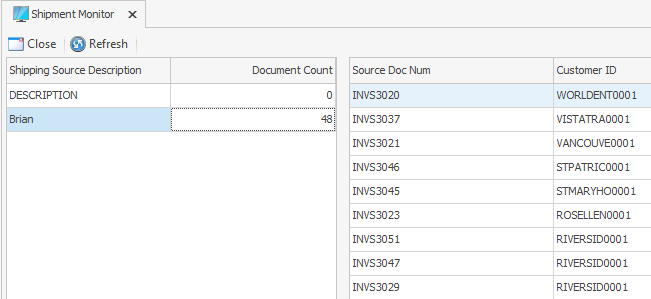
Shipment Monitor
The Shipment Monitor screen is used to view Shipping Source Documents and generate shipments from them.
The left panel defines which Shipping Sources have Sales Documents ready to be shipped from them, while the right panel shows all documents.
Double-clicking on a line or clicking Generate Shipment will start up the Shipment Editor with all document information loaded in, including Ship To Address, default Shipping Method information (if the Shipping Method is set), and document line items to populate the shipment with.
Right-clicking on a shipment will present the user with a Get Rate Quote option that specifies either Freight or Parcel; this will load up the Rate Comparison screen, which can be used to generate new shipments.
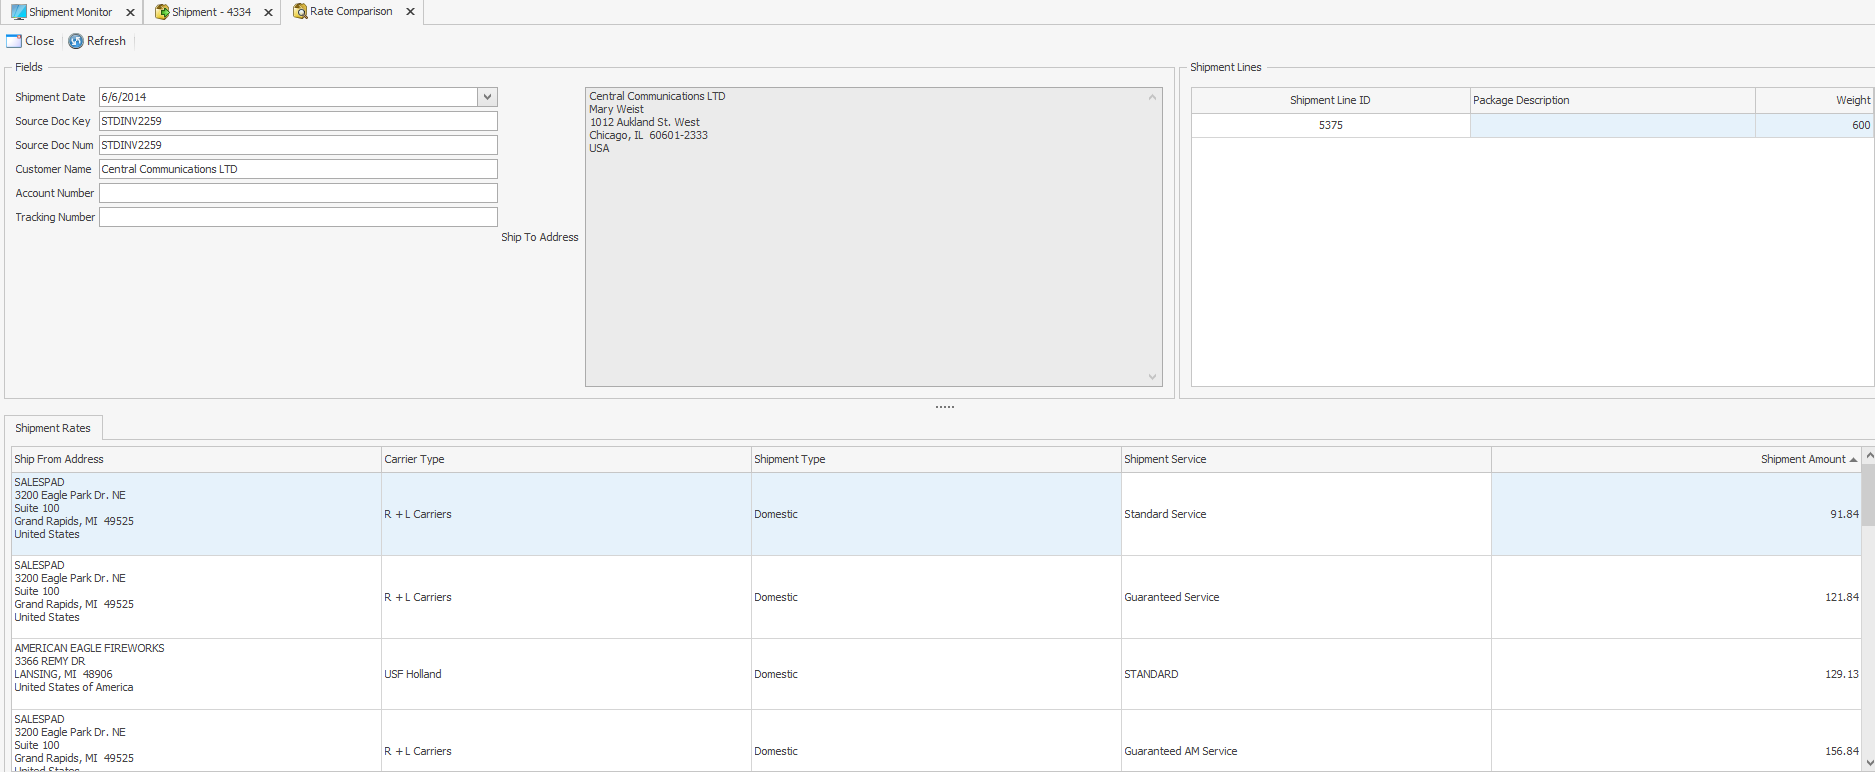
Rate Comparison
The Rate Comparison screen, accessible from either right-clicking on a shipment from the Shipments screen, or by clicking Get Rate Quote from Shipment Editor, attempts to access all Carriers in a particular category and get a Rate Quote for all service types.
Once finished, double-clicking on any shipment option at the bottom will do one of two things:
- If starting from Shipment Editor, double-clicking a shipment option will populate the given shipment with that carrier information and Rate Quote.
- If starting from Shipments, double-clicking a shipment option will start a new shipment with all the properties of the previously selected shipment, including Shipment Lines.
Shipment Editor
The Shipment Editor is the primary application screen for ShipCenter operations. From Shipment Editor, an end user can get a rate for a shipment, generate labels for a shipment, generate return labels for a shipment, and void out a shipment.
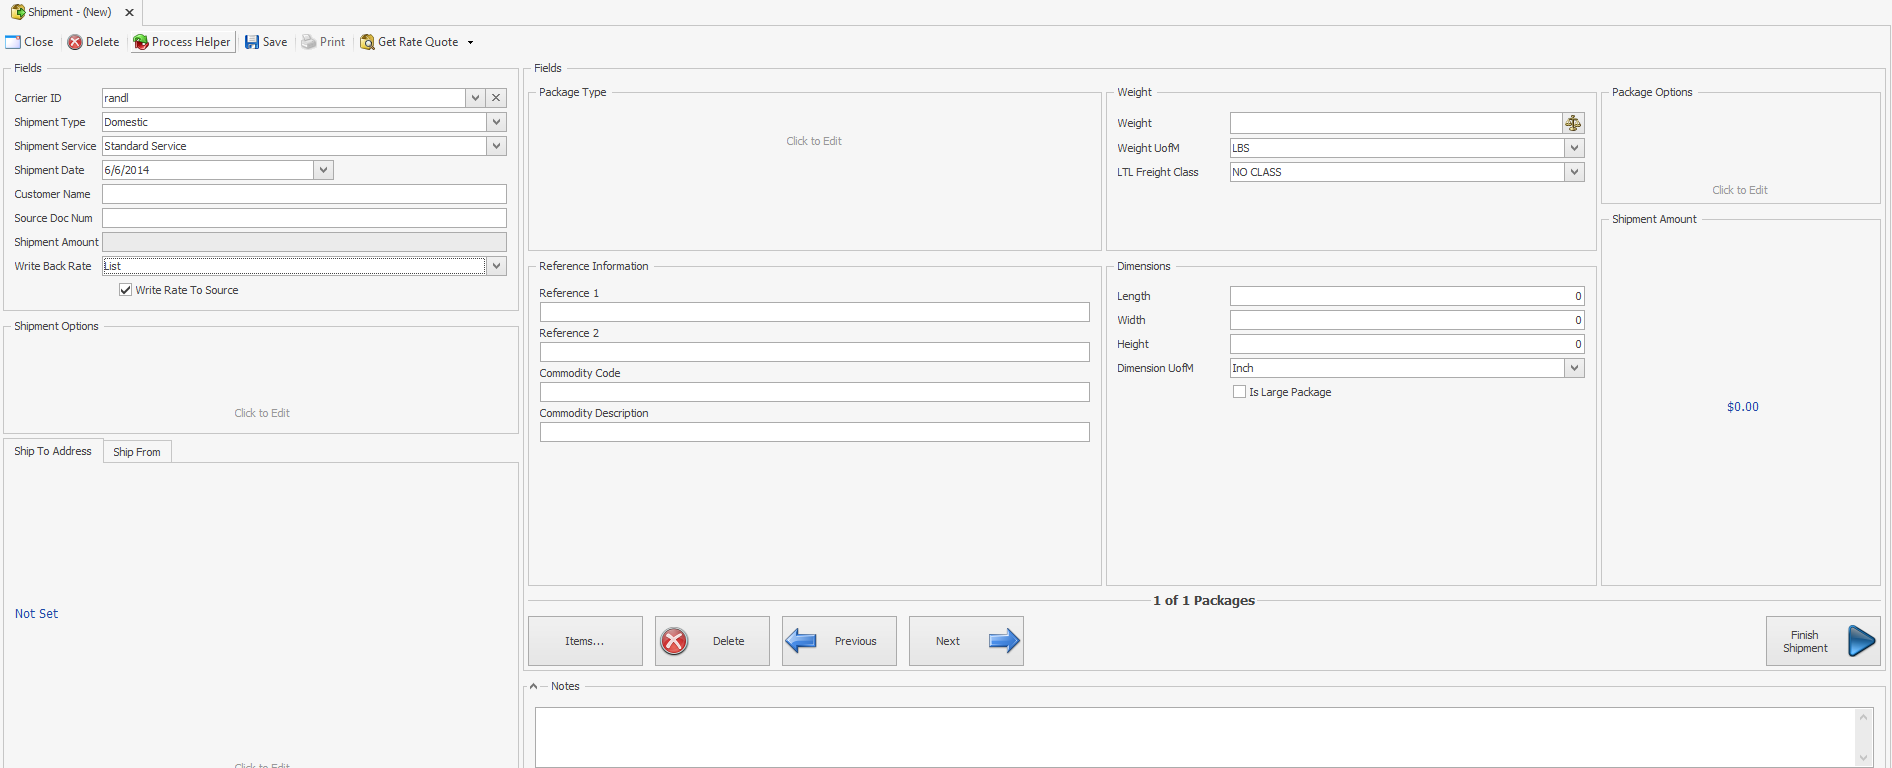
Selecting a Carrier from the Carrier ID dropdown in the top left will populate the Shipment Type and Shipment Service with their default values.
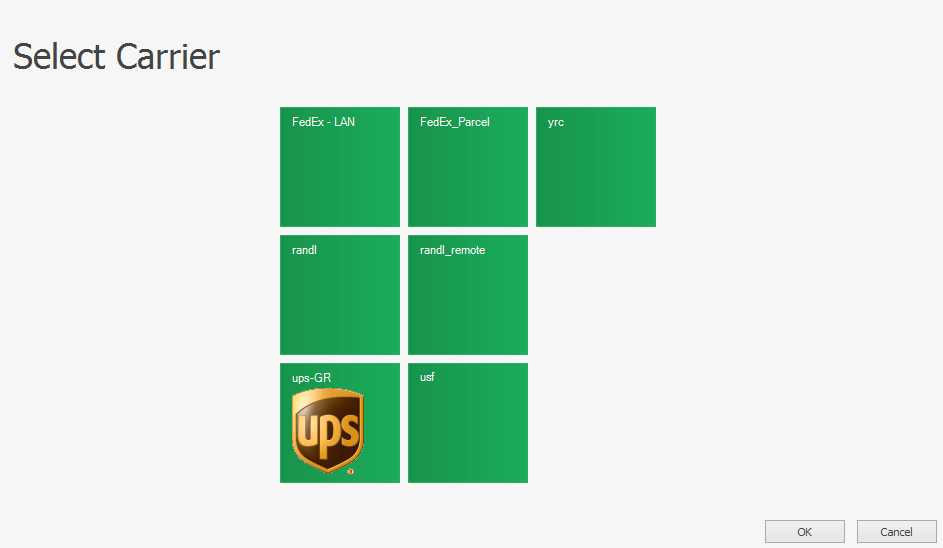
Alternatively, clicking the Process Helper button will show a wizard to the end user that will help choose the Carrier.
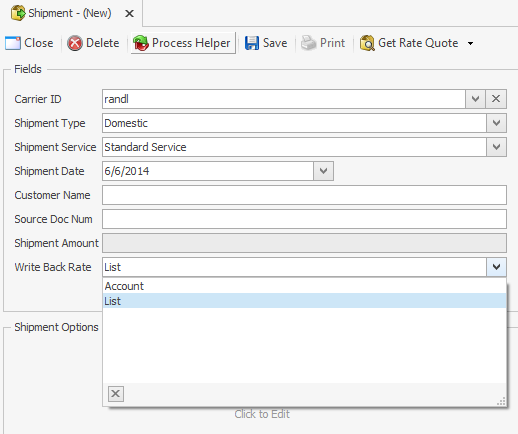
The Write Back Rate dropdown is set during Carrier Setup. It can be adjusted during a shipment to specify which rate - Account or List - should be written back to the Shipment Amount.
The Write Rate to Source check box changes how a Source Document is updated if the shipment was started from a Source Document using Shipment Monitor.
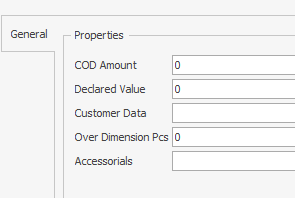
Once a Carrier ID and Shipment Type are specified, clicking either Shipment Options or Package Options will display a Shipment Type-specific list of options that are available to a shipment. These options are documented in Carrier-specific documents available from SalesPad.
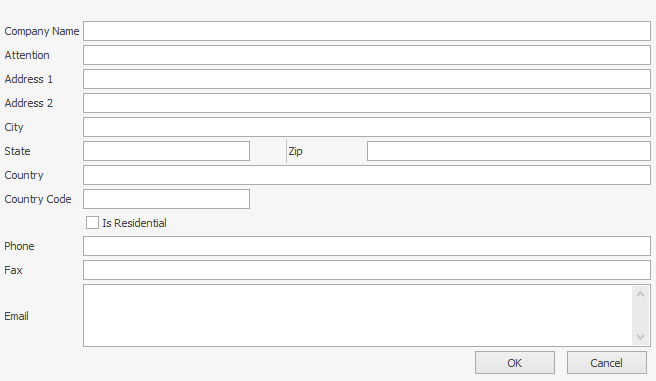
Clicking the blue portion of Ship To Address or the blue portion of Ship From Address will show the Address Editor. If a shipment is started from Shipment Monitor, then this should already be filled in.
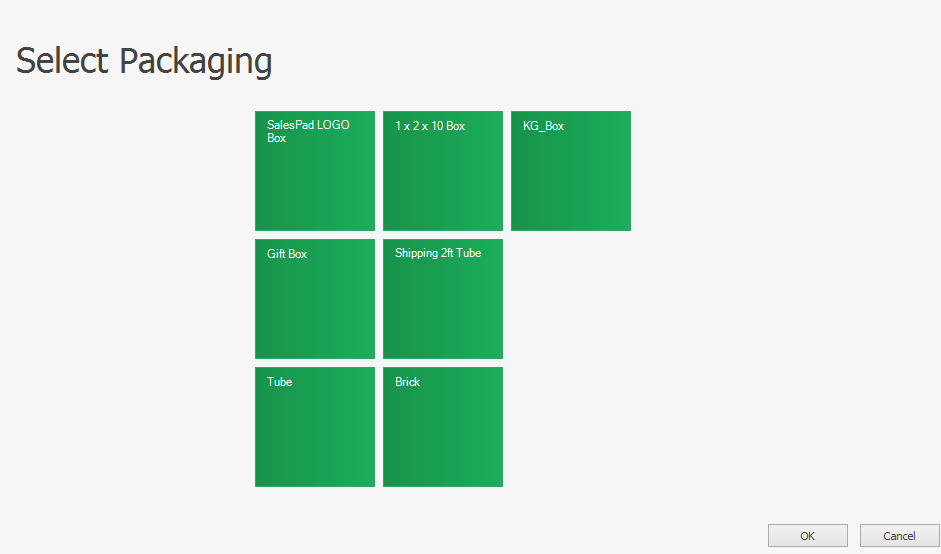
Clicking the area below Package Type will pull up the "Select Packaging” window. This is populated with both Carrier-specific packaging and packaging defined in the Packaging card.
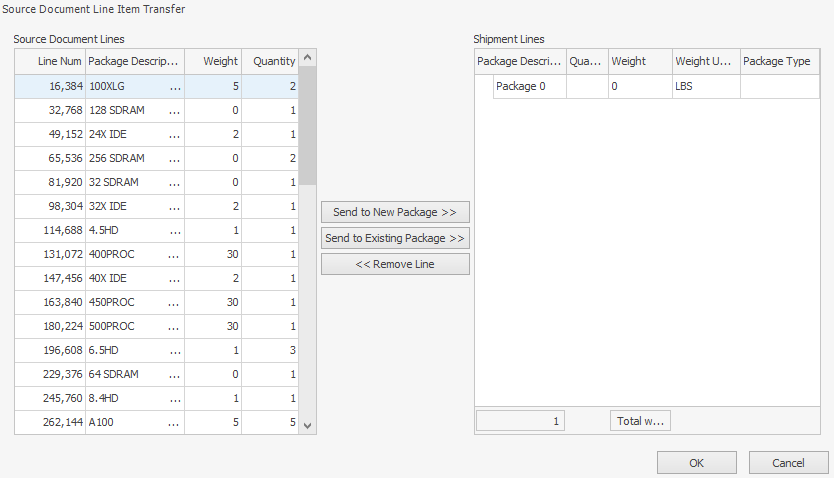
If the Shipment was started from Shipment Monitor, then clicking the Items button near the bottom of the screen will show the “Source Document Line Item Transfer” window. This screen allows the end user to generate packages by dragging lines from the left to the right, or by selecting lines on either side and clicking the button in the center of the window. Clicking OK will update the shipment.
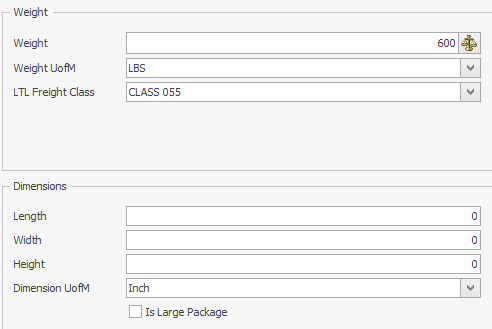
Each shipment line is required to have its weight defined. If a Carrier is specified, then either the LTL Freight Class or the Dimensions section needs to be filled out; otherwise, the Dimensions section alone needs to be completed.
Clicking on the blue amount underneath Shipment Amount will request a Rate Quote from the Carrier.
Clicking the Finish button will contact the Carrier and either retrieve a final Rate Quote (if the Carrier is a Freight Carrier) and write out the Rate Quote, or request a shipment be created and generate a shipping label.
SalesPad Support
Comments