Overview
This guide details the installation and connection setup for ShipCenter.
Please note that the minimum required SQL user securities are as follows:
- Dynamics Tables - DYNGRP and Public
- Tempdb Tables - db_datareader, db_datawriter, and public
- Company database - db_datareader, db_datawriter, and public
- Master database - public
Table of Contents
Install Client Program
To begin ShipCenter installation:
- Open the installation file. The Setup Wizard will appear
- Read and accept the EULA (End User License Agreement) by clicking “I Agree”
- Select the desired (or default) folder to install to and click “Next”

- Select the features of ShipCenter to install and click “Install”
- The program will begin installing. When setup is complete, click “Finish”
Connecting for the First Time
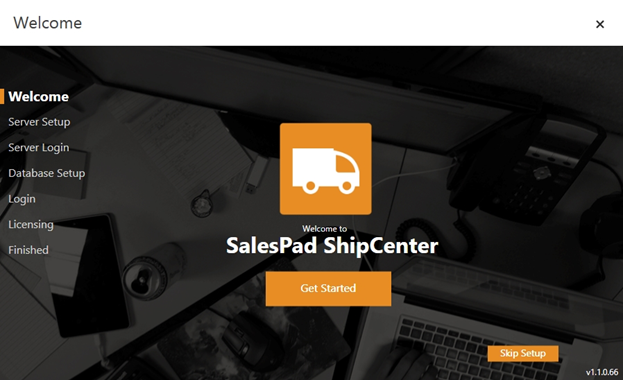
- Click “Get Started” on the Welcome Screen
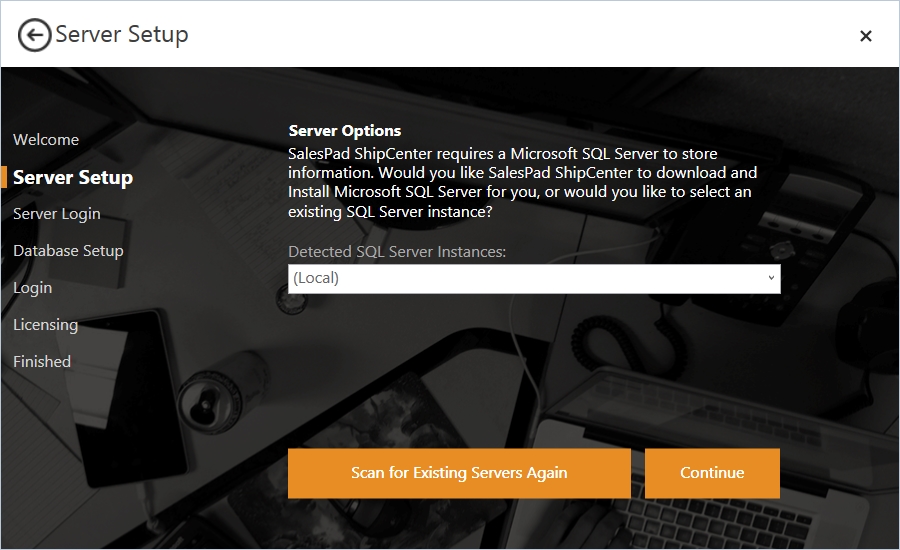
- Use the drop down menu to locate and select your established SQL Server instance and click “Continue”. You can also enter the server name into the text bar:
- Now we will create a new database for ShipCenter to store all related users, security, settings, and other setup independent of the GP company database
- To create the new database select “Create a New Database” from the Select an Existing Database dropdown
- Enter the name of the new database into Enter a New Database Name field (example: SHIPCENTER):
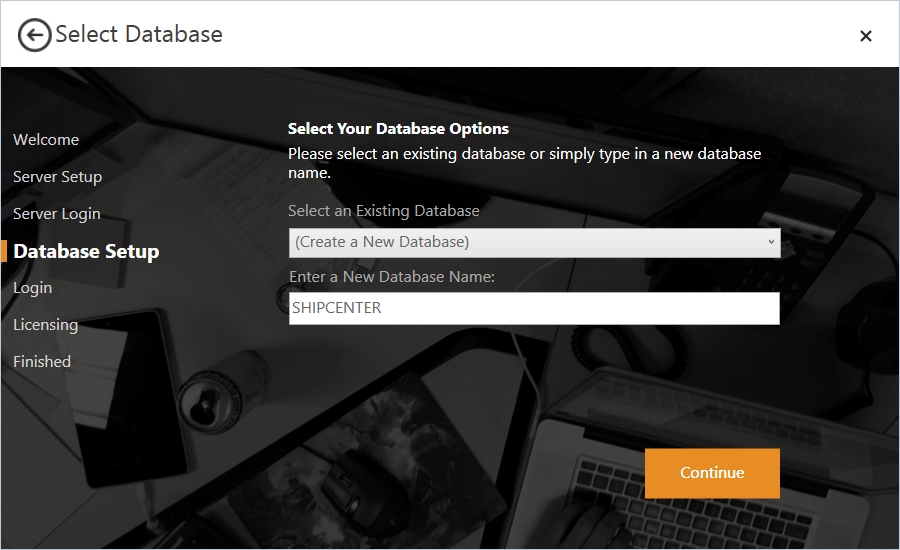
- Click “Continue”
- The wizard will create the new database and necessary database objects
- Enter the desired admin username and password:

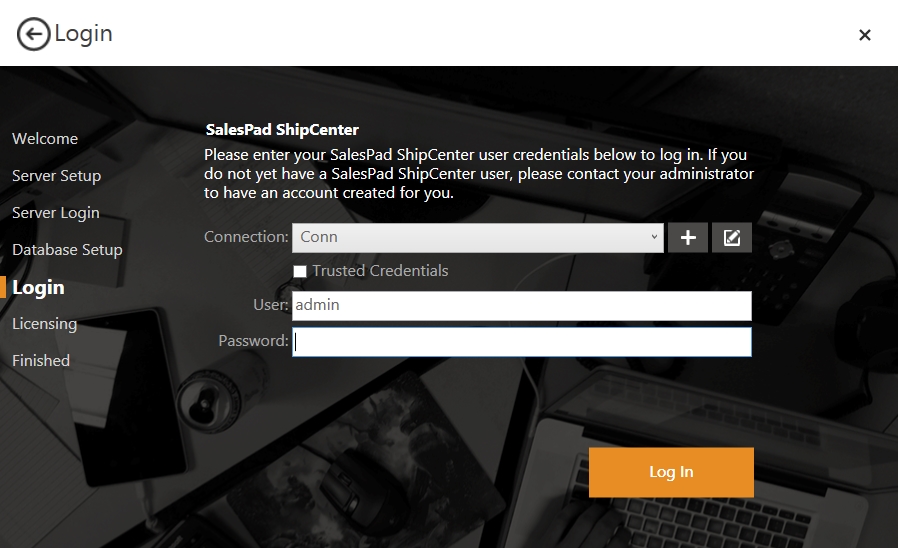
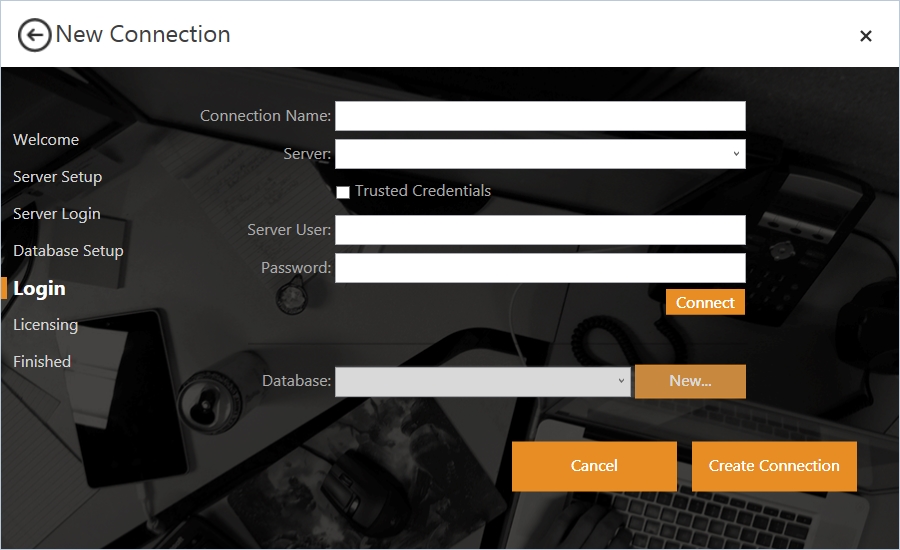
- A default connection has now been made to the database. Click the New (“+” sign) or Edit button’s to setup a new or modify the existing connection.
- Server - Location of the SQL Server instance: Trusted Credentials checkbox: use Windows Authentication to log in, if enabled during initial setup of the SQL Server instance.
- Server User/Password - Enter the SQL Server credentials for the system administrator user (sa). Once they are entered, click the “Connect” button.
- Database - This dropdown menu contains a list of the active SQL Server databases. Select or type the database name of the existing ShipCenter database and click “Save”.
- Database - This dropdown menu contains a list of the active SQL Server databases. Select or type the database name of the existing ShipCenter database and click “Save”.
First Time Logging In
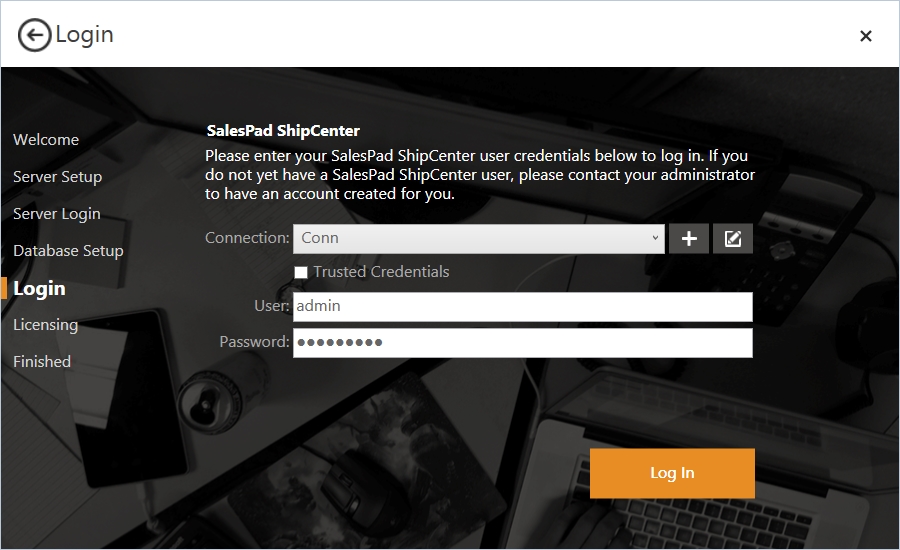
- Select the desired connection from the drop-down menu, log in with the Trusted Credentials or enter the admin User Name/Password, and click “Login”:
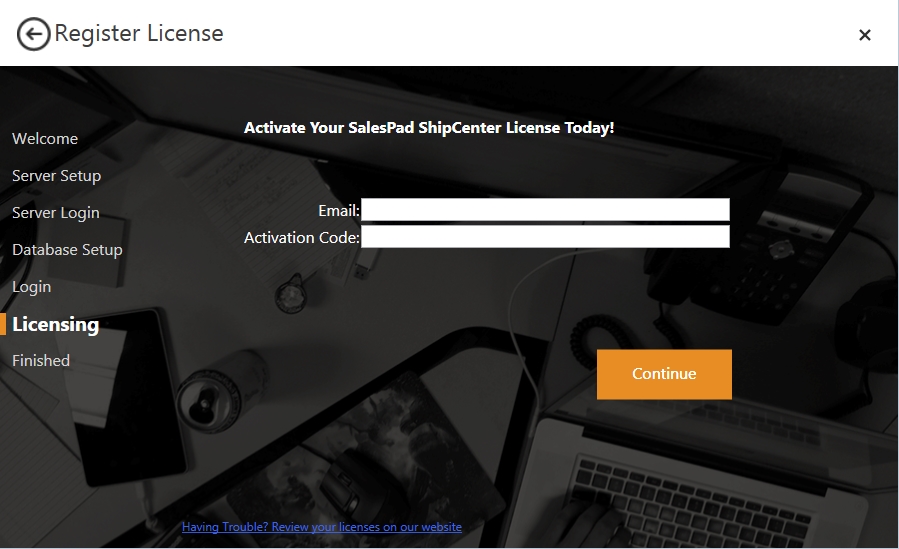
- Upon first Installation, enter the registered email address and activation code into the respective fields and click “Continue” to log into ShipCenter:
SalesPad Support
Comments