Overview
SalesPad Mobile consists of a mobile application, available for Android and iOS, as well as Mobile Server, a desktop console application. The Mobile Server application controls the application security and configuration and is used as an access point, granting the mobile application access to an applicable Microsoft Dynamics GP database.
This guide covers installation, configuration, and use of both the SalesPad Mobile and Mobile Server applications.
Note: We recommend disabling automatic updates for the SalesPad Mobile application on your device. If the app is set to update automatically, it will download the new SalesPad Mobile version every time one is released. Unless you have a matching SalesPad Mobile Server version number, this will cause a version incompatibility error between the application and the mobile server. You can find documentation on how to turn off automatic updates here: iOS and Android
System Requirements
- Android - 4.4 (or above)
- iPhone/iPad - iOS 8.0 (or above)
Picking a Server for the Mobile Server Installation
The SalesPad Mobile Server, aside from providing functionality for configuration and security, gives a mobile device something to connect to and pull information from. The Mobile Server connects to a Microsoft Dynamics GP database and relays that information to connected and licensed devices. To accomplish this, the SalesPad Mobile Server should be installed on an outside-facing server or a server with a port forwarded from the end point's router to that server.
By default, the console is hosted on port 5501, but this can be changed after installation (see Changing the Host Port below).
The Mobile Server requires the Microsoft .Net 4.5 framework, which will be installed during the installation of the Mobile Server. The .Net 4.5 framework requires Windows Server 2008 SP2 or above, or alternatively Windows Vista SP2 or above.
We recommend the following minimum requirements on the machine running the Mobile Server: Dual Core Processor
- 4GB of RAM
- 20GB of available hard drive space
Setup
Overview
- Install the SalesPad Mobile Server application.
- Configure the server settings and user accounts in the SalesPad Mobile Server application. This will provide the connection information needed for a mobile device to connect to the SalesPad Mobile Server application as detailed in Step 4 below.
- Install the SalesPad Mobile application on a mobile device.
- Connect to the SalesPad Mobile Server and login using user credentials created in Step 2 above.
Installing SalesPad Mobile Server
- Open the installation file. The setup wizard will appear.
- Click Next.
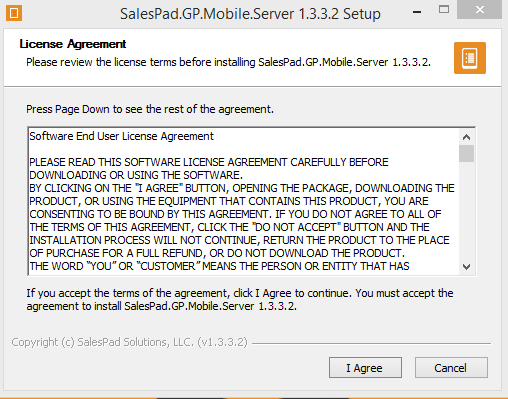
- Read the EULA (End User License Agreement) and either click I Agree and continue, or Cancel to exit the installation.
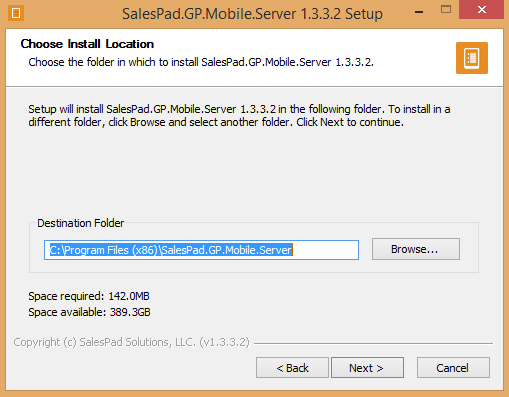
- Select the desired (or default) folder to install to and click Next.
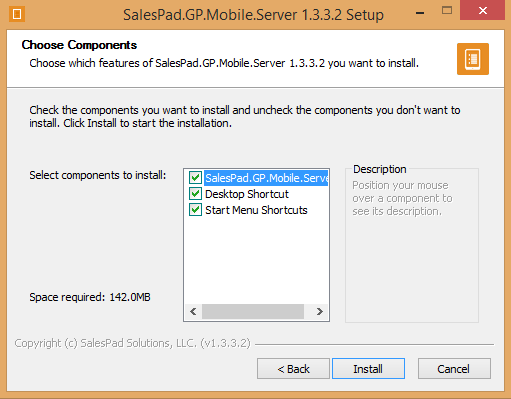
- Select the components to install and click Install.
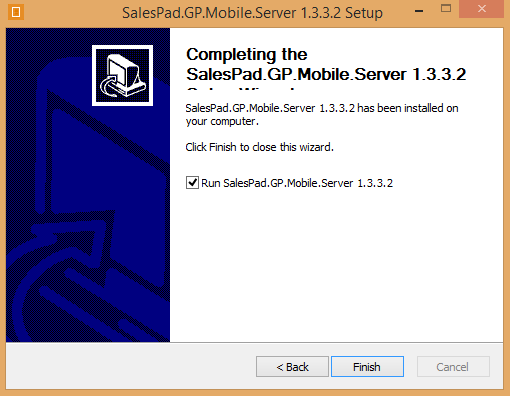
- The program will begin installing. When setup is complete, click Finish to start the console.
Configuration
Connections, Licensing, and Database Updates
- On the Login screen, click the ellipsis (…) next to the Connect To field.
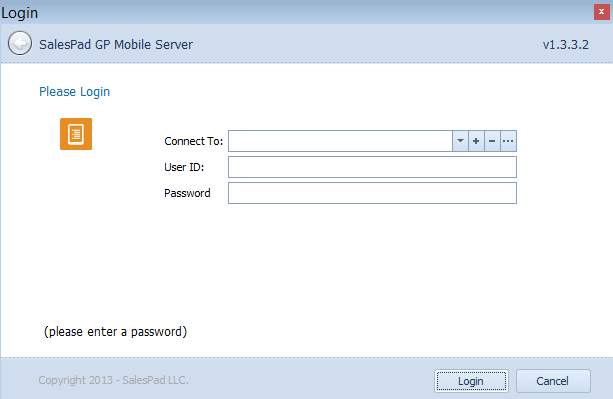
- Configure a connection to a Microsoft Dynamics GP database. If you are a SalesPad user, you have the option to open your SalesPad software and use the same connection information used for that connection.
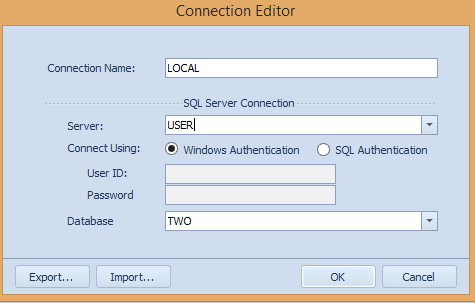
Note: We recommend using the SQL SA username and password when creating the connection the database. A different SQL user can be used as long as it meets minimum SQL user security. Regardless of the method of authentication, the user must be a part of the DYNGRP group on your database. If you will be using the Windows Authentication method on the main login screen, the connection will be forced to Windows authentication and any User ID and Password specified here will be ignored.
Required min SQL user security
- DYNAMICS db: DYNGRP, public
- MASTER db: public
- tempdb: db_datareader, db_datawriter, public
- COMPANY db: db_datareader, db_datawriter, DYNGRP, public
- Note: If you are still getting error messages, enable db_datareader on DYNAMICS
Required min Windows user security
SalesPad needs the following permissions to run:
- SalesPad Install Folder - Read
- ProgramData and AppData Folders - Read/Write
- Registry - HKEY_CURRENT_USER\Software\SalesPad - Read/Write
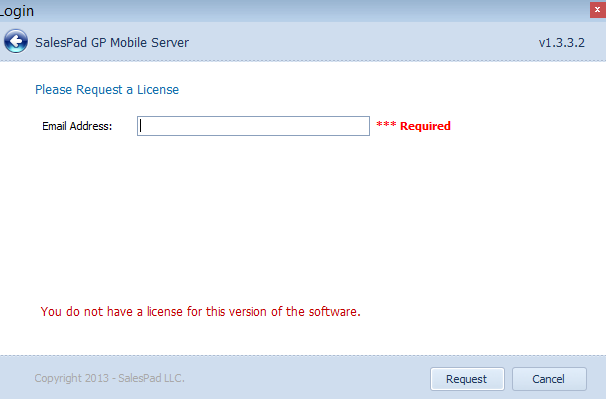
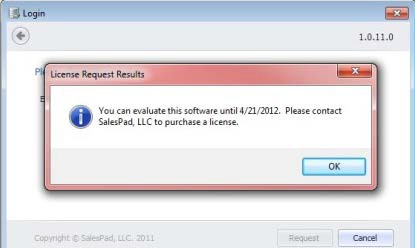
- Once you attempt to log in, the license request screen will pop up. Type in your email address and click Request.
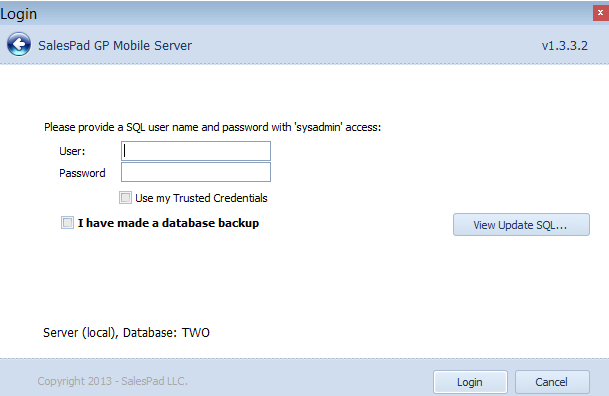
- Next, you will be prompted to complete a database update. Enter the username and password for the SQL Server. These should be the same credentials used to setup the connection in Step 2 above. You should create a database backup before continuing. Once a database backup has been created, check the I have made a database backup checkbox, and click Login.
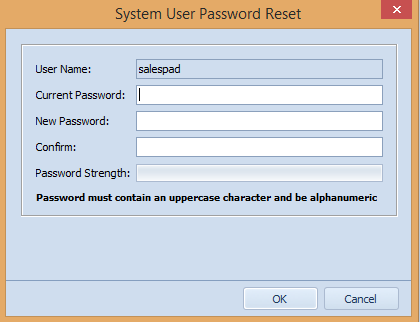
- When the database update has completed, the password reset dialog will appear. This dialog generates the first valid user (from which other users can be created) for the SalesPad Mobile Server named salespad. Enter a strong password here and click OK. Strong passwords contain at least one uppercase character, are at least 7 characters long, and are alphanumeric.
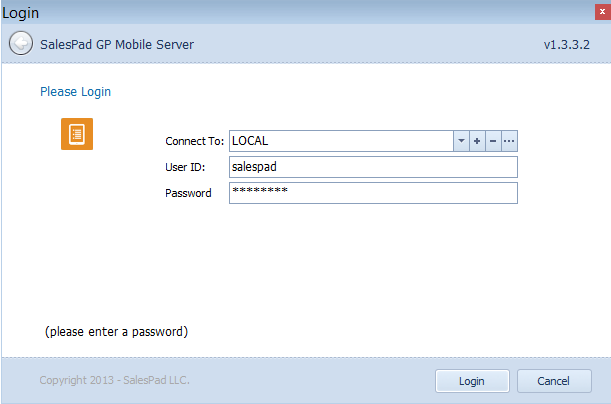
- You will be returned to the login screen. Enter the credentials for the salespad user created in Step 5 and click Login.
- The primary screen for the SalesPad Mobile Server will open:
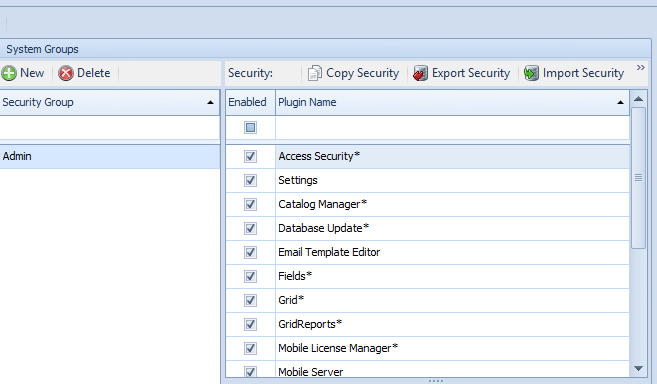
- Select the Security Editor button.
- On the security editor screen, under security, check the box next to Access Security. Configure the Can Change Holds, Can Forward Sales Documents, Can View AR, Can View Cost, and Can View Margins sub-settings as desired and click Save in the top left corner.
If you are going to change the host port, name, or configure SSL, see the next section; otherwise, when finished making changes, log off by opening the Administrative dropdown in the top left corner and selecting Log Off and then log back in (security level changes take affect only after logging out and then back in).
Changing the Host Port
To change the port on which the SalesPad Mobile Server is hosted:
- Enable Application Settings in the security editor

- Log off (open the Administrative dropdown in the top left corner and select Log Off) and log back in.
- Select Application Settings from the ribbon menu.
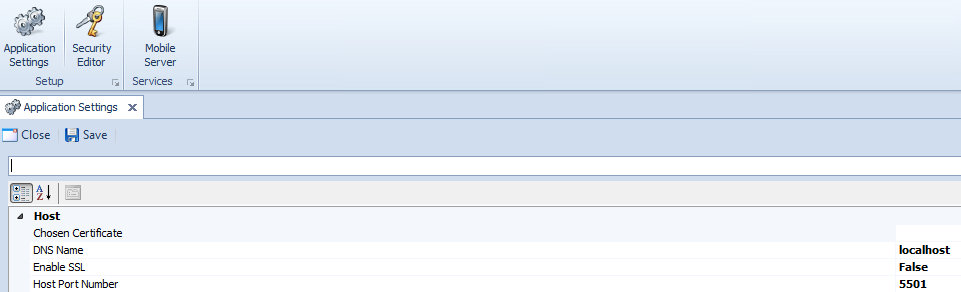
- Enter the desired port number in the Host Port Number field (default is 5501), configure the DNS name, update the Chosen Certificate (if desired), and click Save.
Configuring the Mobile Server
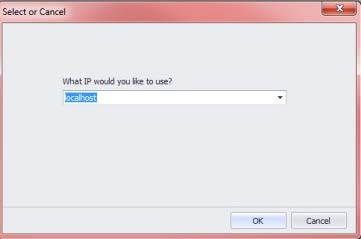
- Click the “Mobile Server” icon on the ribbon menu.

- On the pop-up window, enter your host name as you’d like it (either local host, your outside IP or outside DNS entry, depending on how you’d like to access the server) and click OK.
- The following window represents your server controls. Closing the window or clicking the Stop button will stop the server (if started from this form instead of from the service). The server needs to be manually started or installed as a service when first launching the application. To do this, press the Start button or press Install As Service.
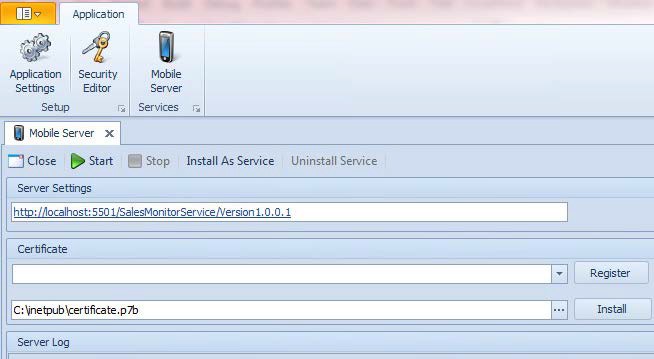
- If Start is clicked the server will attempt to start locally to the form. Clicking Stop on the following form will stop the server.

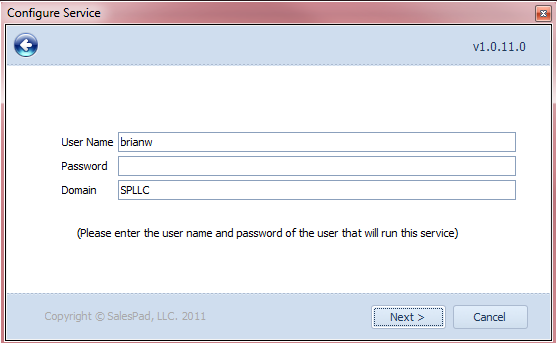
- If running as a service, clicking the Install As Service button will start up the installation wizard (as shown).
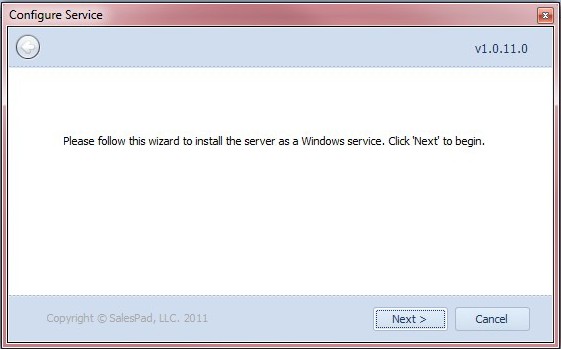
- If you are logged into SQL Server as a trusted user account, you will receive the next prompt to enter your username and password.
- Next you will be prompted to choose the startup type for the service. An automatic service will start when the computer starts up, effectively creating a permanent server on the machine. Otherwise, a manual service must be started from this form or form the Service MMC.

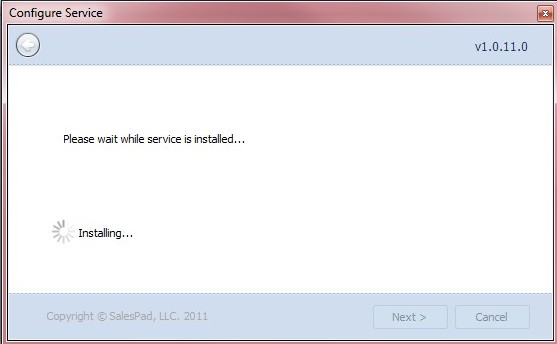
- Once Next is clicked the service will attempt to install itself.
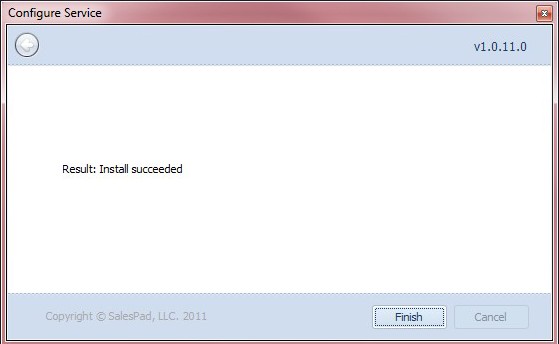
- If the install is completed successfully, the next window will automatically load to the following page. Clicking Finish will send you back to the service page.
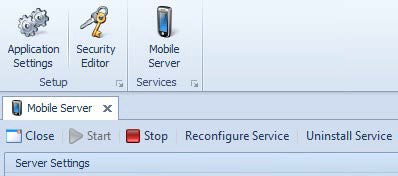
- If Automatic Startup is chosen, the service will be started once reaching the Mobile Server form. Starting and stopping the service can be done by clicking the Start or Stop button at the top. These buttons will work against the installed service until the service is uninstalled, at which point they will be local to the form's server. Clicking Reconfigure Service on the following screen will re-launch the installation wizard.
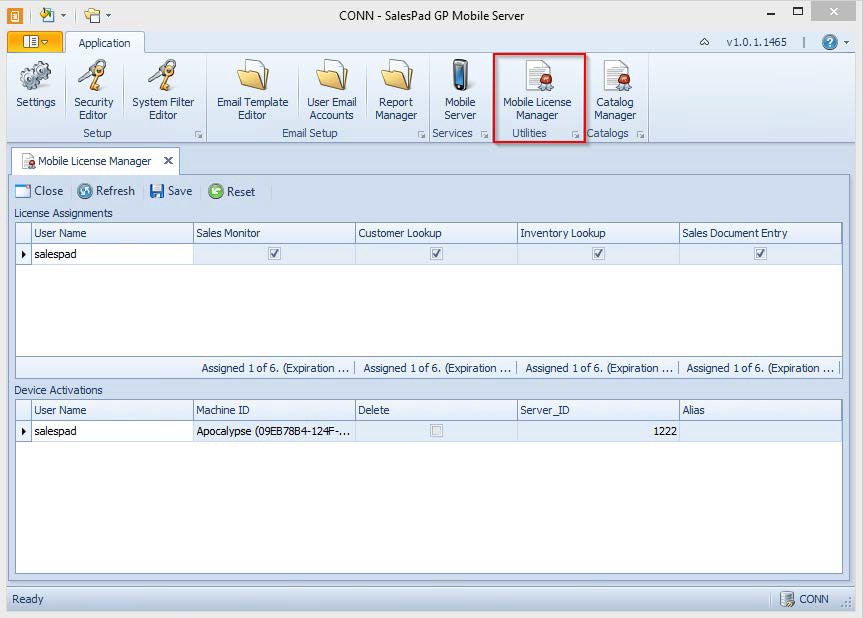
Using the Mobile License Manager
The SalesPad Mobile application is a single application broken into several individually licensed modules. Licenses can be managed, added to, and removed from devices through the mobile license manager, which is available through the ribbon in the SalesPad Mobile Server application, when security is enabled.
The screen will display a summary of your SalesPad Mobile Server and SalesPad Mobile Device licenses. The upper grid displays mobile licenses and the checkbox for each individual module will be empty if you have not connected to this server with any devices yet. The lower grid contains your device activations, displaying useful information such as User Name, Machine ID, delete, Server ID, the device Alias.
In the Security Editor, if the sub-security Auto-Activate Licenses under Mobile License Manager is set to True, users can simply login to activate all of the module licenses, permitted with security, and their user name will populate automatically under License Assignments with all checkboxes marked True. Their user name, device ID (machine ID) and alias (if the device has one), will populate under Device Activations.
When a device connects to the SalesPad Mobile Server, a record for that device is generated, and it is assigned a license under the user logging on with the device. It may be necessary to press the Refresh button to view the new license in the mobile license manager.
If the sub-security Auto-Activate Licenses under Mobile License Manager is set to False, a user with access to the Mobile License Manager will need to enable the module(s) for the user before that particular user will be able to sign in. At least one module must be activated for the user before they will be able to log in.
In some cases the user will need to click on the Refresh button in the Mobile License Manager to see the licenses and activations populate on the screen. There is no need to reconfigure the service to see the licenses and activations populate.
This functionality is intended for security, to prevent users from gaining access to sensitive modules.

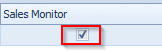
Activating and Deactivating a Module
Click on a check box for a particular module to activate or deactivate it for a user and click Save. The user will need to log out and back into the mobile app to see the change take effect.
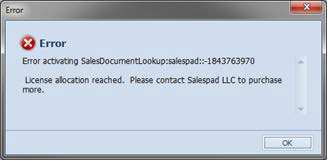
Deleting a License
- To deactivate a license, click on an active license.

- If for some reason (inadequate licenses, for example) the activation fails, the user will be informed through the following error message:
Resetting License Activations
In some cases, it may be necessary to reset license activations. Clicking Reset will clear all module licenses so that the different module licenses can be reassigned.
The Reset button exists on the mobile license manager, but will only be available if it has been enabled for the user in the security editor. Once clicked, all of the boxes will be unchecked and licenses may be reassigned to individual users or users can log in again to be assigned to licenses if Auto-Activate Licenses is set to True.

Individual Licensing
All licenses are individual or user based. Each license may have two devices activated. This does not permit multiple logins. If a user logs into two devices with their credentials at the same time, their work on one device may override work done on the other device. Two device activations are permitted so that users connect from a second device should the first device be unavailable, or temporarily out of service.
Setting Up Report Emailing
Overview
The SalesPad Mobile applications allow the user to email a sales document report directly from their iOS or Android device. In order to enable this functionality, however, it is necessary to perform some setup in the SalesPad Mobile server. This setup consists of three parts, setting up user email accounts, configuring email templates, and designing document reports. Each of these three steps has an associated Ribbon button, which must be enabled through access security.

User Email Accounts
When first clicking the User Email Accounts button, the user will be presented with the following screen:

On the left side of the screen is displayed a list of email accounts which have been set up for this user. On the right is a frame containing detailed information relating to the currently selected account. In order to enter a new email, the user must click the New button, located just above the system user email list. Selecting the new user email from the list will then allow the user to edit it using the controls on the right.

The User Name field is automatically filled out with the current user name, which will be associated with this user email. The Email field is the email address that this user email represents. The Email User Name is the name of the account that is used when logging into this email, and the password associated with it is listed directly below. The email field and the email user name field must match for emails to process properly.
The next two fields listed are the address and port of the email server. This example email uses a Google hosted email account, so the address and port correspond to Google's email server. Because Google uses SSL, the Use SSL field has also been checked.
IMPORTANT: As of September 30 2024, Google requires authenticating with their services using OAuth. If you would like to use a Google email account, then instead of using the default “Basic Authentication - SMTP” protocol, the protocol should be changed to “Google OAuth - Gmail API”.

Click the Sign In button, which will launch a Google sign in page in a web browser. Sign into the Google account that should be used for this user. Once this step has completed successfully, SalesPad Mobile server will update to show information about that account, and the browser will tell you that you can close the window. You can send a test email to confirm that the connection was successful and used the intended email account, and you can sign out of this account at any time from this screen.
Email Templates
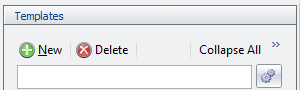
By clicking on the Email Template Editor ribbon button, the user will open the following screen:
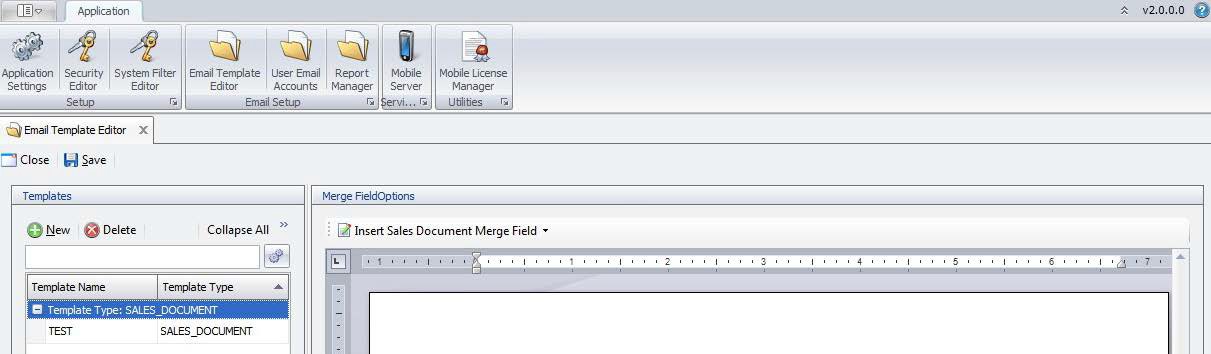
On this screen, the user is able to edit the email templates, which generate emails sent from the device. The left side of the screen displays a list of existing email templates, and the right side contains a window for viewing and editing said templates.
In order to create a new template, the user must click the New button, located directly above the list of templates.
Upon clicking the New button, the following screen will appear:
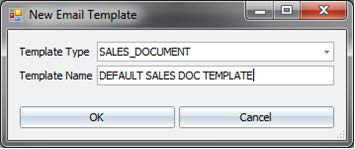
This small window allows the user to select the type of template they would like to create from a list, and name the template as well. For this example, a sales document template is being created, named DEFAULT SALES DOC TEMPLATE. Clicking OK in this window will create the new template and place it in the list on the left side of the screen.
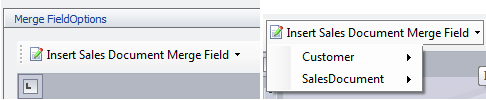
Once a template has been created, the user can then edit the template using the window on the right side of the screen:

From here, the user can enter the body of the email that will be sent from the device. Along with plain text, the user can also insert any field from the sales document the email will be generated from. To do so, first the user must click the Insert Sales Document Merge Field button located just above the text entry box. Once clicked, the user will be able to choose between customer or sales document fields, and then finally, a list of all the columns belonging to customers/sales documents.
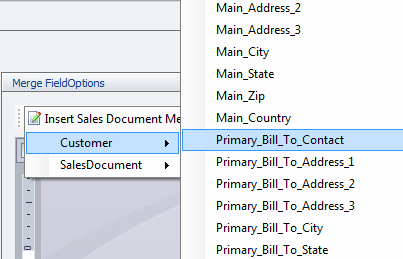
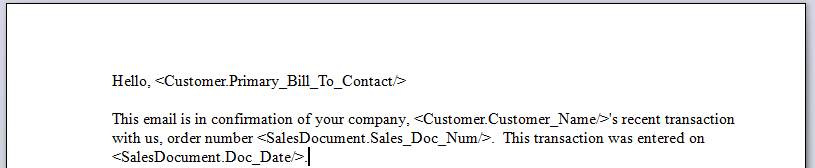
Selecting a column from this list will insert a small text snipped which will be replaced by the doc or customer specific data when the email is actually sent. Below is a small example of an email template using both customer and sales document data.
Report Manager
The final step in configuring Email Reporting is to set up the actual reports that will be attached to the email.
The SalesPad Mobile Report Manager shares many similarities with the DataCollection's Report Manager. Refer to the DataCollection Report Manager and Report Designer documentation for more information on using SalesPad Mobile's Report Manager tool.
Troubleshooting
Devices Unable to Connect to the SalesPad Mobile Server
If devices are unable to connect to the SalesPad Mobile server, it may be necessary to open the port associated with the server. This is done through the management utility of the firewall being used. The host port for the SalesPad Mobile server is defaulted to 5501, but can be changed through the application settings.
SalesPad Support
Comments