Overview
SalesPad DataCollection increases accuracy and control in your warehouse inventory operations. DataCollection Mobile is designed to work with DataCollection Extended Warehouse Module to advance the level of control you have over your warehouse inventory.
Hardware & Software Requirements & Supported Devices
Please refer to this documentation.
DataCollection Installation
To install the DataCollection Console follow the steps below:
- Find the DataCollection Console installer file and double-click it.
- The installation wizard appears. Click Next.
- Read the End User License Agreement (EULA) and click the I Agree button to continue.
- Install the program to the default (or desired) folder.
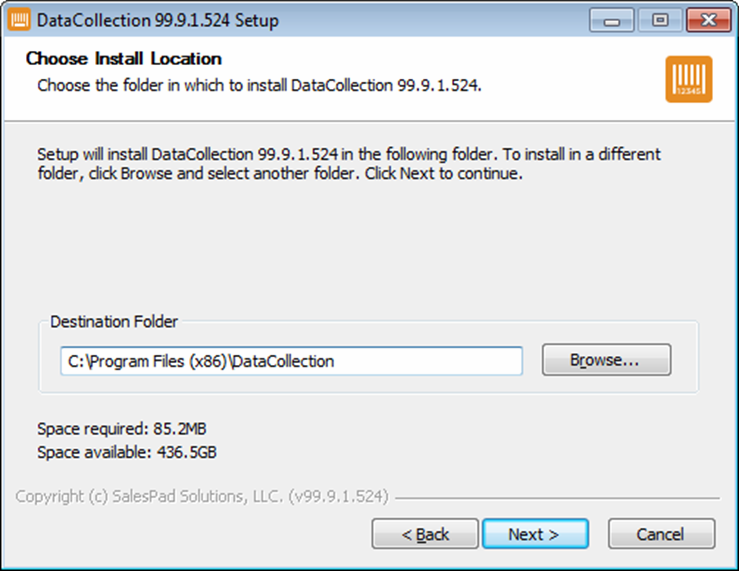
- Follow the instructions until the application has been installed.
- Click Finish when the Setup Wizard has completed.
Create a Database Connection
To create a connection to your GP database follow the steps below:
- On the DataCollection Console Login screen, click the ellipsis (...) button in the Connect To field. The Connection Editor window appears.
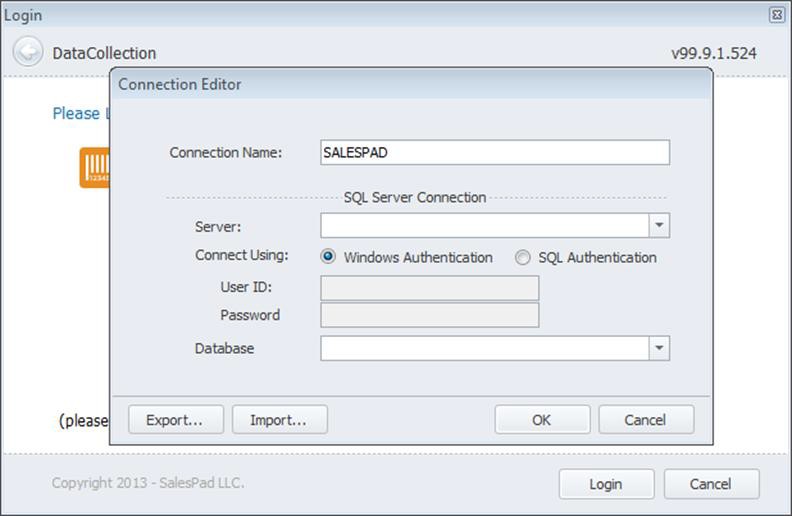
- Specify a Connection Name.
- Enter the Server Name or IP address. This is the server hosting the GP database and the Database used for this connection.
- Choose an Authentication Method and enter the credentials.
User ID: User ID used to access the SQL server
Password: Password used to access the SQL server - Click OK to save the connection and return to the Login screen.
Note: Regardless of the method of authentication, the user must be a part of the DYNGRP group on your database. If you will be using the Windows Authentication method on the main login screen, the connection will be forced to Windows authentication and any User ID and Password specified here will be ignored.
Required min SQL user security
- DYNAMICS db: DYNGRP, public
- MASTER db: public
- tempdb: db_datareader, db_datawriter, public
- COMPANY db: db_datareader, db_datawriter, DYNGRP, public
- Note: If you are still getting error messages, enable db_datareader on DYNAMICS
Required min Windows user security
SalesPad needs the following permissions to run:
- SalesPad Install Folder - Read
- ProgramData and AppData Folders - Read/Write
- Registry - HKEY_CURRENT_USER\Software\SalesPad - Read/Write
Log in to DataCollection
You may click on the + button to the right of the Connect To combo box to create additional connections. The - button deletes connections. The ellipsis (…) button allows you to edit an existing connection.
All connections appear as options under the Connect To combo box.
- Select a connection from the list.
- Enter User ID and Password and click the Login button.
Database Update
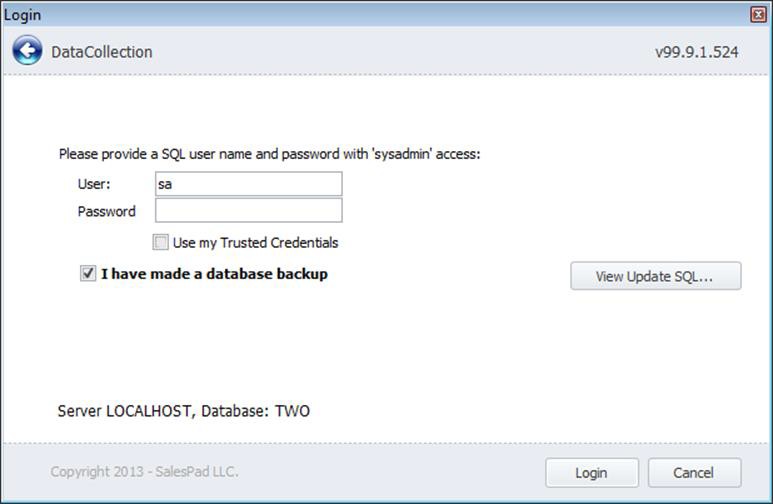
You may be asked to install a Database Update. To do so, please follow the steps below:
- Enter the SQL Server administrator user and password.
- After ensuring a database backup is in place, click the I have made a database backup option.
- Click the Login button.
- The Database Update will begin analyzing database differences. This analysis may take a few minutes.
- When the Database Analysis is complete, click the Login button.
Setting up Security in DataCollection
DataCollection Console provides a security editor to set up and manage security groups. Security groups determine which modules and features are available to users when they log in to DataCollection. If you have used the Security Editor in SalesPad, you will be familiar with the Security Editor in DataCollection Console.
To access the Security Editor in DC Console, follow the steps below:
- Log in to DC Console with administrator privileges. The 'sa' user is automatically set up by default on new installations. You may use the 'sa' user to start setting up users and groups and change the groups to fit your needs.
- Open the Administrative dropdown, then click the Security Editor icon.
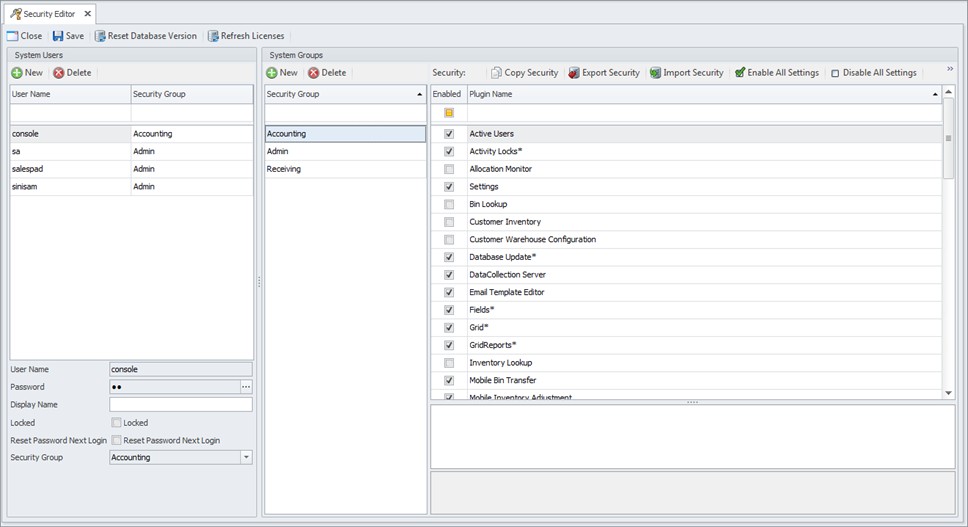
- Create a Security Group. A Security Group must be entered to display the Security Settings on the right pane. To add a Security Group, click New under Group Security. Enter the name of the Security Group in the pop-up window and click OK.
- To give users access to execute future database updates under Database Update > Can Update Database and set it to True.
- To add users to a Security Group, click New under System Users.
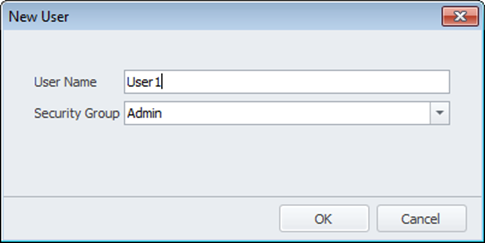
- Enter information about the new user in the pop-up window and click OK. To assign the user to a Security Group, you must enter the name of the group in the Security Group field.
- You must log out and log back in for security changes to take effect.
Configuring the DataCollection Service
The DataCollection Service is responsible for hosting the handheld device so users can manage inventory and execute transactions via the scanners. Follow the instructions below to configure the DC Service:
- Click on the Settings button in the toolbar.
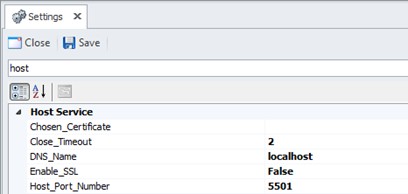
- Type host in the filter and press enter in the keyboard.
- Change the DNS Name to the server name or IP address of the computer where you installed the DC Console.
- Change the Host Port Number to the port of your choice. You may also use the default port 5501.
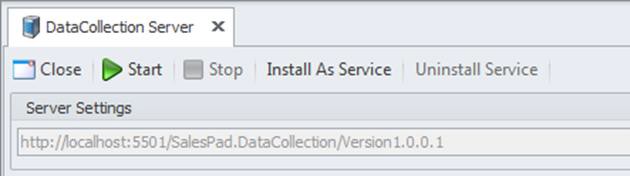
- Click on the DataCollection Server icon on the toolbar.

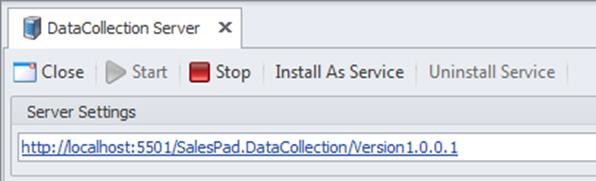
- Click the Start button to start the DC Service.
- If you update the server address, please restart the service.
- If Windows Firewall is enabled you may have to disable it or enter an exception to the port you are using to host the service.
Uninstalling DataCollection
To remove the DataCollection Console from a workstation, follow the steps below:
- On your PC, click the Windows Start button. The Start Menu appears.
- Click the Control Panel option.
- Find the Add or Remove Programs icon and double-click on it.
- The Add or Remove Programs screen appears.
- Select SalesPad DataCollection from the list and click the Change/Remove button.
- Click OK when the Finished screen appears.
SalesPad Support
Comments