Overview
The ShipCenter Wizard is the first component a user sees after they’ve installed. It allows a user to generate the first connection and apply database updates.
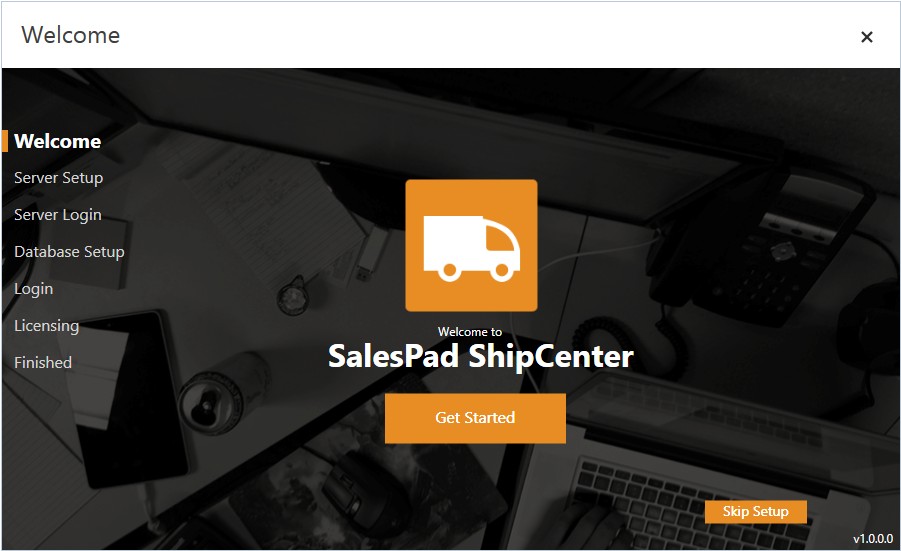
Welcome
Clicking Get Started will continue through the setup phase of the Wizard. Clicking Skip Setup will move the user to the login page, where a new connection must be entered manually.
Server Setup
Server Setup is the first step in setting up a connection to Microsoft SQL Server, a comprehensive database that stores the company’s information. Start by selecting the instance the user wishes to connect to.
Clicking the dropdown in the middle of the page allows the user to choose any locally running SQL Server instances that are running the SQL Server browser.
Clicking Scan for Existing Servers Again will refresh all available SQL Server instances. Use this button after turning on a SQL Browser.
If the default selection, Let SalesPad Download and Install SQL Server, is left selected, then upon clicking Continue, ShipCenter will attempt to download and install SQL Server. Clicking Continue will bring the user to the database credential page.

Database Setup
Database Setup sets the database name where the new ShipCenter tables will be created in the database.
The default option, Create a New Database, allows the user to create a named database to install ShipCenter to. This is the preferred methodology, as it has the greatest potential for speed.
Alternatively, clicking the dropdown in the middle of the page allows the user to select an existing database to apply the ShipCenter updates to.
Upon clicking Login, ShipCenter will attempt to connect to the selected instance. If successful, ShipCenter will automatically apply database updates and move the user to the Login page.

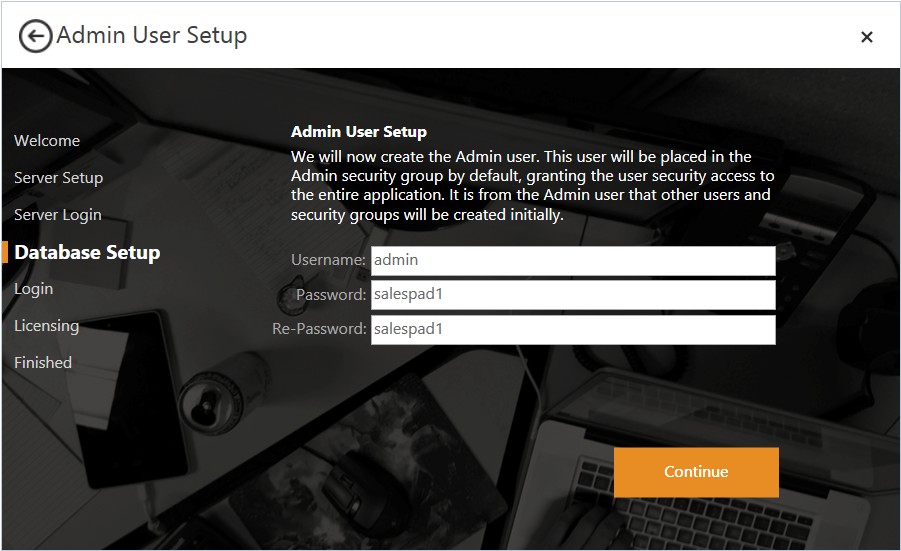
Admin User Setup
If connecting to a new database, the screen below is presented to the user for initial user creation. Additional user creation is done through the Security Editor in the main ShipCenter application.
Clicking Continue will move the user to the “Login” page.
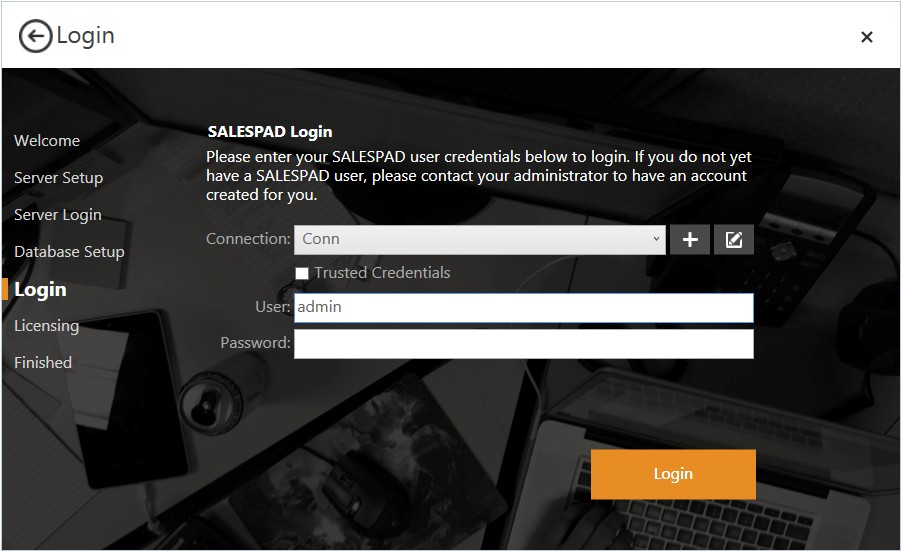
Login
The “Login” screen is the only remnant of the setup page available after initial login. It is used to update existing connections and start up ShipCenter.
The Connection dropdown allows the user to change which instance and database they want to connect to.
Clicking the + or pencil document button next to this dropdown will open up the Connection Editor.
If you have both a trusted connection to the SQL Server instance and a user with the same name as the local user (ex. If jeffb was both the user’s login and the user’s Windows’ user name), then enabling the Trusted Credentials allows the user to not enter a password.
If all credentials are correct, clicking Login will attempt to start the ShipCenter main window.
SalesPad Support
Comments