Overview
The Sales Fulfillment screen in SalesPad allows serial/lot tracked or multibin items to be fulfilled. Users manually select items from serial/lot numbers and bins to fulfill orders. If the item is not serial or lot controlled, then Multiple Bins must be enabled in Dynamics GP.
Usage
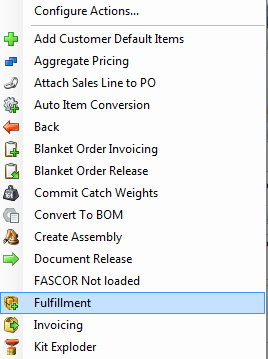
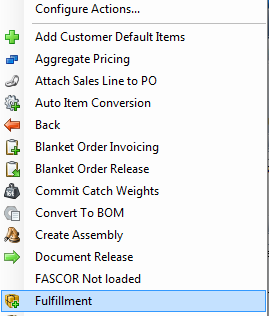
On an open sales document, open the Actions dropdown (  ) from the sales document header. Select Fulfillment.
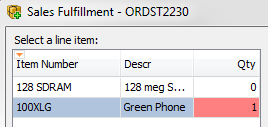
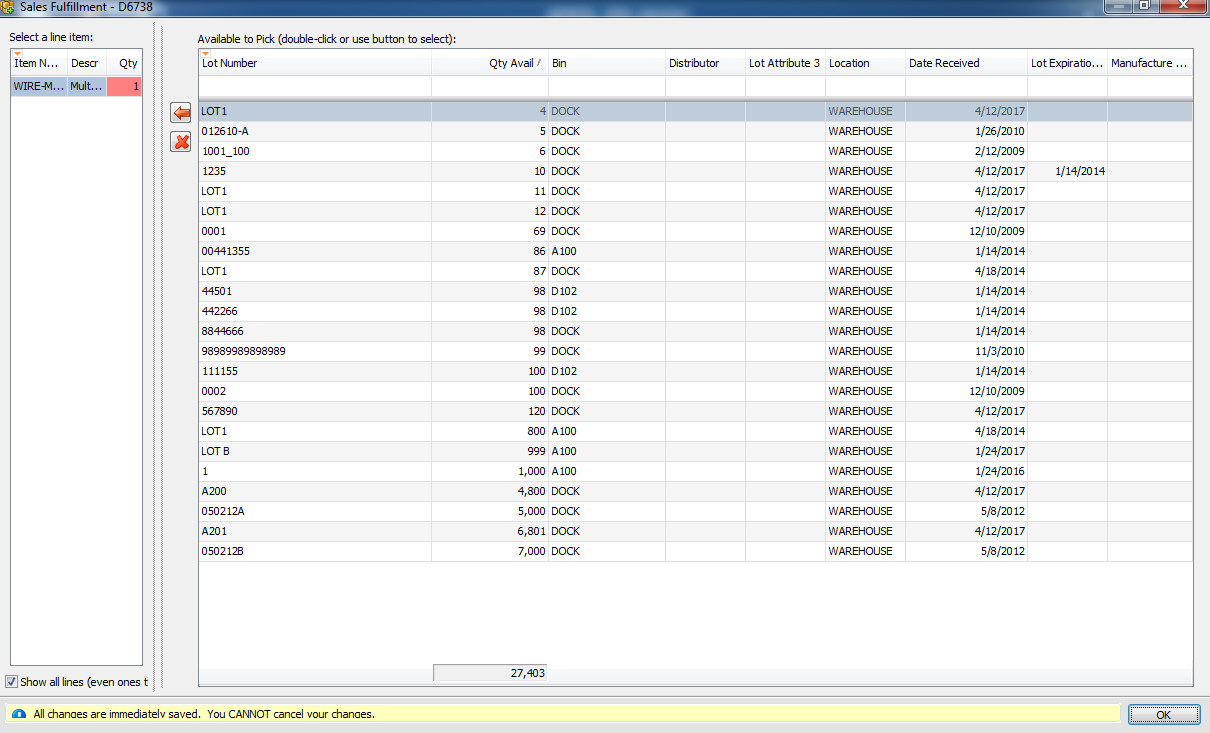
The Sales Fulfillment screen appears. You will see different grids for selecting a line item, fulfillment detail, and available to pick.
Note: If the Show all lines (even ones that cannot be fulfilled) box is checked, all line items on the document will display in the left column. If the box is unchecked, only serial/lot tracked or multibin items will be displayed.
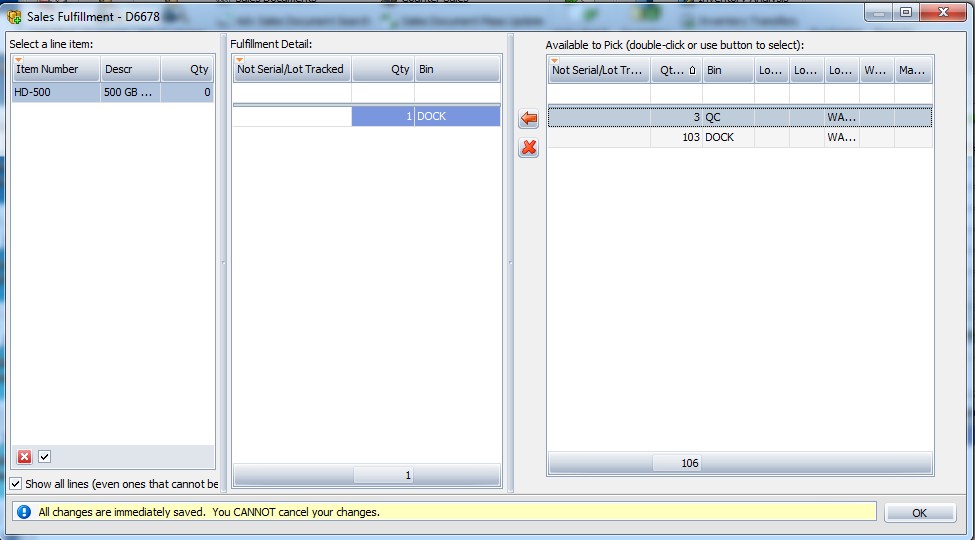
To fulfill items, select the line item to be fulfilled. The Fulfillment Detail grid will automatically display selected serial/lot numbers for the quantity (ex: one serial number will be listed for a quantity on the document of one, and five serial numbers will be listed for a quantity of five). The serial number(s) listed in the Fulfillment Detail column will be used to fulfill the order.
Remaining serial numbers for the selected item will appear in the Available to Pick grid.
Note: The Sales Fulfillment plugin can be selected when creating a new workflow. Using the Forward action triggers the fulfillment window on a sales transaction. For more information on setting up workflows, please reference our documentation.
Column Chooser
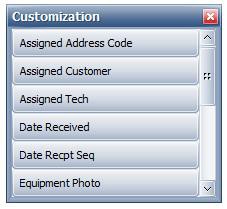
SalesPad allows Lot Attribute columns to be added to the Available to Pick grid. To drag-and-drop additional columns onto the header, right-click on an existing column header and select Column Chooser.
This brings up a Customization box, where you can add additional Lot Attribute columns including Assigned Address Code and Customer, Date Received, Lot Expiration Date, Manufacture Date, Service Notes, Unit Cost, as well as several other columns. You can choose a total of 5 Lot Attributes to be displayed.
Note: Users can choose to fulfill lots by the Date Received and Sequence (Seq column)
To change which serial numbers are used for fulfillment:
- Highlight a serial number in the Fulfillment Detail column and click the
 to remove it. A confirmation message will appear:
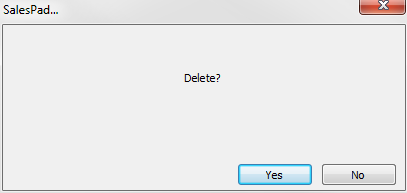
- Click Yes to confirm. The selected serial number will return to the Available to Pick column and the Qty for the line item will be highlighted in red to indicate that it will not be fully fulfilled:
- Select a serial number from the Available to Pick column and either double-click it or click the
 to add it to the Fulfillment Detail column.
You can fulfill a line item up to its allocated quantity; if the allocated quantity is zero, you cannot fulfill the line. When items are ready to be fulfilled, click OK. The Quantity Fulfilled column will be updated on the sales document.
Note: Grid layout changes (See: SalesPad Grids) on the Sales Fulfillment Screen will save based on the item tracking (Lot Numbers, Serial Numbers, Multi-Bin), so each tracking type can have a different layout. However, if Lot Numbers are not in use, the Lot Expiration Date, Manufacture Date, and Lot Attribute columns will not save on reload.
Adding Serial Attributes to the Sales Fulfillment Screen
You can control which serial attribute columns are available on the Sales Fulfillment screen, by specifying the column names within the SalesPad Security Editor.
Procedure
In Modules > Security Editor, add column names from the spSerialAttribute table:
- In the Security column, click Sales Fulfillment (type *fulfillment on the filter line to find it faster) and make sure the box is checked
- Find the Serial Attribute Columns sub-setting (in the Misc section)
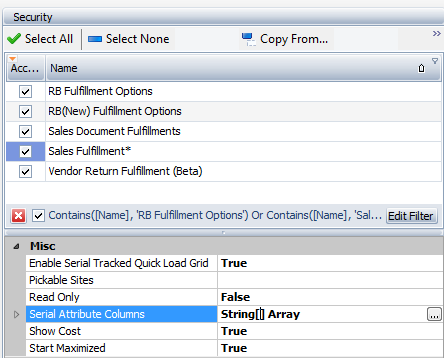
- Click the ellipsis (...) button to the right of the words String[]Array. The String Collection Editor screen appears:
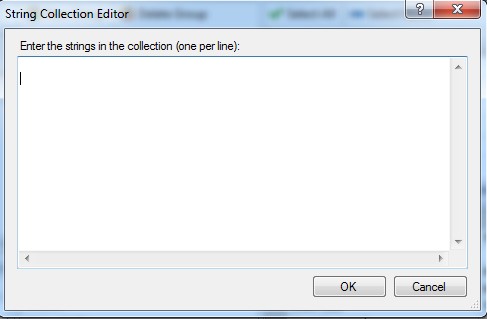
- Enter column names, entering one per line
- When finished, click OK. You can click on the arrow in front of the Serial Attribute Columns label to view the attributes you have added:

- Click Save
- Log out and back in to SalesPad
Testing the Changes
Next, test the changes. Your changes will be visible for serialized items. The 100XLG is a good test-data example of a serialized item.
- Open a sales order
- Add a 100XLG to the order and click Save
- On the header, go to the Fulfillment plugin (Actions > Fulfillment)
- On the Sales Fulfillment screen, select the 100XLG in the left-hand column
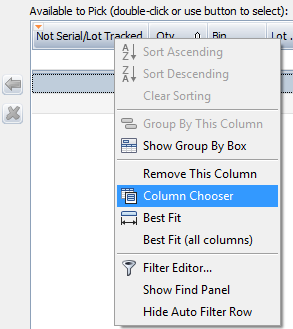
- Right-click on a column in the far-right grid, “Available to Pick”, and select Column Chooser:
- Drag the new column into the grid and check for values.
Adding Serial and Lot Item User Defined Fields to the Available to Pick Grid
A Fulfillment plugin allows you to add user defined fields from Serial and Lot items so they populate in the Available to Pick Grid. The Column Chooser allows you to add the Lot and Serial Number user defined fields.
Open the Customer Card you want to use and click on Distribution Order to create a new order. Choose or search for the item or items you want to add to the order. In the example below, the item WIRE-MCD-0001, a lot-controlled item, is chosen.
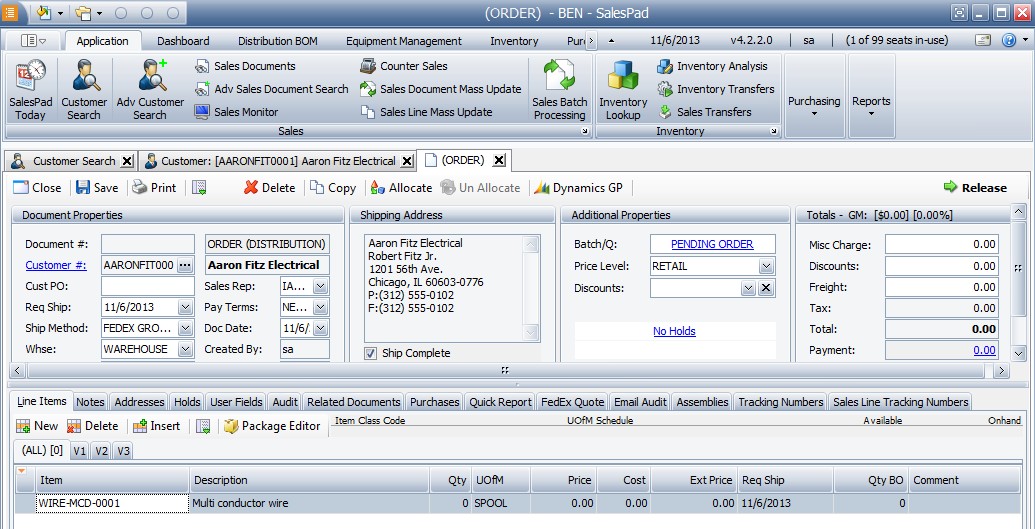
Open the Actions dropdown () from the document header and select Fulfillment:
This brings up the Sales Fulfillment window, where you’ll see Serial and Lot tracked user fields for the item in the Available to Pick grid.
Right-Click on the Available to Pick pane and select Column Chooser.
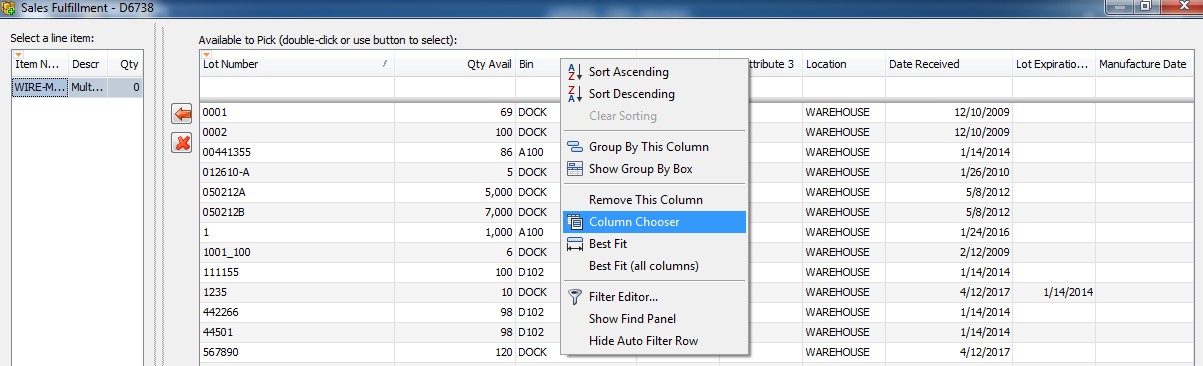
A Customization window pops up, from which you can choose user defined fields (such as Receipt date and Unit Cost) to add to the Available to Pick grid.
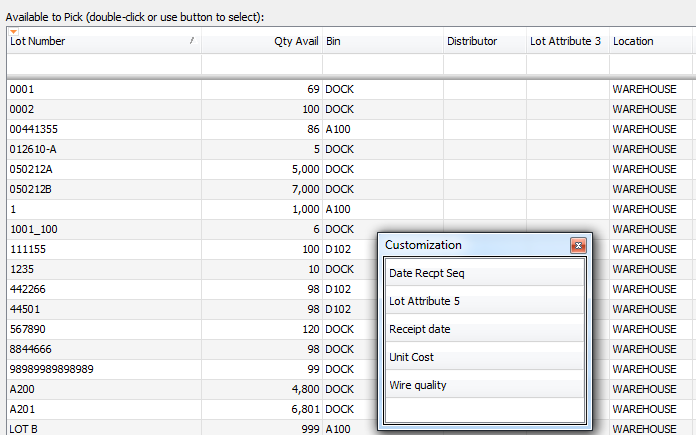
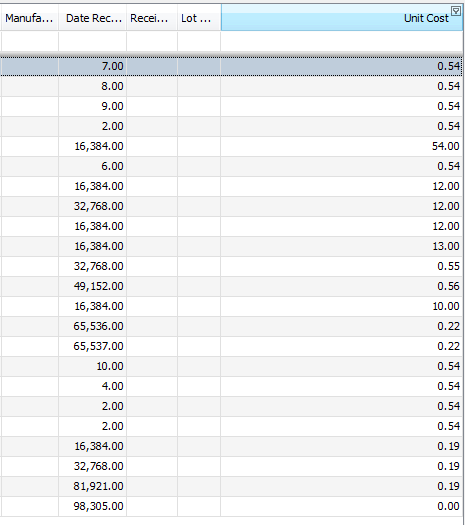
As an example, double-click on Unit Cost. A new “Unit Cost” Field is automatically added to the Available to Pick grid.
Security
Sales Fulfillment* - Allows a security group to access the Fulfillment action on a sales document.
SalesPad Support
Comments