Overview
The following guide explains the receipt transaction module of SalesPad Desktop for a Return to Vendor transaction. In this documentation, you will learn how to do a Return to Vendor transaction using the Receipt Line Transaction or through an Inventory Adjustment via drop-ship. In addition, you will learn about some added functionality to the Vendor Card and Purchase Order Receipt Tabs. Before proceeding, please visit the Security Settings and Application Settings sections of this document to ensure that you won’t run into difficulties.
Note: Landed Cost is not supported on Vendor Return transactions.
Table of Contents
- Overview
- Receipt Transaction Line Selector
- Drop-Ship Returns
- Receipt Entry Screen (Manual Fulfillment)
- Vendor Card and Purchase Order Receipts Tabs
- Security Settings
- Application Settings
Receipt Transaction Line Selector
This section details how to create a return using the Receipt Transaction Line Selector. You can also access the Receipt Transaction menu through a purchase order or via search.
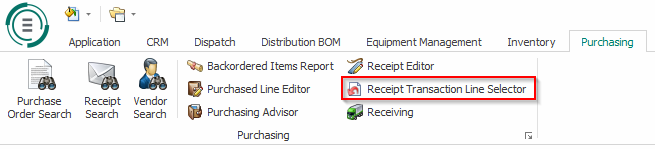
Open the Receipt Transaction Line Selector screen.
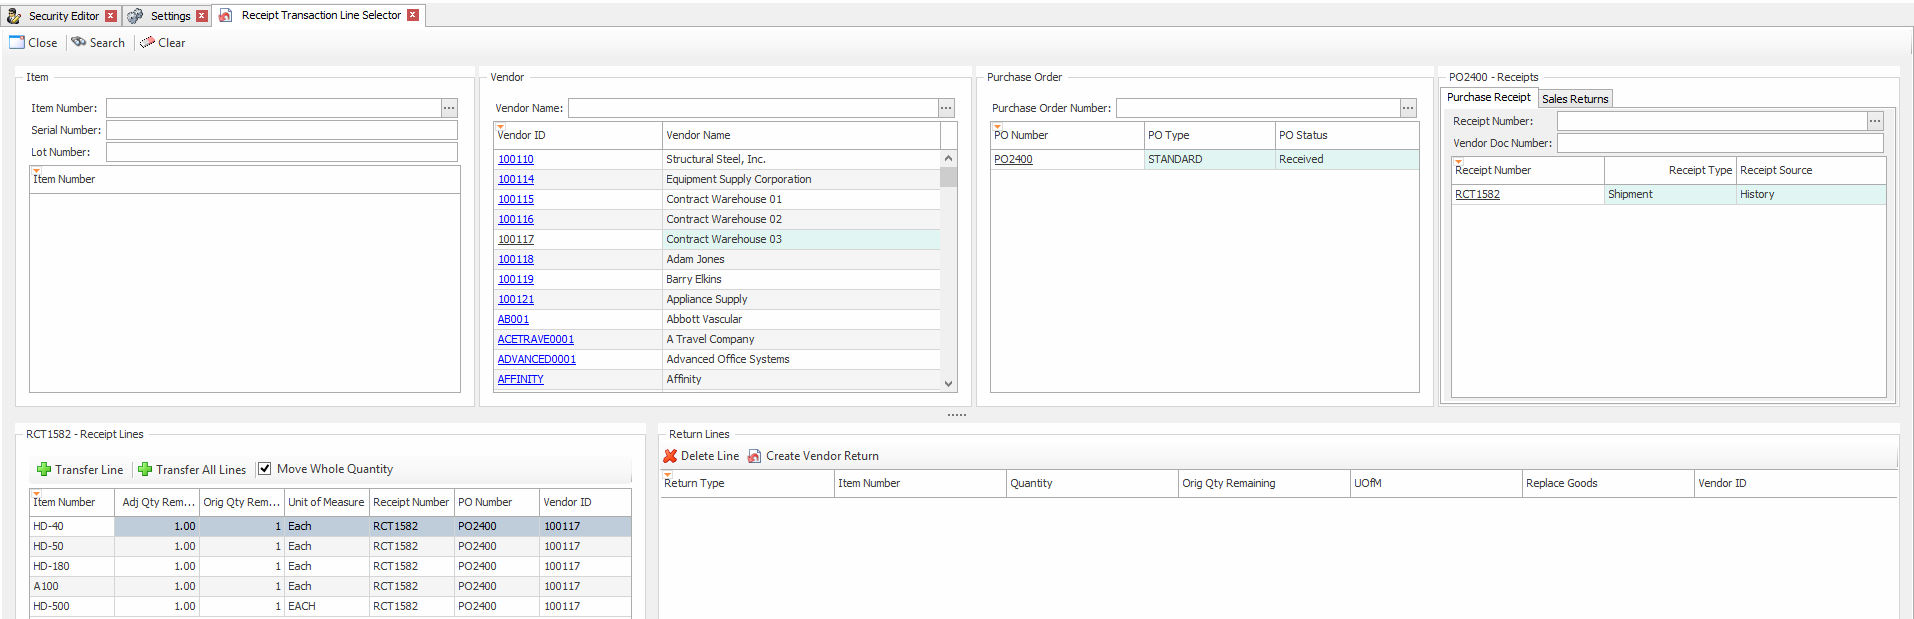
Select an Item, Vendor, Purchase Order Number, or Purchase Receipt to open the receipt lines.
Remember that SalesPad Desktop fields are searchable, using the search bar located at the top of the field (or, as in the case of the Item field, by multiple search bars).
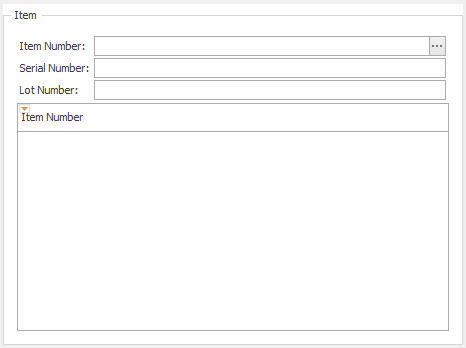
Item Lookup
Use the Item field in the left-hand side of the screen to pull a purchase receipt from Item Number, Serial Number, or Lot Number.
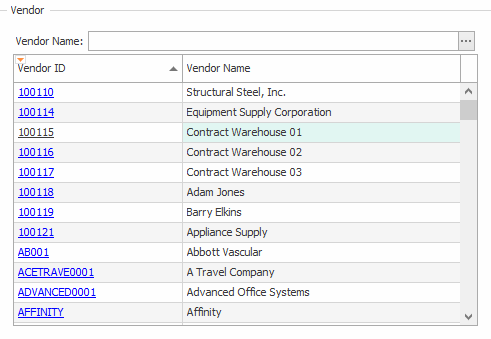
Vendor Lookup
Use the Vendor field just to the right of the Item field to search your receipts by Vendor ID or Vendor Name.
Purchase Order Lookup
Use the Purchase Order field just to the right of the Vendor field to search your receipts by Purchase Order Number.
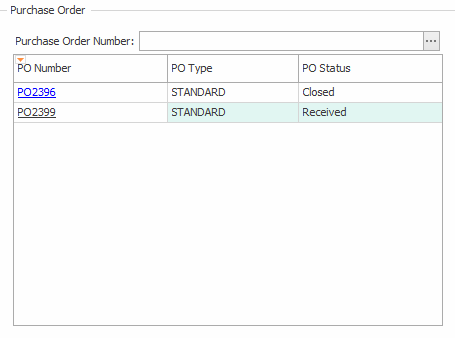
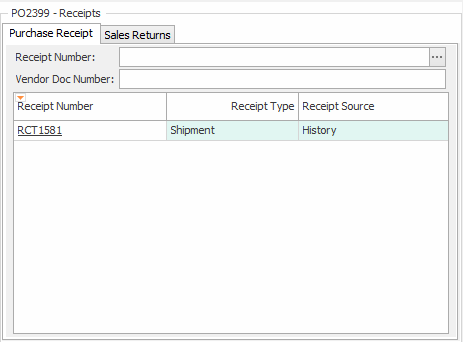
Once you’ve filtered by Item, Vendor, and/or Purchase Order, select a Receipt Number from the Receipts field on the right-hand side of the screen.
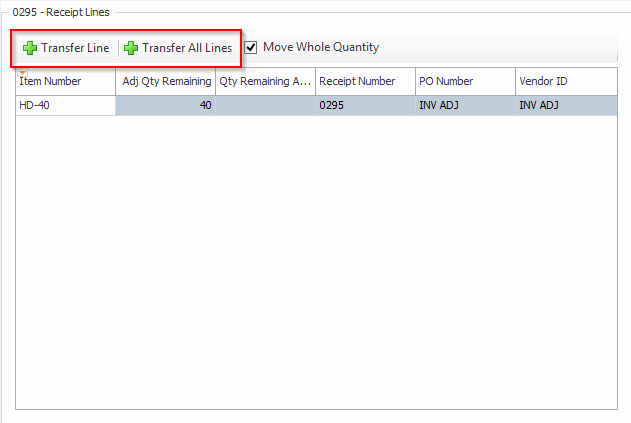
Transfer the necessary lines into the Return Lines field. To do this, first select the line you wish to transfer in the Receipt Lines field in the bottom left-hand corner of the screen. Click Transfer Line to transfer the selected line or Transfer All Lines to transfer all of the receipt lines.
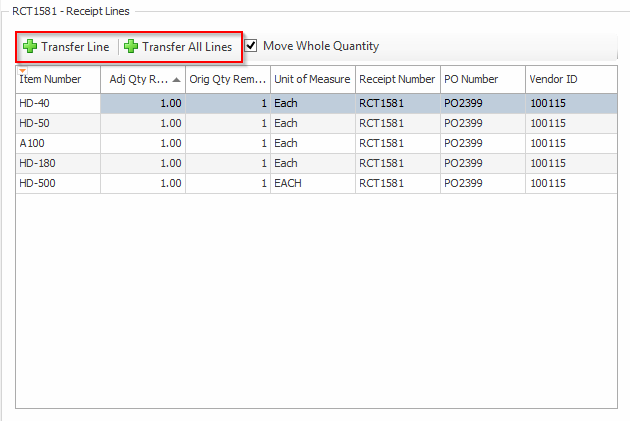
At this point, all of the valid lines including stock, non-stock, and drop-ship returns will move into the Return Lines field to the right of the Receipt Lines field. They will spilt into multiple documents if needed when the return is created. This is contingent on all conditions being met (documents posted).

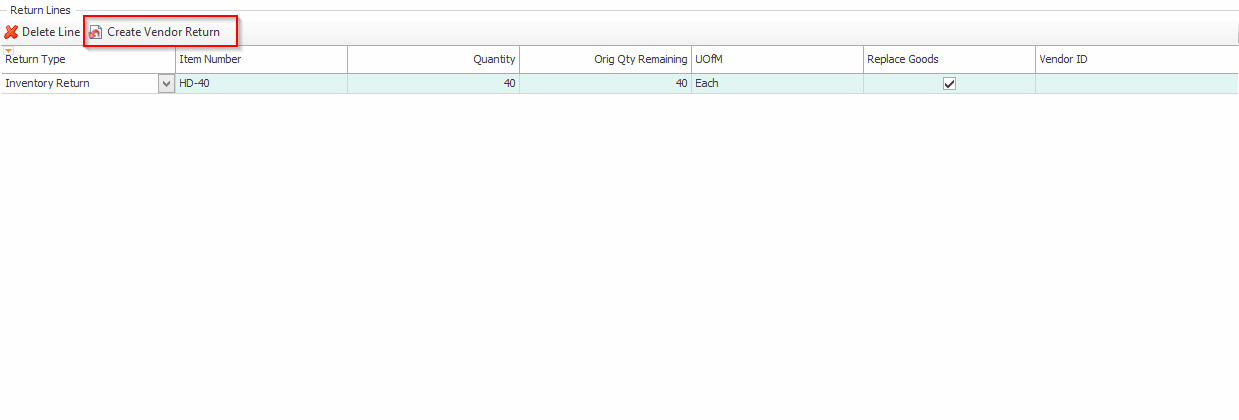
Click Create Vendor Return. The Return screen will open.

Proceed to the Receipt Entry Screen (Manual Fulfillment) section of this document for next steps.
Drop-Ship Returns
This section details how to create drop-ship returns in SalesPad Desktop. Because Microsoft Dynamics GP™ does not support drop-ship Vendor Returns, creating a drop-ship return in Inventory Adjustments is a practical workaround.
To begin, navigate to the Inventory module and click Inventory Adjustment.

Create an inventory adjustment. Add the Batch ID and Location, and click Add to add lines to your adjustment. Fill out the line, making sure to fill in the Quantity field.

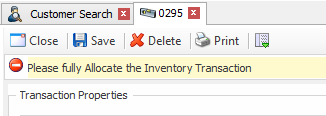
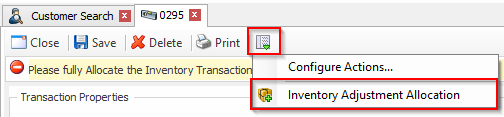
A yellow alert will appear at the top of the Inventory Adjustment window prompting you to fully allocate the inventory transaction.
Click the Menu in the Action Toolbar and select Inventory Adjustment Allocation from the dropdown.
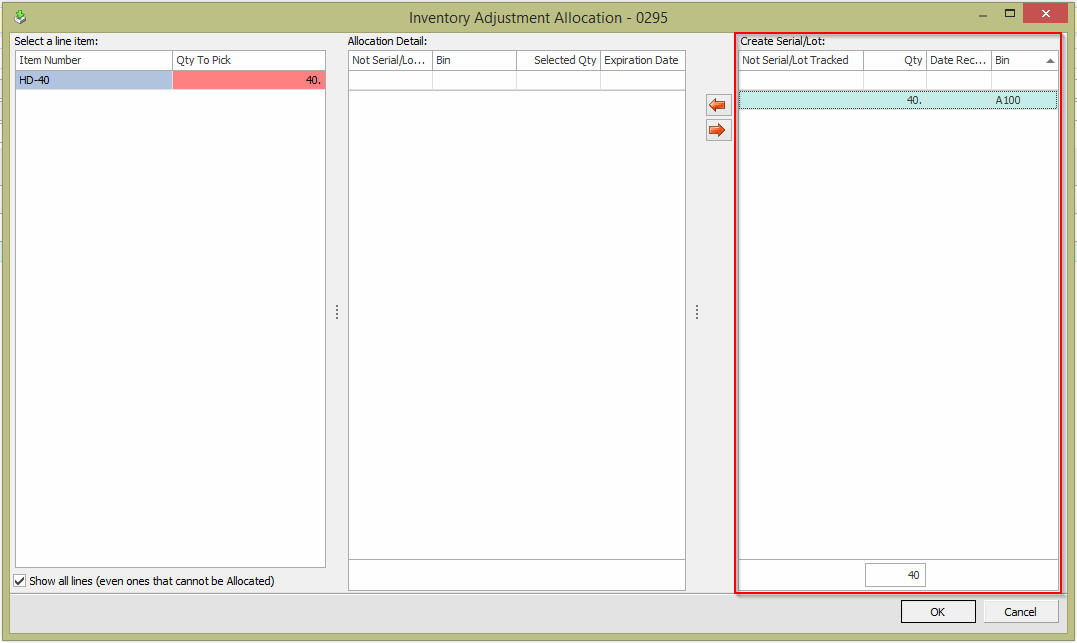
The Inventory Adjustment Allocation window will pop up. Fulfill the inventory adjustment by selecting the Bin and the proper Quantity from the window on the right-hand side of the screen.
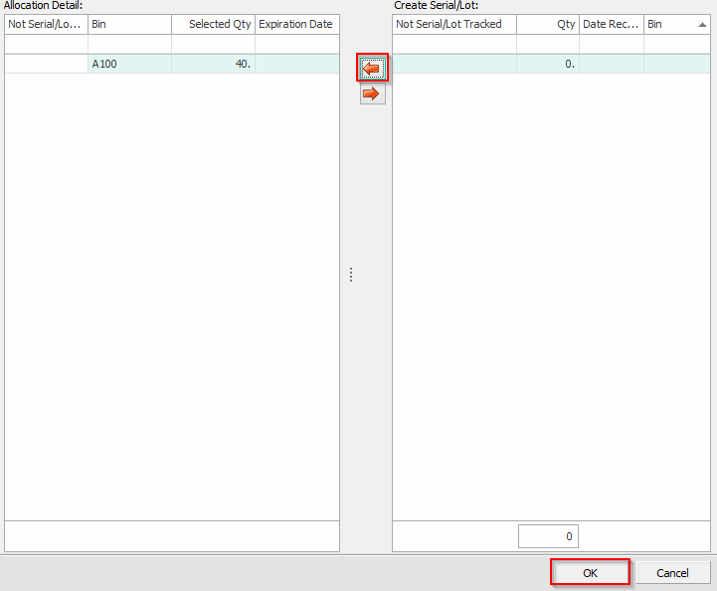
Click the Arrow pointing to the left to complete the adjustment. Click OK when you are finished.
Click Save in the Inventory Adjustments window.

Make a note of the inventory adjustment number so that you can search for it in the next steps.

Post the Inventory Adjustment in Microsoft Dynamics GP.
Now navigate back to SalesPad Desktop and open the Receipt Transaction Line Selector.
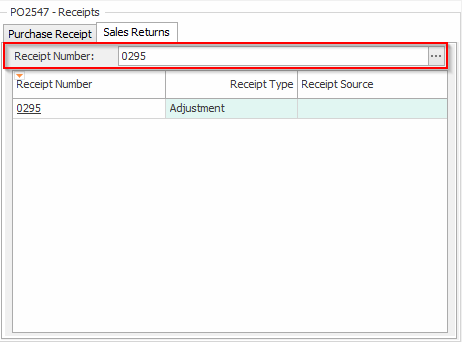
Type the Doc Number from the inventory adjustment into the Sales Returns tab of the Receipts field on the right-hand side of the screen.
Transfer the necessary lines in your receipt using the Receipt Lines panel in the bottom left-hand corner of the screen.
Click Create Vendor Return in the Return Lines field on the bottom right-hand side of the screen.
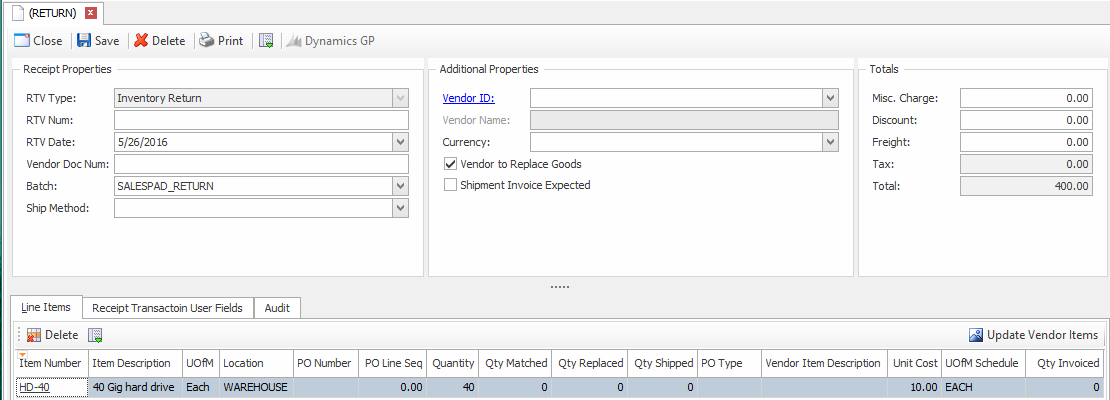
The Return screen will open.
Proceed to the Receipt Entry Screen (Manual Fulfillment) section of this document for next steps.
Receipt Entry Screen (Manual Fulfillment)
Once you have made it to the Return screen, make sure you save your Return document before attempting to fulfill your receipt.
Open Receipt Search.
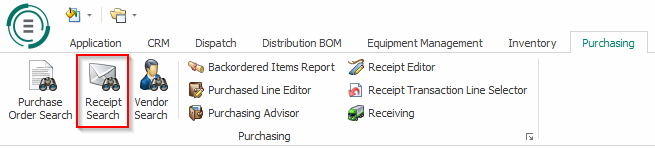
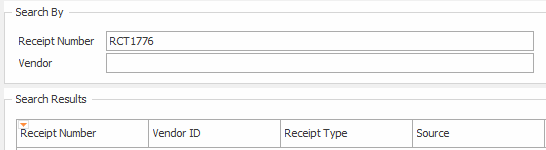
Find your receipt by typing the number from the RTV Num field of your RTV Return window into the Receipt Number field.
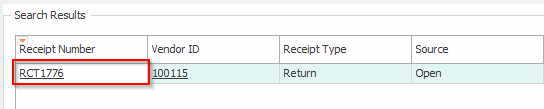
Open your receipt by clicking on the Receipt Number.
The Receipt screen will open. Click Fulfillment from the dropdown at the top of the screen.

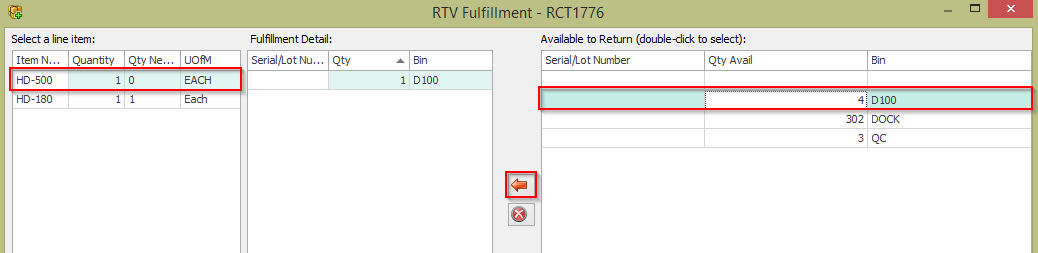
The RTV Fulfillment window will appear.

Select a line item to fulfill in the Select a Line Item field, select fulfillment options in the Available to Return field, and click the Arrow pointing to the left to add your fulfillment options to the Fulfillment Detail field. Click OK when you are finished.
Post the RTV Receipt in Microsoft Dynamics GP.
Vendor Card and Purchase Order Receipts Tabs
New Receipt Tabs have been added to the Vendor Card and Purchase Order screens, giving you another way to aggregate Vendor, PO, and Receipt information.
From a Vendor Card
To use the Receipt Tab on the Vendor Card, first open Vendor Search.

Open a Vendor Card.
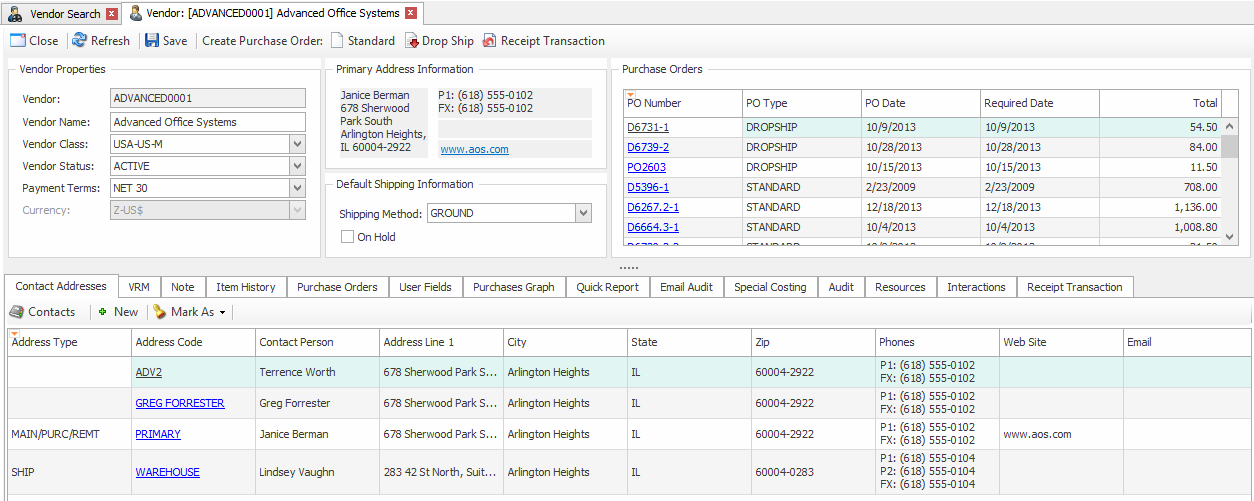
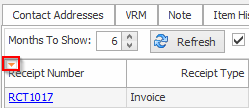
Notice the new Receipt Transaction tab.

Open this tab to view all PO receipts associated with that vendor based on search criteria including “Months to Show” and receipt types such as “Shipment,” “Invoice,” “Shipment Invoice,” “Return,” “Return with Credit,” “Inv Return,” and “InvReturn with Credit.”

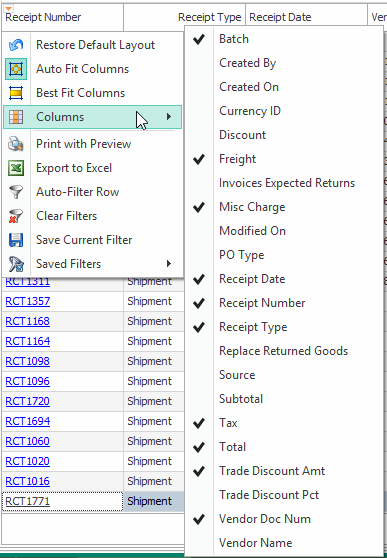
You can add additional fields to the Receipt Transaction tab with the Column Chooser. Click on the small Columns icon found in the Receipt Number column header.
Select Column and check the columns you want visible on your screen.
From a Vendor Record
Open Purchase Order Search and select a purchase order.
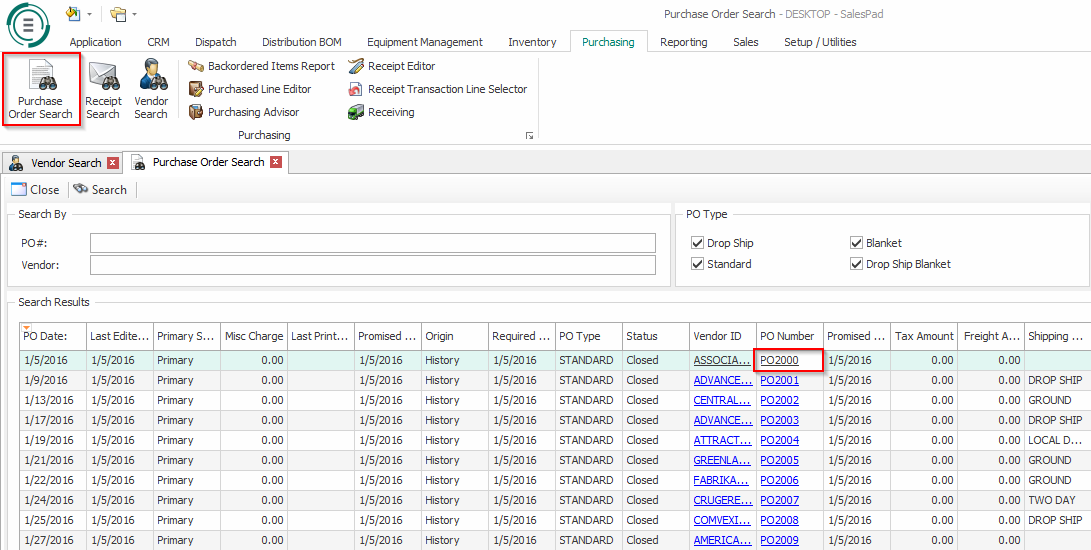
Notice and click on the new Receipts Tab.

In this tab, you can see all receipts associated with the PO. Remember, you can customize columns in this tab just like you did in the Receipt Transaction Tab.
Security Settings
To correctly utilize the Receipt Transaction and Vendor Returns functionality, you must first configure your security settings.
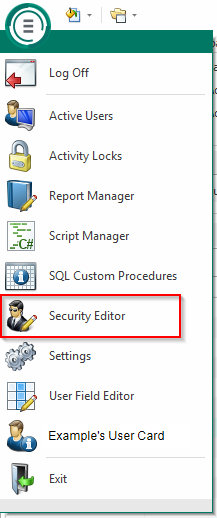
Open the Security Editor.
Type “receipt transaction” into the search bar to reveal the related securities.
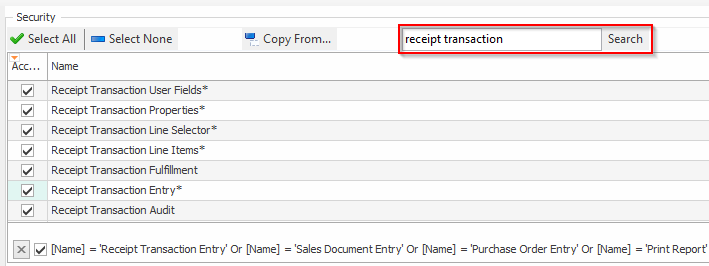
Enable the following securities:
Receipt Transaction Audit – Enables the Receipt Transaction Audit.
Receipt Transaction Entry* – Allows for Receipt Transaction Entry.
Receipt Transaction Fulfillment – Enables Receipt the Transaction Fulfillment.
Receipt Transaction Line Items* – Enables Receipt the Transaction Line Items.
Receipt Transaction Line Selector* – Enables the Receipt Transaction Line Selector.
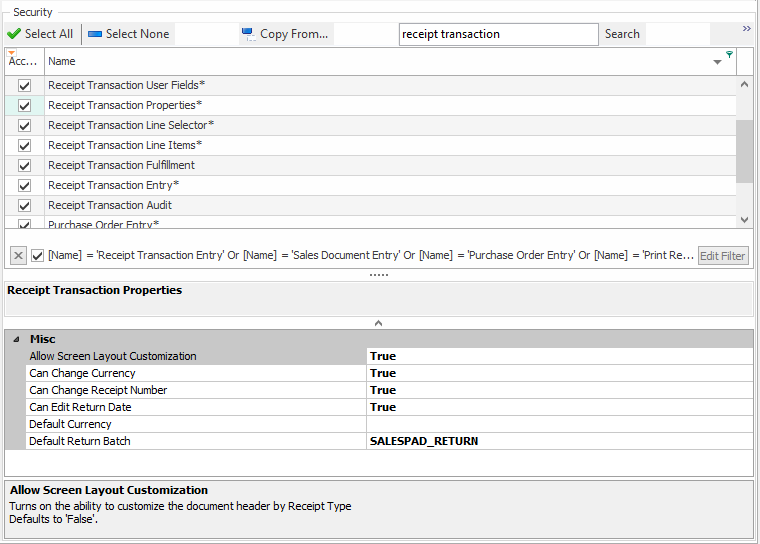
Receipt Transaction Properties* – Enables the Receipt Transaction Properties.
Receipt Transaction User Fields* – Enables the Receipt Transaction User Fields.
Note: Securities with an asterisk (such as Receipt Transaction Properties) have sub-securities that are listed in the middle section of the Security field. Sub-security descriptions appear in the bottom section of the field. Review and customize these as desired.
Type “vendor search” in the search bar and enable this setting.
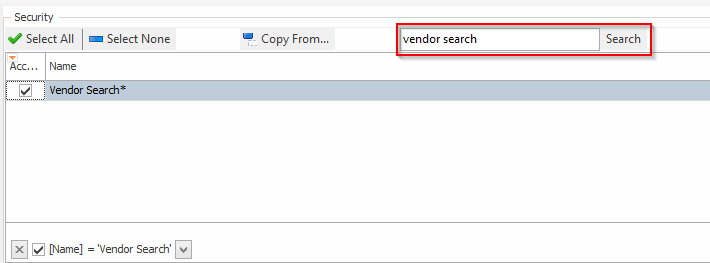
Vendor Search – Allows a search for vendors.
Next, type “inventory adjustment” into the search bar and enable these settings.
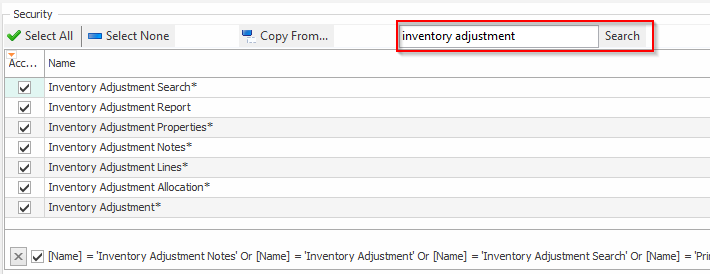
Inventory Adjustment* – Creates an inventory adjustment
Inventory Adjustment Allocation* – Enables Inventory Adjustment Allocation
Inventory Adjustment Lines* – Allows a user to view Inventory Adjustment lines
Inventory Adjustment Notes* – Allows notes to be added to Inventory Adjustments
Inventory Adjustment Properties* – Allows use to view the Inventory Adjustment Properties
Inventory Adjustment Report – Allows a report to be created off of Inventory Adjustments
Inventory Adjustment Search* – Enables Search for an Inventory Transaction
Please refer to SalesPad Security Settings for more information on all of our Security Settings.
Note: You must log out and back in for security changes to take effect.
Application Settings
Make sure you have optimal settings enabled to perform the tasks outlined in this document.
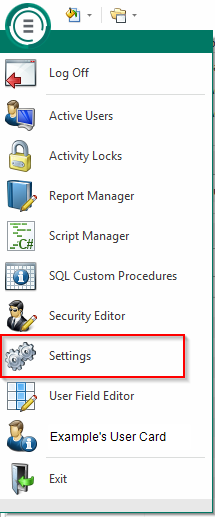
Navigate to Settings.
Type “vendor search” into the search bar.
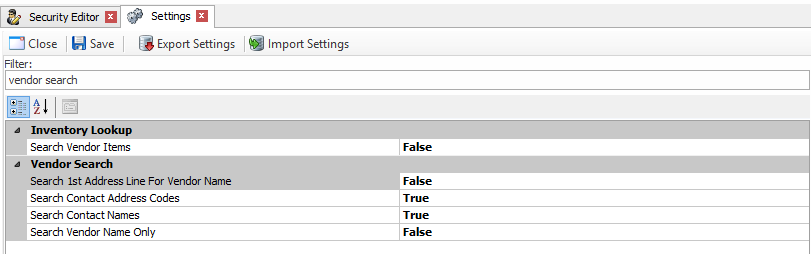
Set your Vendor Search settings as desired:
Search 1st Address Line For Vendor Name – If “True,” will search the vendor’s first address line for the vendor’s name.
Search Contact Address Codes – If “True,” will search the vendor contact’s address code as part of the vendor search.
Search Contact Names – If “True,” will search the vendor contact’s name (ignores vendor name and ID).
Search Vendor Name Only – If “True,” will only search by the vendor name (ignores vendor name and ID).
SalesPad Support
Comments