Overview
Inventory Adjustment allows users to adjust quantities for inventory items. These adjustments create adjustment documents in GP that must be posted in order to take effect. In this document, you will learn how to set the properties for an inventory adjustment, how to add and delete lines to the document, and how to create and edit notes for the document.
Table of Contents
Inventory Adjustment
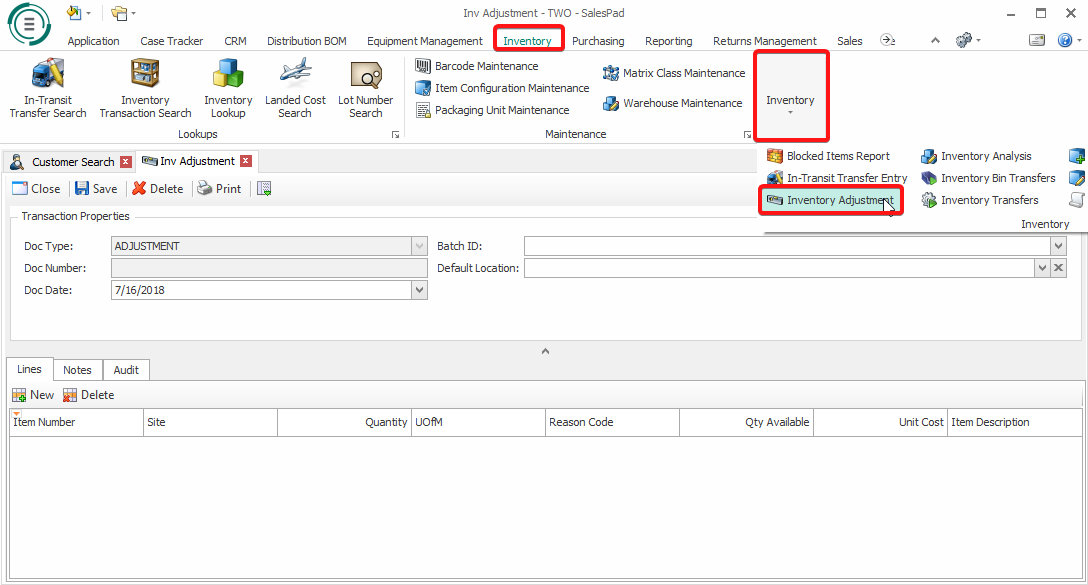
To access the Inventory Adjustment module, click the Inventory tab at the top of the screen, then click the Inventory Adjustment button in the Inventory ribbon.
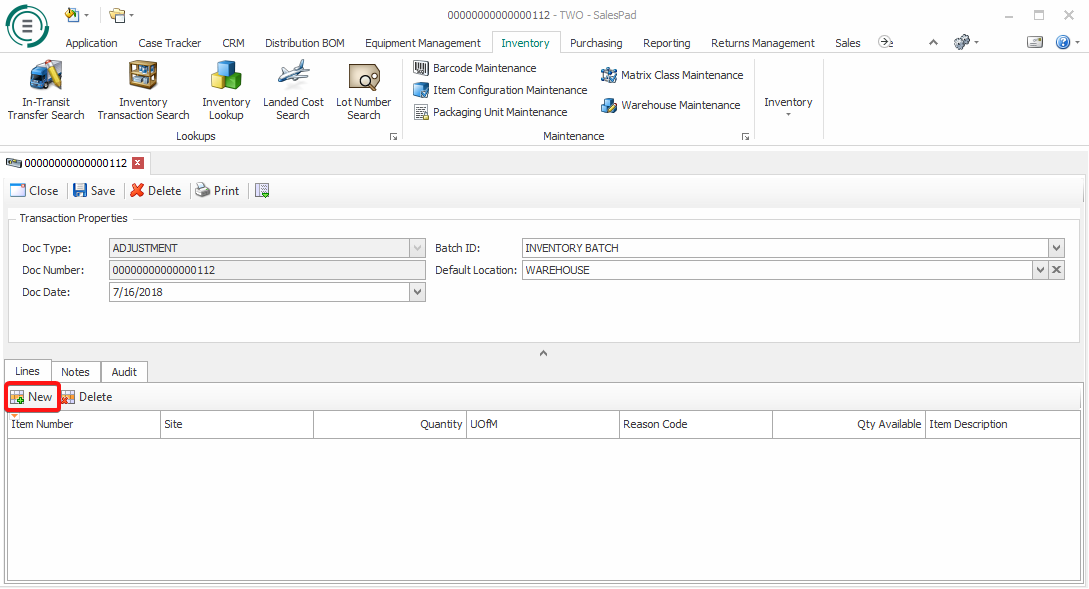
The module will open, displaying a blank adjustment document that you can modify.

Properties
Fill out the fields in the Transaction Properties section to begin creating an Inventory Adjustment.

- The Doc Type field is read-only, so users will not be able to edit it.
- Doc Number can be set to autofill or be entered manually with the Can Create Doc Number sub-security for the Inventory Adjustment Properties security.
- Doc Date can be set to any date. If it is left blank, the field will automatically be set to today’s date.
- Batch ID will determine where the adjustment document is created. This field is required to save the document.
- The Location is the warehouse that you want to adjust. This field is not required to save the document. You can set the location in the document properties and it will be used as the default setting for the line items.
Inventory Adjustment Lines
Adding a Line
To add a line, click the New button under the Lines tab. This will add a blank line to the grid.
Enter your item number in the Item Number column to populate the line with the Item’s data. If you are unsure of your item number, you can click the ellipsis on the right of the Item Number field to be brought to the Sales Inventory Lookup screen. The Site column can be set for each individual line item.
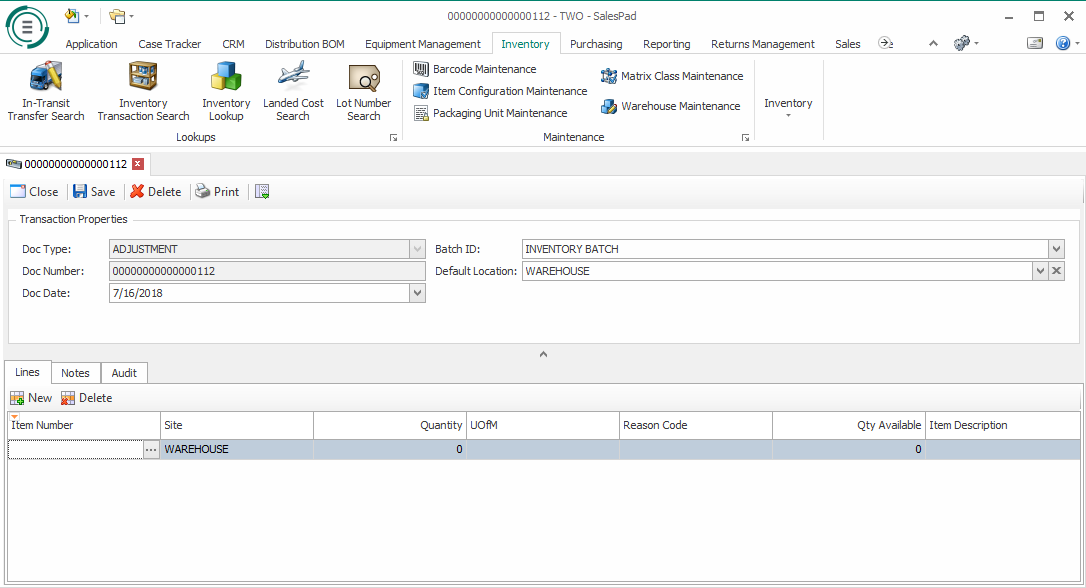
Set the quantity that you want to adjust in the Quantity column. This value can be positive or negative, depending on your adjustment needs. You can also adjust the item’s Unit of Measure (UofM).
Deleting a Line
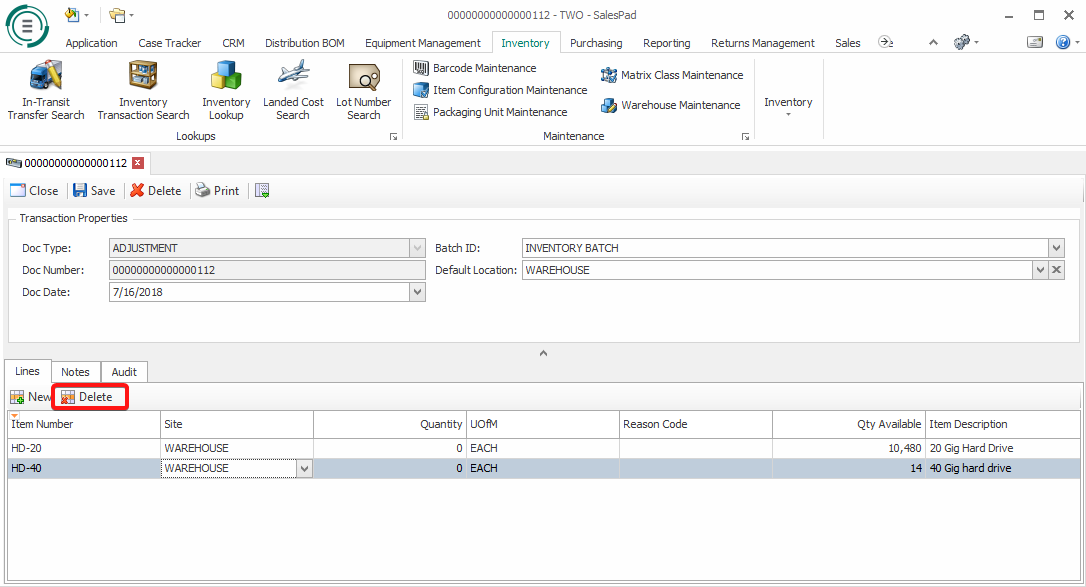
To delete a line, select the desired row and then click the Delete button. There will not be a confirmation window, so be sure you have selected the proper row before you click Delete.
Allocating a Line
When adjusting the inventory for serial and lot tracked items, you will need to use the Inventory Adjustment Action located in the Actions dropdown menu. This is the icon with the green down arrow at the top left of the document tab.
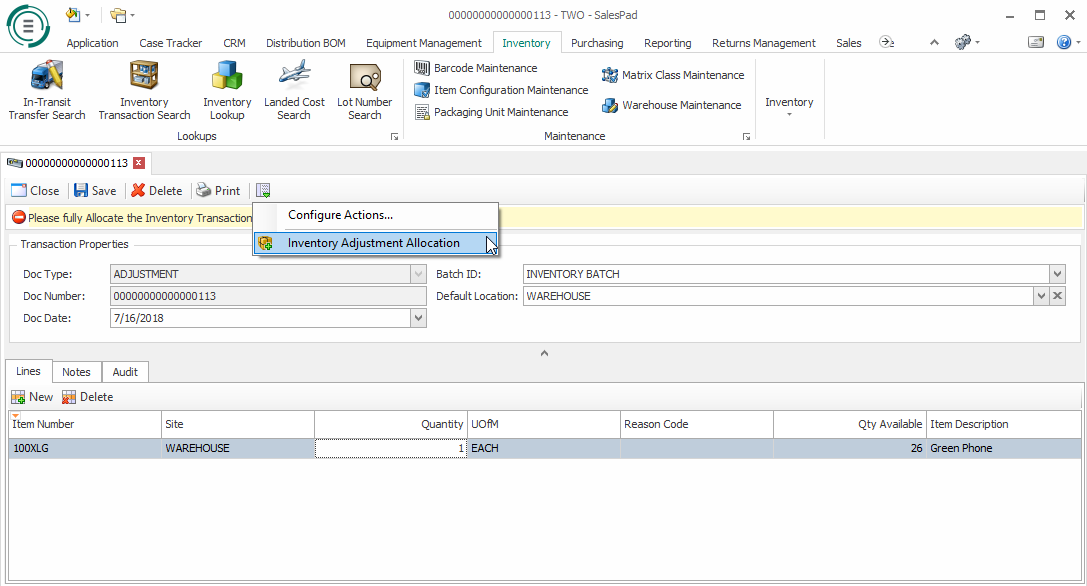
Click the Inventory Adjustment Allocation option to open the allocation window. Here you will be able to select the item and fulfill it by serial/lot number. Serial tracked items will need to have an individual number for each item, while lot tracked items can have multiple items per lot.

After you have fulfilled the items to your liking, click the OK button to apply your changes and complete the allocation process.
Notes
Adding a Note
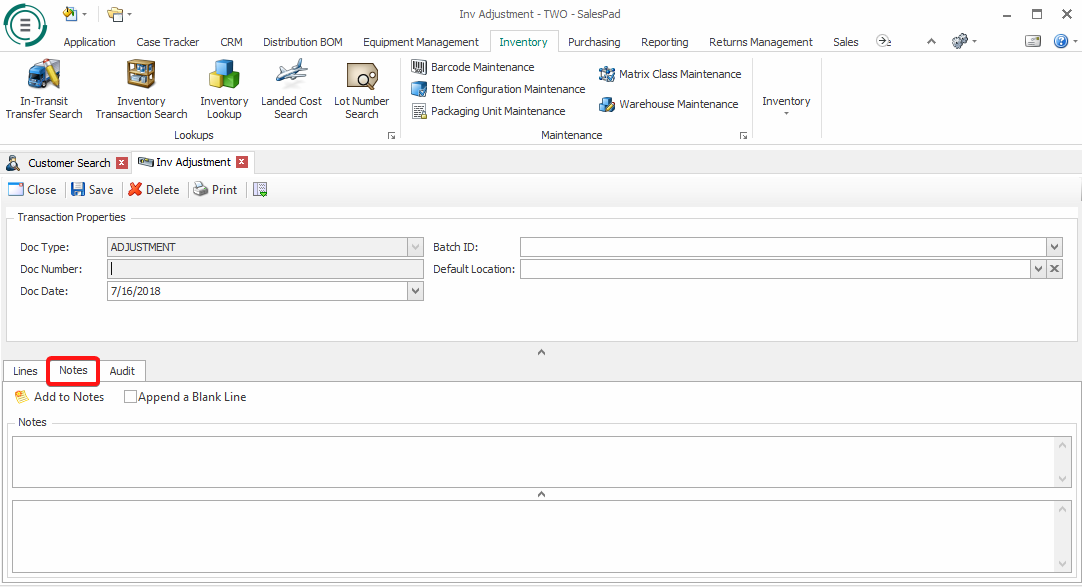
To add a note to an inventory adjustment, navigate to the Notes tab.
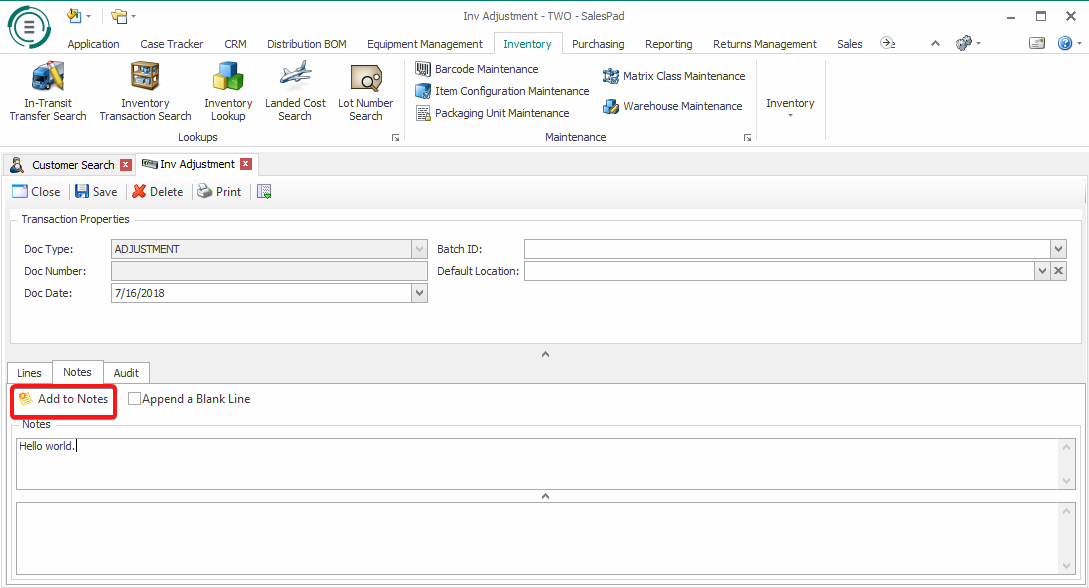
Enter the note that you want to add in the Notes text box, then click the Add to Notes button.
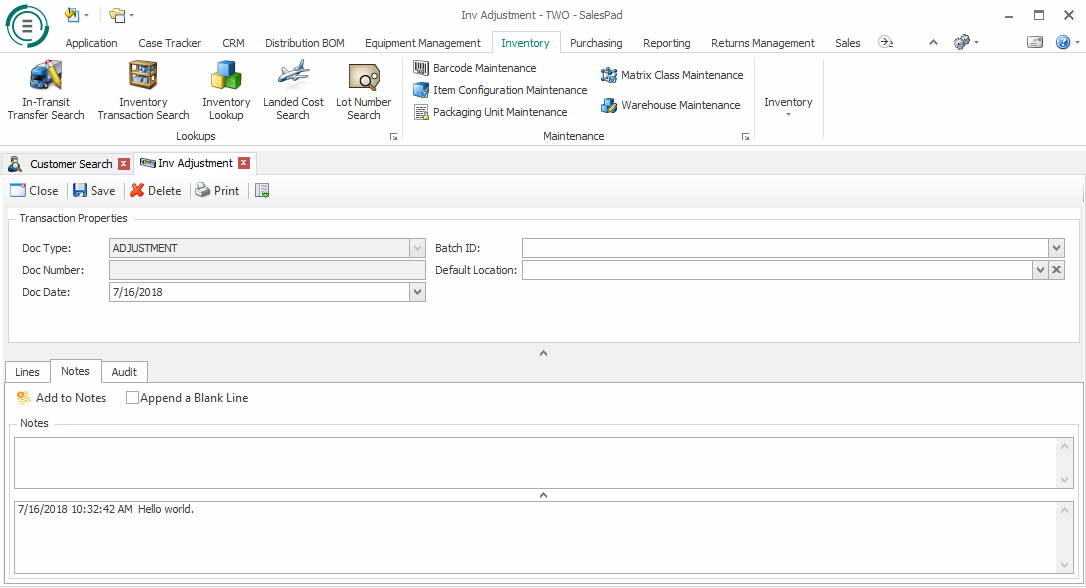
The note will appear underneath the Notes text box in the Note Log with user information added to the beginning.
Editing a Note
The note log can also be used to edit notes. It is a simple text box, so you can edit the text the same way you would in Notepad. The Can Edit Entire Note sub-security will need to be set to true under the Inventory Adjustment Notes security. After the security is enabled, simply click where you want the cursor to go and add or delete content as needed.
Security
Inventory Adjustment* - Allows users to access the Inventory Adjustment module.
Inventory Adjustment Allocation* - Allows users to access the Inventory Adjustment Allocation action.
Inventory Adjustment Lines* - Allows users to see and edit lines on the Adjustment document.
Inventory Adjustment Notes* - Allows users to access the notes tab.
Inventory Adjustment Properties* - Allows users to see and edit the document properties.
Inventory Adjustment Report* - Allows users to use the Inventory Adjustment printed report.
Note: Securities with an asterisk (such as Inventory Adjustment) have sub-securities that are listed in the middle section of the Security field. Sub-security descriptions appear in the bottom section of the field. Review and customize these as desired.
SalesPad Support
Comments