Overview
Integrating SalesPad Desktop with Nodus Technologies’ PayFabric allows you to run credit card transactions from within SalesPad Desktop and greatly enhances the user experience with electronic payment processing. PayFabric moves point of entry, storage, and transmission of credit card information and other data away from Desktop and into a secure cloud location. The process is simple: Desktop sends PayFabric transaction information, who then processes this information and sends back the necessary information to create/edit/delete a payment in SalesPad Desktop and Microsoft Dynamics GP.
In this document, you’ll learn how to integrate PayFabric with SalesPad Desktop, how to map a credit card to Microsoft Dynamics GP, how to capture credit card authorizations on multiple documents using Sales Batch Processing, and how to install the custom SalesPad theme in your PayFabric account. Before proceeding, please visit the Security Settings section of this document to ensure that you won’t run into difficulties.
Note: This documentation is for PayFabric V2. For documentation on the PayFabic V3 integration, click here.
Note: PayFabric's Sandbox only accepts communication via newer versions of TLS, which are not enabled by default, so if you plan on using a PayFabric Sandbox account within SalesPad, you'll need to enable this setting in Internet Explorer. To do this, open Internet Explorer and go into Internet Settings. Click Advanced, then scroll down until you see the TLS settings. Enable both 1.1 and 1.2.
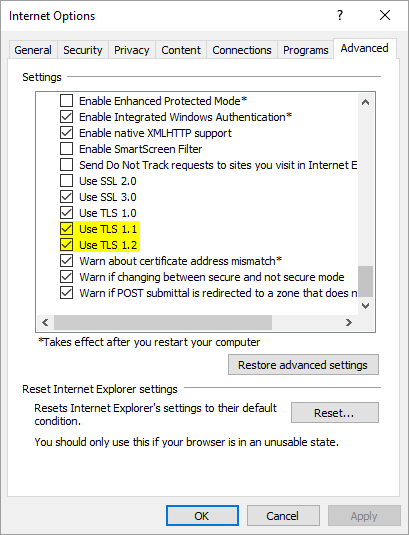
Table of Contents
- Overview
- Set Up and Connect PayFabric to SalesPad Desktop
- Map Credit Cards
- Usage
- Capture PayFabric Credit Card Authorization in Sales Batch Processing
- Customize Your Theme
- Security Settings
Set Up and Connect PayFabric to SalesPad Desktop
Most of the integration setup happens within PayFabric when you set up your accounts, payment gateways (processors), etc. SalesPad only sends transaction information to PayFabric; PayFabric conducts the transaction.
If you have questions regarding setup of your PayFabric account, Wallets, and Gateway (Payment Processor), we recommend checking out PayFabric’s support page.
To connect your SalesPad and PayFabric accounts, first log into your PayFabric account using a web browser.
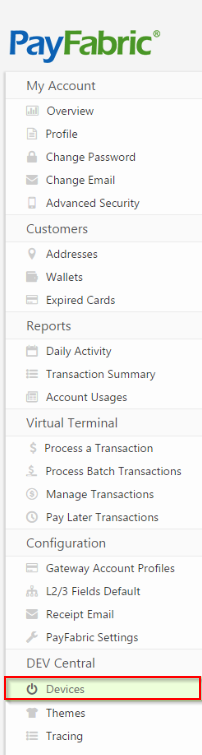
Once logged in, click Devices in the panel on the left-hand side of the screen.
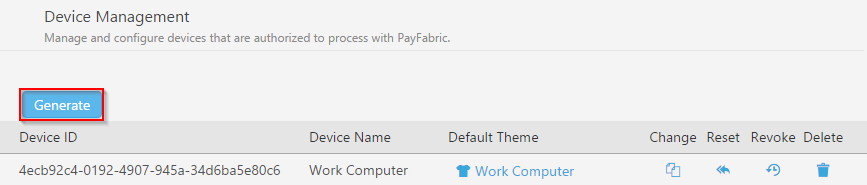
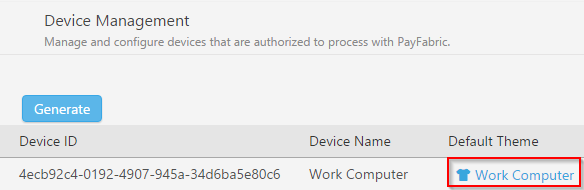
You will be redirected to the Device Management screen. Click Generate to create a Device ID, which you will later enter into the SalesPad’s Device Key setting.
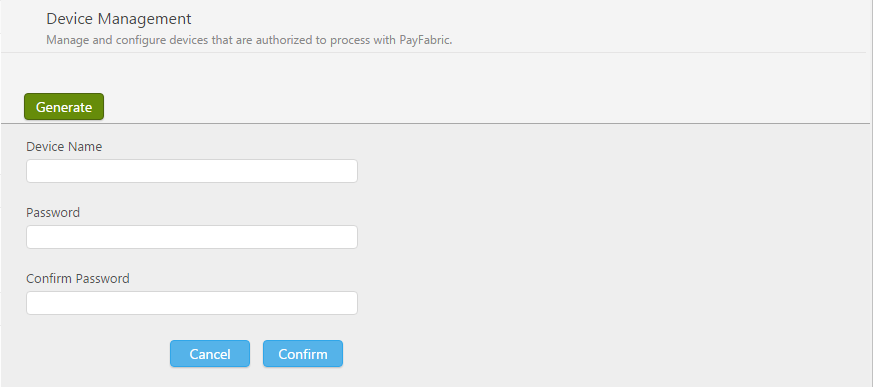
Enter a Device Name, create a Password, and click Confirm when finished.
Copy the Device ID, then navigate to SalesPad Desktop. Open the Settings module.
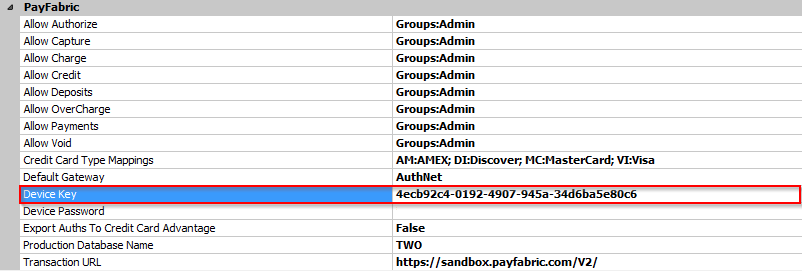
Type “payfabric” into the search bar to reveal the relevant settings, then paste your Device ID into the Device Key setting input field.
Next, click the ellipses (…) on the far right of the Device Password setting and enter the Password you created in PayFabric.

Check the Transaction URL setting to ensure that you have the correct URL for your PayFabric account type.

The example above is for a sandbox account. For a production account, make sure that the URL is https://www.payfabric.com/v2/ .
Map Credit Cards
You must create credit cards in Microsoft Dynamics GP in order for SalesPad to be able to create/edit/delete payments successfully. PayFabric will still run transactions, but SalesPad won’t be able to record them in Microsoft Dynamics GP unless you’ve first created the credit cards. These credit cards represent credit card types that you accept.
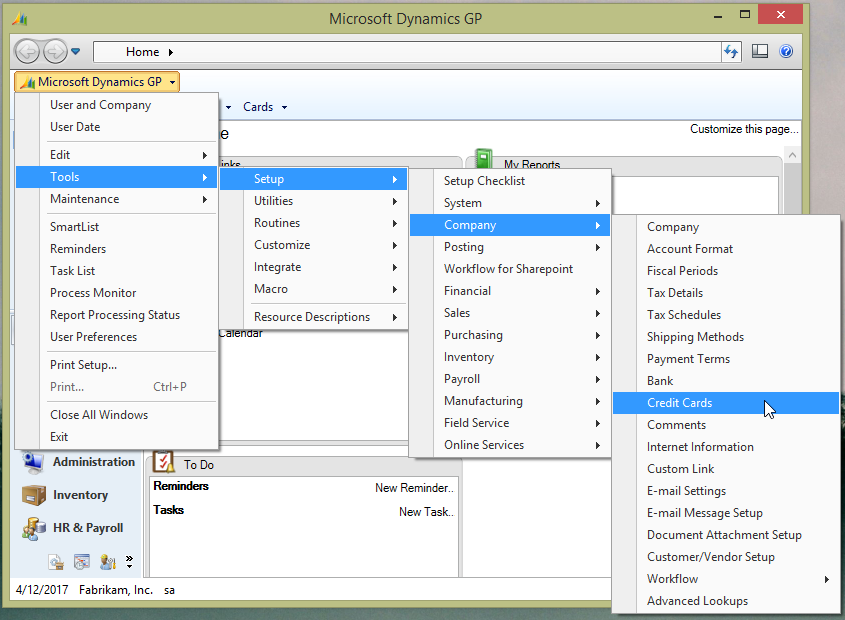
Open Credit Card Setup in Microsoft Dynamics GP.
Create a new Accepted from Customers credit card. For more help on creating a credit card in Microsoft Dynamics GP, consult your GP Partner or utilize the GP Help menu system.
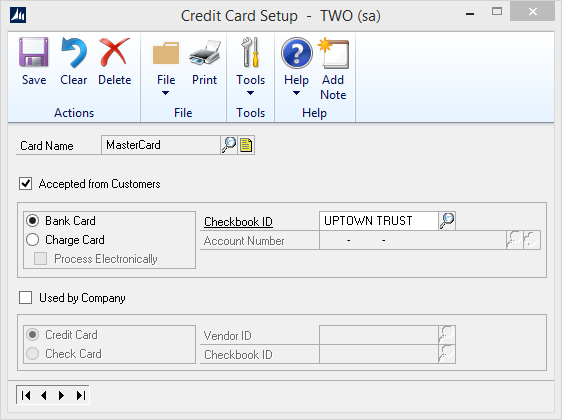
When creating a credit card in Microsoft Dynamics GP, it is essential that the Card Name match the associated Card Type Name in SalesPad. To check your SalesPad Card Type Name settings, type “card type” into the search bar in the Settings module.
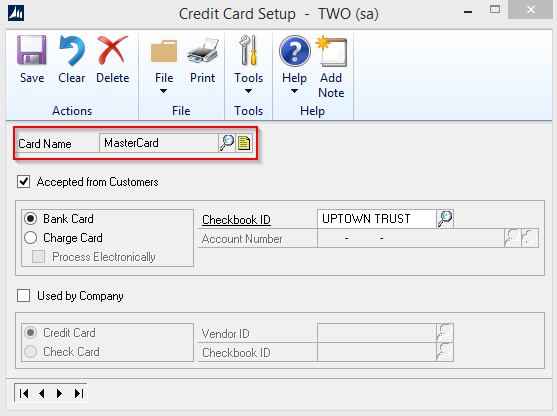

Note: If you already have credit cards set up in Microsoft Dynamics GP but your Card Names are not consistent with SalesPad, you can edit the SalesPad Card Type Name settings to match. Also, it is possible to have a credit card in Microsoft Dynamics GP that does not show up in SalesPad. In order for your GP card to appear in SalesPad, you must attach a note containing “/salespad” to the card (indicated by the little yellow note icon in the Credit Card Setup window).
Usage
To see your PayFabric integration in action, create or open a sales document and click on the hyperlink in the Payment field.
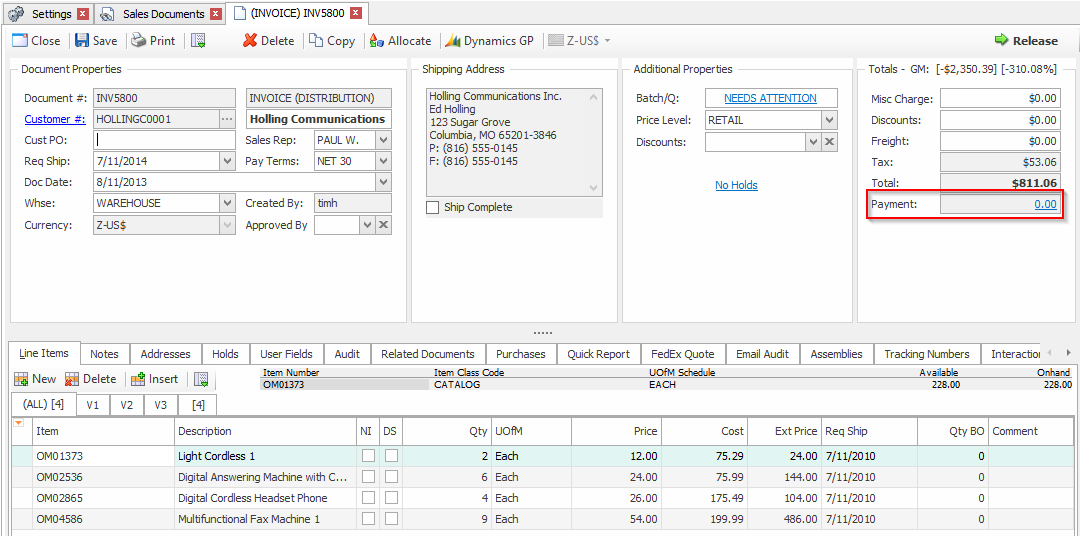
This opens the Payments window. Click on the PayFabric Tab if it’s not already open.

From here you can choose the type of transaction you wish to create, as well as the payment type. After you make these selections, the PayFabric Processing Window will appear.
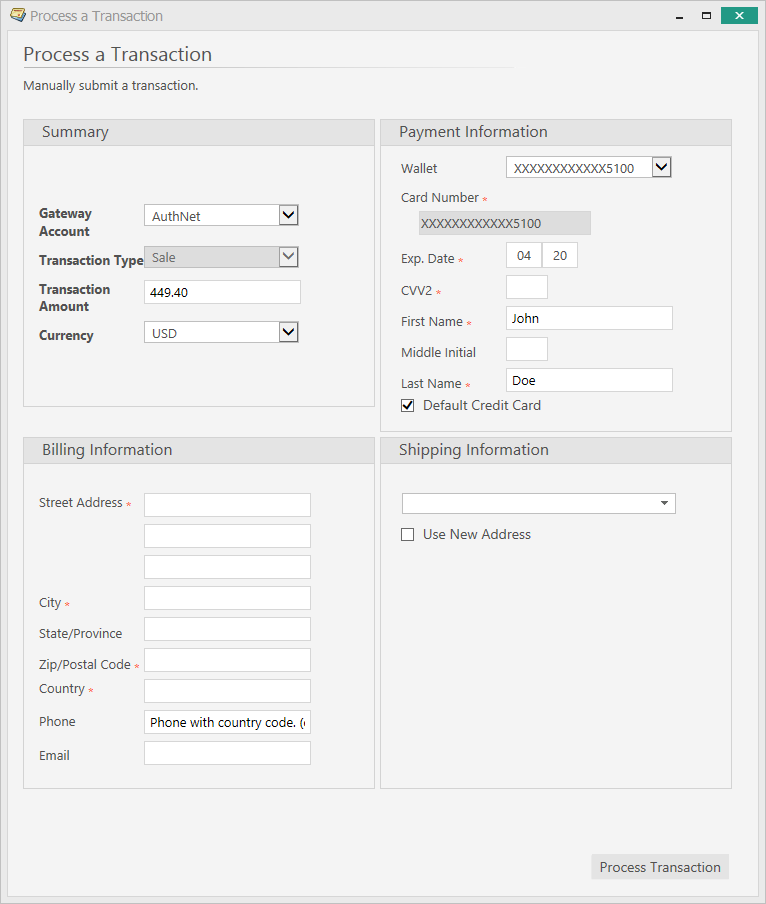
Enter the payment information and click Process Transaction. A popup will appear letting you know if the transaction was approved, and the transaction will appear in the PayFabric Transactions Grid.
Customer PayFabric Transactions
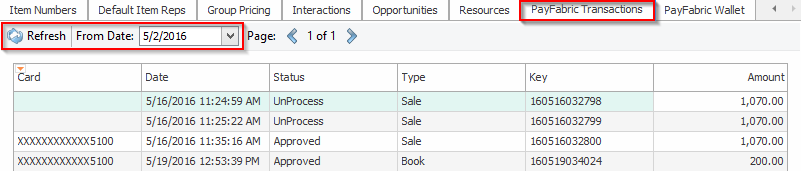
The PayFabric Transactions Tab in the Customer Card allows you to view all the transactions for a particular customer. Enter your From Date and click Refresh.
Customer PayFabric Wallet
The PayFabric Wallet Tab in the Customer Card allows you to view, edit, create, and delete customer credit cards (or wallets, as they are referred to in PayFabric) for that customer. If you make changes to a customer’s wallet in PayFabric, those changes will appear in this tab, and vice versa.
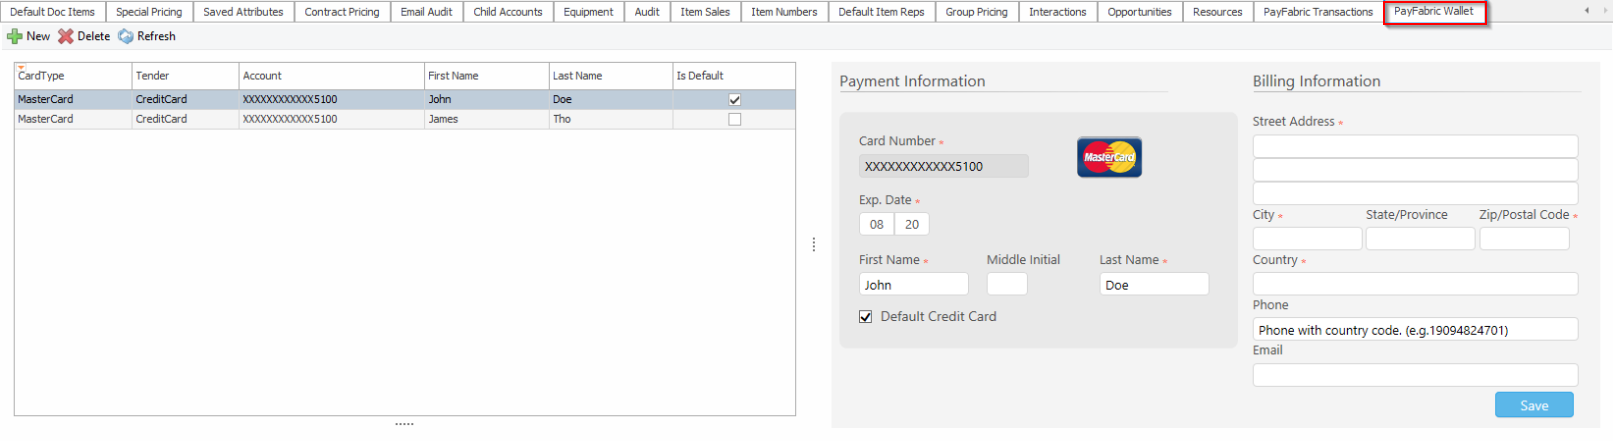
To create a new card, click the New button.
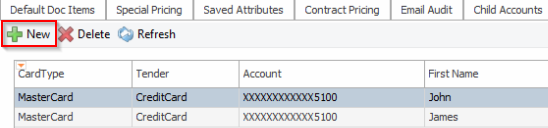
The Create New Wallet window will appear. Enter the required information and click Save.
Capture PayFabric Credit Card Authorization in Sales Batch Processing
SalesPad’s PayFabric integration supports credit card authorization captures on multiple document simultaneously through Sales Batch Processing. This is done using the Capture PayFabric CC Auths plugin.
To begin, open Sales Batch Processing.

Choose the sales batch you want to capture by typing your search criteria into the search bar or by clicking the dropdown arrow in the search bar and selecting the batch.

Highlight the documents you want to capture, or uncheck the Selected Documents Only box to capture all the documents in your search results.

Once you’ve selected the documents you wish to capture, click the dropdown at the top of the screen and select Capture PayFabric CC Auths.
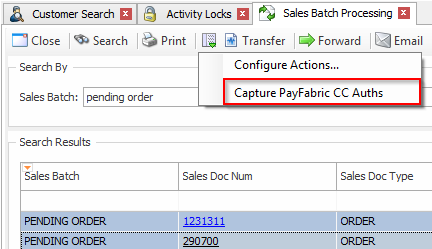
Note: You can use Configure Actions… to move the plugin to the main toolbar so that it is easier to use.

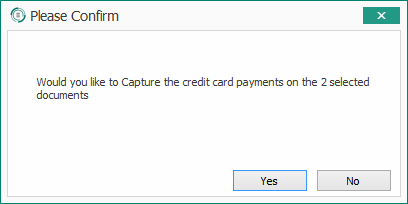
Selecting Capture PayFabric CC Auths will generate a popup window to confirm your batch capture. Click Yes to continue.
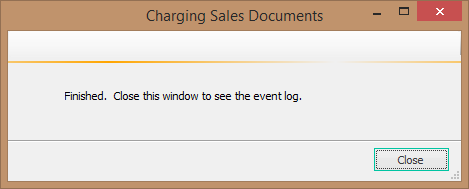
The batch capture will run, and when it is finished a popup window will appear. Click Close to view the event log for the processed documents.
A new window will appear displaying the results of your batch capture.

Customize Your Theme
SalesPad uses a built-in theme to arrange the fields in the PayFabric processing window in a more user-friendly way. If your Process Transaction screen in PayFabric doesn’t resemble the screenshot below, follow these steps to manually create the theme.
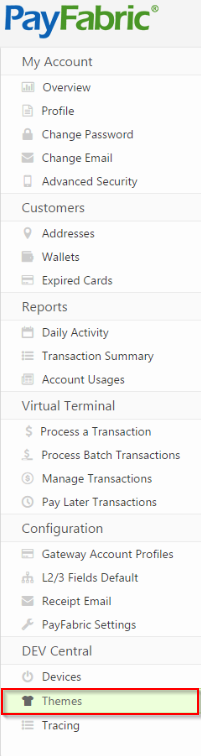
Click Themes in the panel on the left-hand side of the screen.
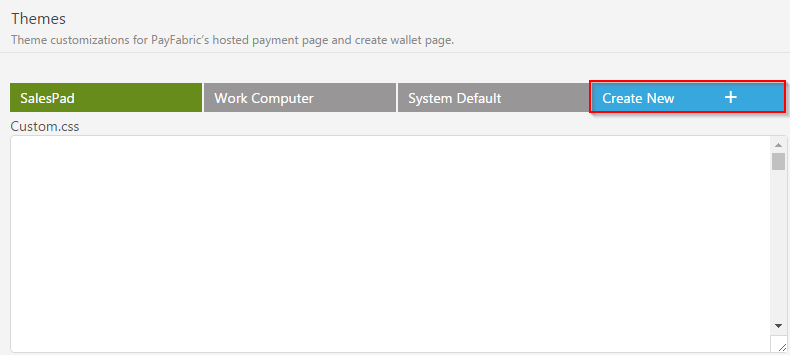
Click Create New, title the new theme “SalesPad,” and click OK.
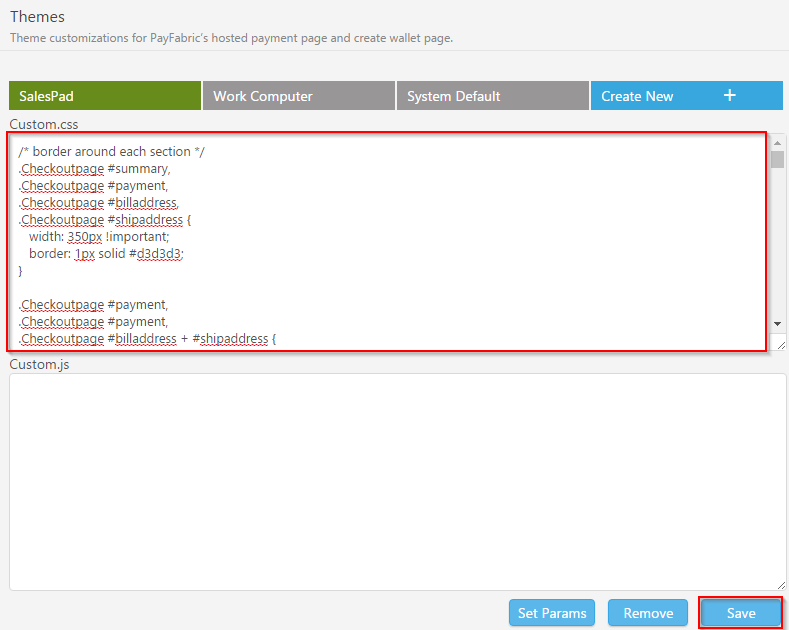
Click here to download a text file with CSS code inside. Paste the text from that file into the Custom.css field and click Save.
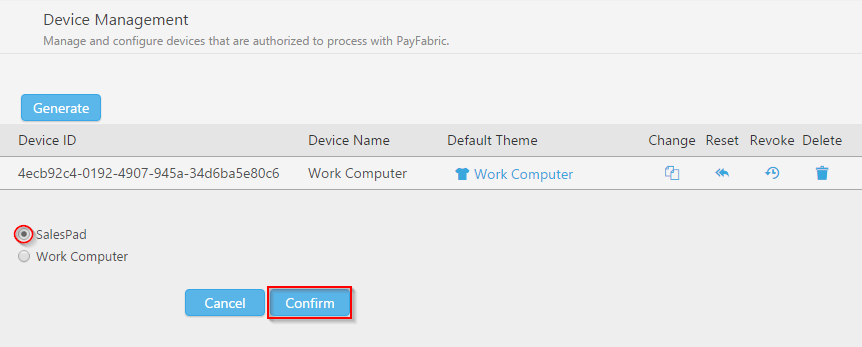
Navigate back to Devices and click the Default Theme button for your device.
Select the SalesPad theme from the list of themes and click Confirm.
Note: SalesPad will overwrite PayFabric CSS themes unless you name your custom theme “SalesPad.”
Security Settings
To correctly utilize the PayFabric functionality, you must first configure your security settings.
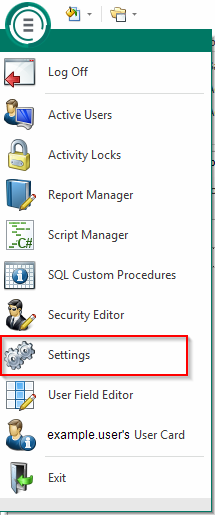
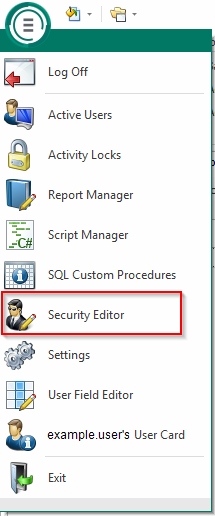
Open the Security Editor.
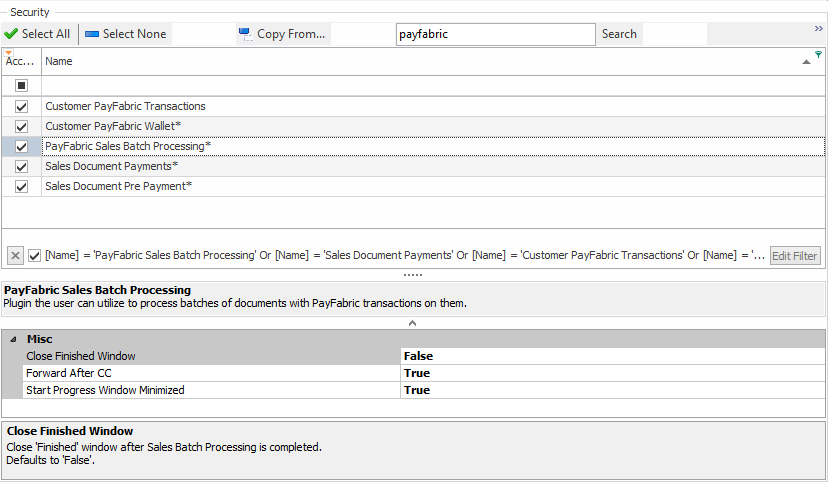
Type “payfabric” into the search bar to reveal the related securities.

Enable the following securities:
Customer PayFabric Transactions – View all PayFabric transactions processed for Customer
Customer PayFabric Wallet* – View, edit, create, and delete a Customer’s credit cards
PayFabric Sales Batch Processing* - Allows PayFabric Sales Batch Processing
Note: Securities with an asterisk (such as PayFabric Sales Batch Processing) have sub-securities that are listed in the middle section of the Security field. Sub-security descriptions appear in the bottom section of the field. Review and customize these as desired.
Please refer to SalesPad Security Settings for more information on all of our Security Settings.
Note: You must log out and back in for security changes to take effect.
SalesPad Support
Comments