Overview
SalesPad does not calculate sales tax, but recognizes tax schedules predefined within Dynamics GP. If a customer and/or an item have been set up in GP as taxable, based on tax schedule and details, sales tax will be calculated and appear on a SalesPad sales document. Sales tax calculations may also come from a supported 3rd party integration such as CCH or AvaTax.*
Note: If the Use Shipping Method When Selecting Default Tax Schedule setting (Company Setup Options) is not selected in Dynamics GP, it must also be False in SalesPad.
Note: Although in Dynamics GP you can quickly change whether an item is taxed as needed, items set up as non--taxable are never taxed in SalesPad. This cannot be changed on the sales document.
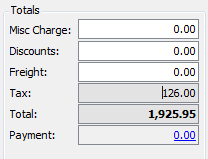
In SalesPad, tax amount appears in the Totals section on the sales document, after the document is saved. The field cannot be edited:
If the sales document’s shipping method is a delivery type shipping method, tax is calculated based on the tax schedule on the Ship To address. If the shipping method is a pickup type shipping method, tax is calculated by the Site ID on the sales document header.
Tax Schedules in SalesPad
Tax schedules are configured in Dynamics GP. In SalesPad, users can change the Tax Schedule on the following screens:
- On the sales document, the Tax Schedule column of the Line Items tab:
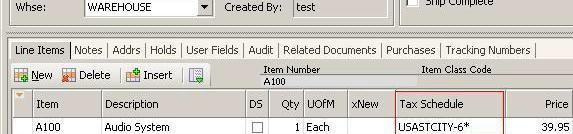
If the Tax Schedule column is not visible, right-click anywhere on the column header and select Column Chooser.Drag-and-drop Tax Schedule onto the column header. To change the Tax Schedule, highlight the field to access the dropdown choices. - On the customer contact card, the Tax Code field (Contact Addresses tab > select an address code to open the Contact card):
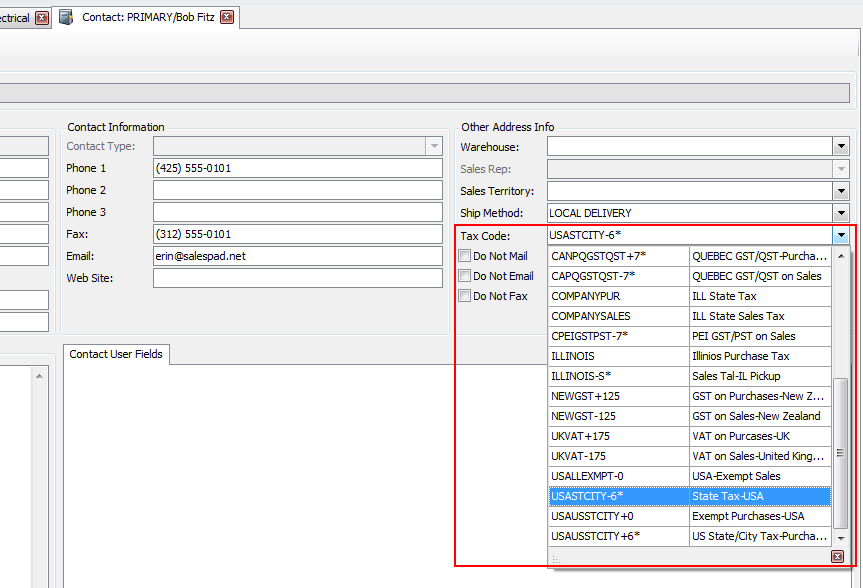
To change the contact’s tax schedule, click the Tax Code field to access the dropdown. - On the sales document, the Tax Schedule field on the Addrs tab:
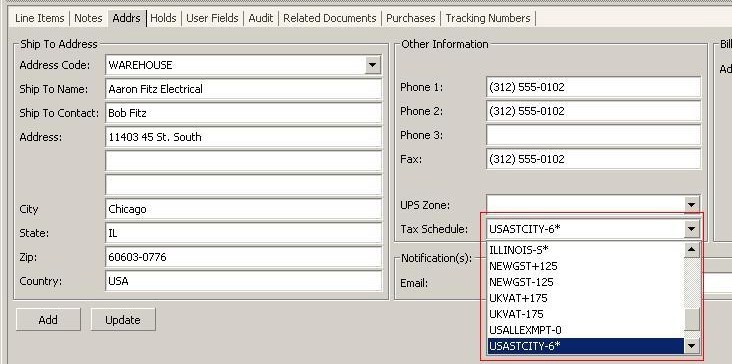
To change the tax schedule, click on the field to access the dropdown.
Note: When changing the tax schedule, you must click off the field in order for the change to be recognized. (Example: Select a new schedule, then click inside the Phone field before closing.)
Dynamics GP Tax Schedule Settings
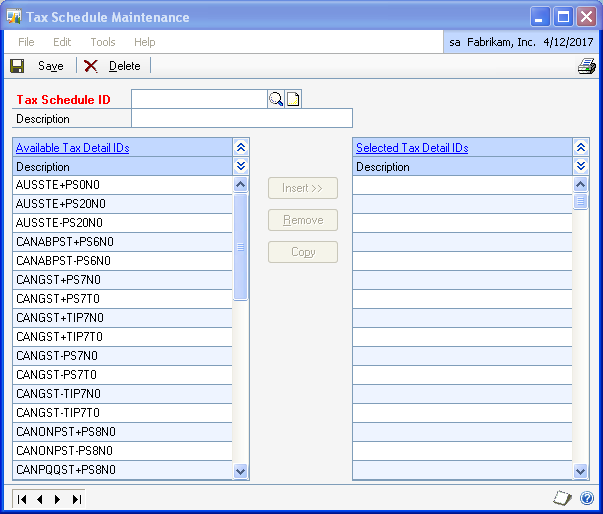
- Open the Microsoft Dynamics GP dropdown and then go to Tools > Setup > Company > Tax Schedules to open the Tax Schedule Maintenance window where you can enter new tax schedules or edit current schedules
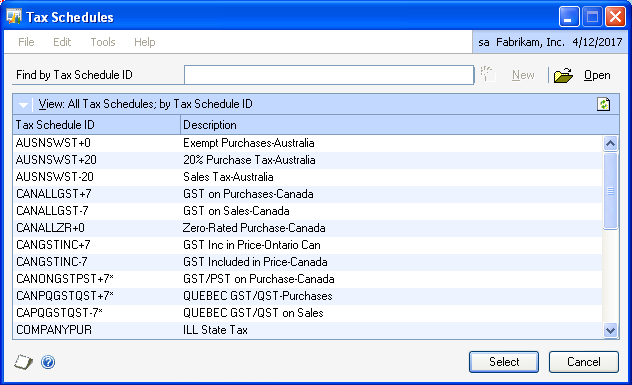
- Click the Lookup icon (
 ) by the Tax Schedule ID field to open the “Tax Schedules” window where all available GP tax schedules and details are visible. These are all incorporated within SalesPad:
Dynamics GP Inventory Site Tax Settings
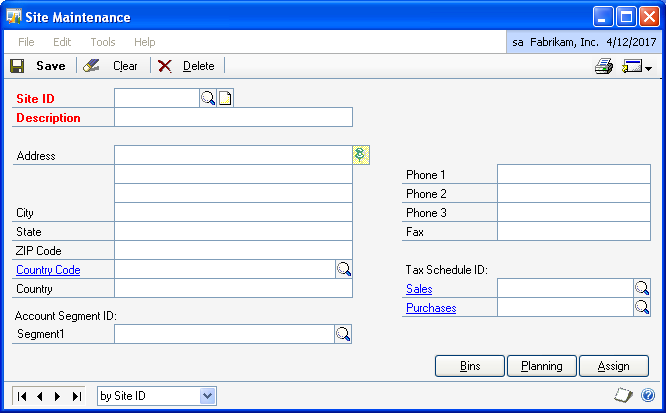
- Go to Cards > Inventory > Site to open the “Site Maintenance” window.
- Click on the Lookup icon , located to the far right in the Site ID field, to open the Sites screen.
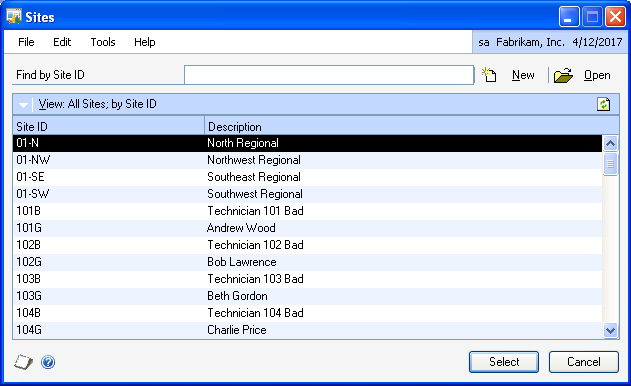
- Click on the desired site ID. This will return you to the “Site Maintenance” window, with the appropriate fields populated with your selection. The Tax Schedule ID column should now be populated.
- Click on the Lookup icon (it looks like a magnifying glass) on the far right of the Sales line to display more in depth tax scheduling information on the Tax Schedules window.
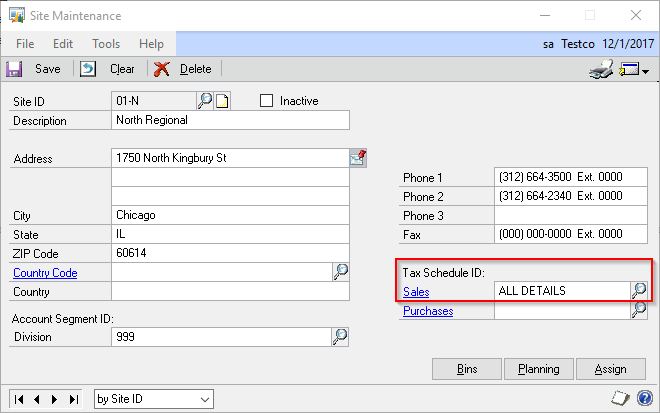
- Highlight a Tax Schedule and click Select to select the desired Tax Schedule ID for that that site
*Note: While available as part of the standard Settings and Security in SalesPad, interfaces with third party products were created on a custom basis for a specific customer configuration. Please contact SalesPad to confirm versions of SalesPad and these third party products in which this interface is currently supported. If you need functionality beyond the features outlined in this document, please contact your SalesPad Partner or SalesPad Solutions to receive a quote on support for the desired version or functionality.
SalesPad Support
Comments