OVERVIEW
The Sales Document Entry feature allows users to create and modify sales documents from their mobile device. Sales Documents can be created by selecting the appropriate menu action item from the customer card or by selecting the Sales Document option under the Entry category anywhere in the app. Existing documents can be edited by selecting the Edit Document action from the sales document menu.
DOCUMENT CREATION
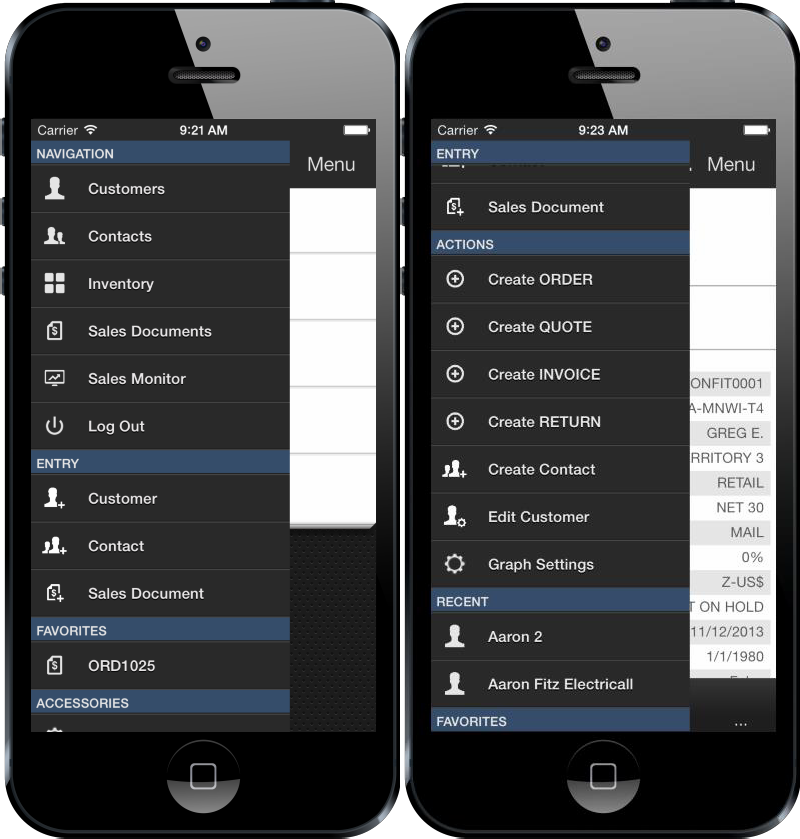
Sales Documents can be created two ways. The user can either select the Sales Document option from the Entry category of the slide menu, or select the Create X options from a customer card, where X is a document type. Both options will launch the same wizard which will guide the user through the document creation process. Selecting the options from the customer card will skip the Doc Type, and Customer selection screens of the wizard.
DOCument TYPE/WORKFLOW SELECT
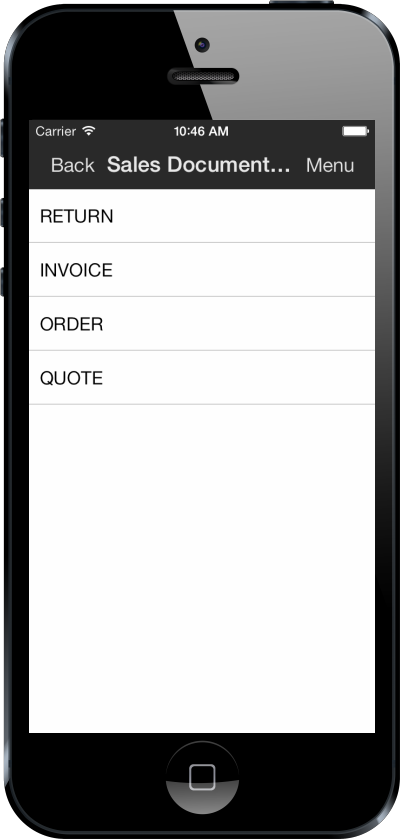
The first screen of the wizard will prompt the user to enter the Doc Type for the new document. These doc types are secured in the server under the Access Security > Document Entry > Available Workflows For Order Entry (SalesPad) or Available Doc Types For Order Entry (GP Only). In SalesPad mode, this screen will be followed by a screen that will allow the user to select workflow, if more than one workflow is available for that doc type.
CUSTOMER SELECTION
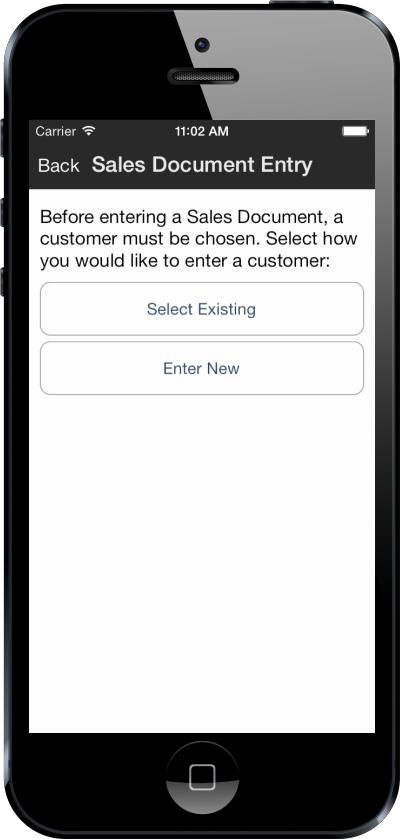
The next screen of the document wizard will prompt the user to decide which customer this document will be entered for. The user can either select an existing customer or enter a new one. If the user does not have the Can Create Customers permission, they will only be able to select an existing customer.
CUSTOMER SELECTION
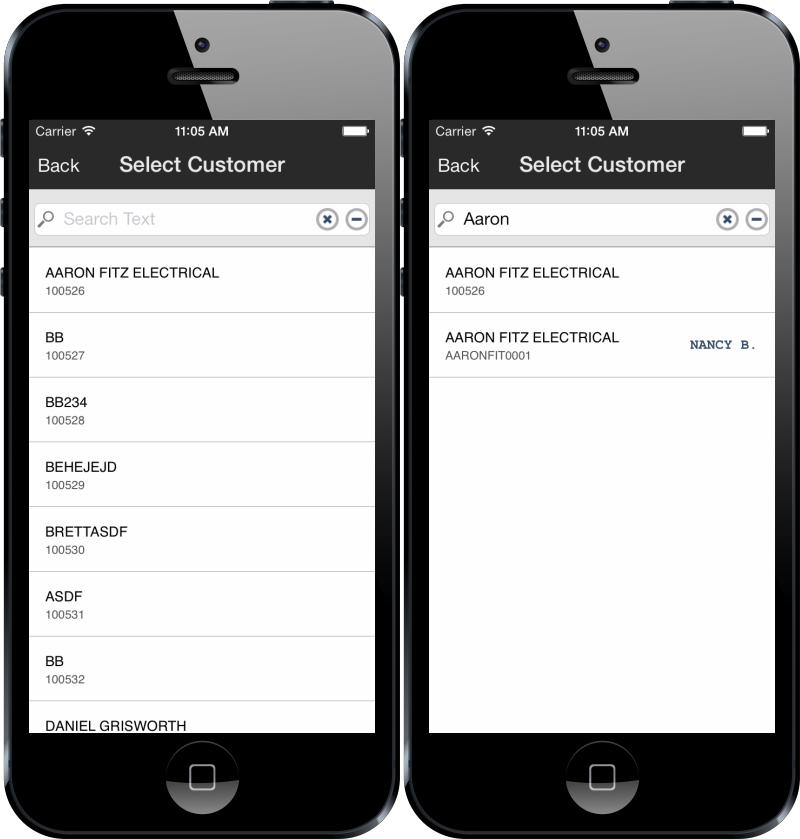
If the user chooses the Select Existing option, they will be presented with the customer search screen. Here they can search as normal. Tapping a customer selects it as this document's parent customer.
QUICK CUSTOMER ENTRY
Selecting the Enter New option will present the user with a Customer Edit list. Here the user may enter whatever fields they desire for a new customer. The Customer Name field is required. If the Customer Number field is left empty, a new customer number will be generated. These fields can be independently secured via the Available Customer Columns for Edit security option.

DOCUMENT CONTACT
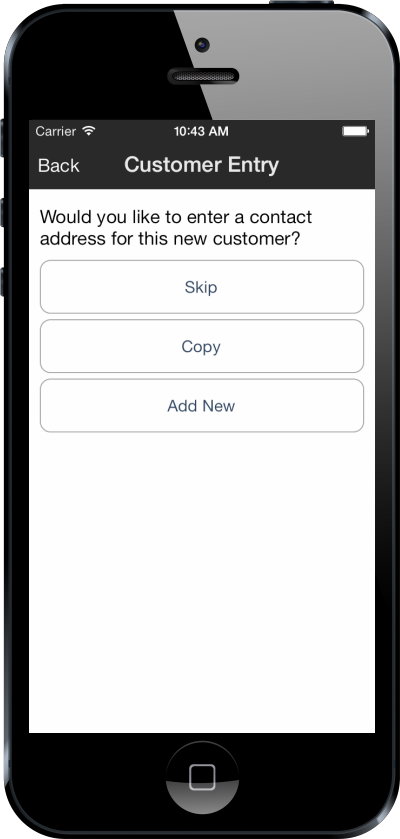
If an existing customer is selected, its primary bill to and ship to addresses are automatically applied to the document. If a new customer is created, the user will be prompted for a contact. If Skip is selected, a blank address will be generated for this customer with the Address Code PRIMARY and will be set on the document. This can be edited later. If Copy is selected, the user will be presented the Contact Search screen to select a contact from another customer. If the Add New option is selected, the user will be presented with the Contact entry screen.
CONTACT ENTRY
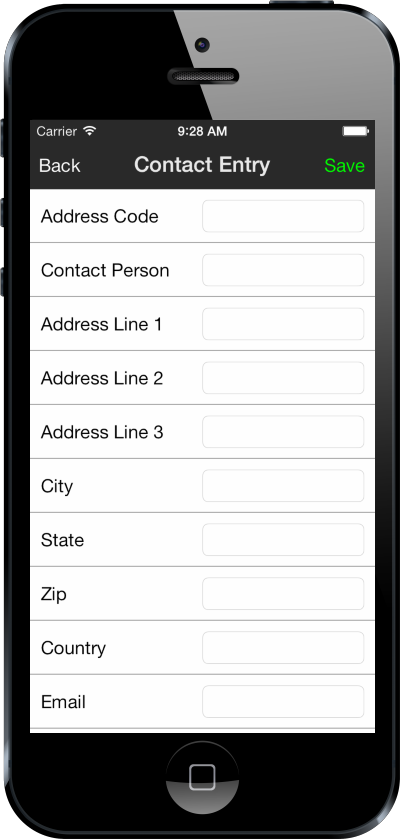
If Add New is selected on the previous screen, a Contact Edit List will be presented. The Addr Code field is required. The fields available for entry can be configured via the Available Customer Contact Columns for Edit option in Access Security. The address entered here will be used for the Bill to and Ship to addresses on both the Customer and Document.
DOCUMENT CONFIGURATION
The final screen of the Sales Document wizard is a Sales Document Edit List. The fields available in this list can be configured via the Access Security > Document Entry > Available Sales Document Columns for Entry option in the server. After tapping Next on this page, the document will be saved, and assigned a Sales Document Number. Therefore, this is the last chance the user has to adjust the Currency field.
DOCUMENT EDITING
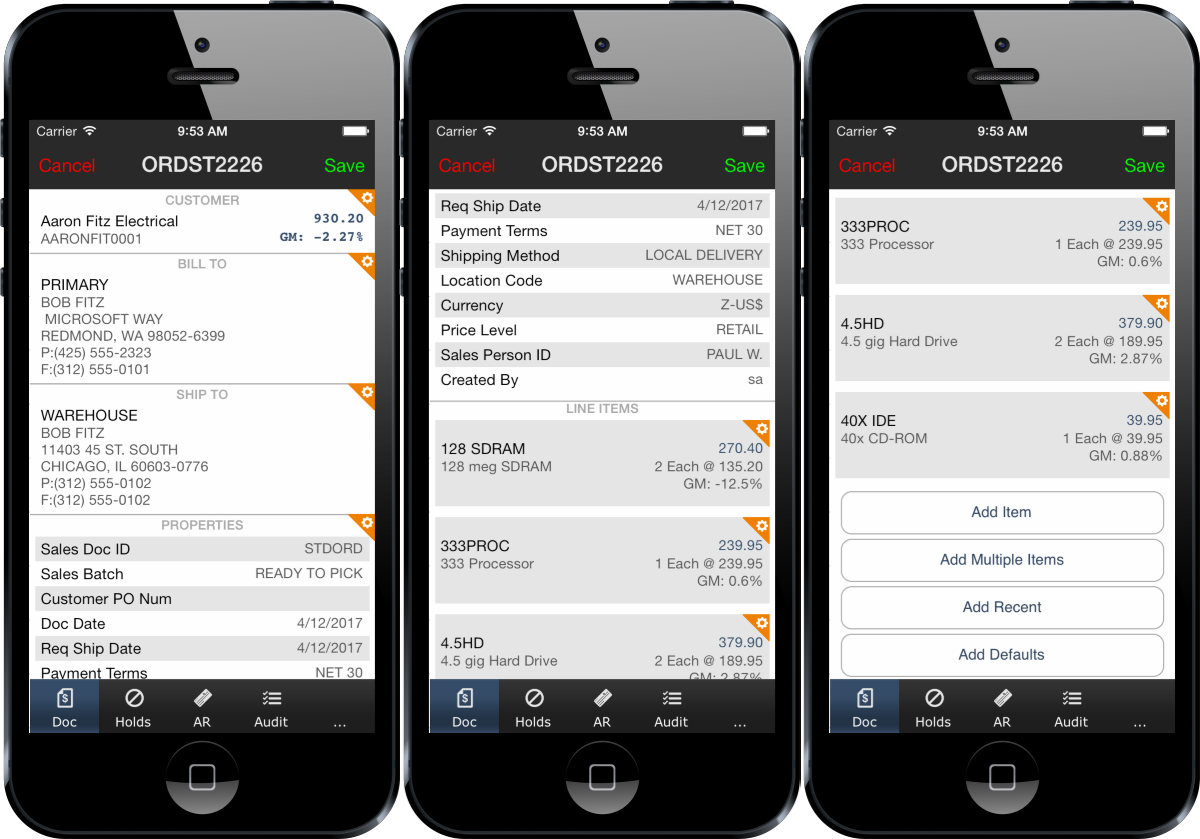
A sales document consists of several sections of information: customer info and document totals, bill to and ship to addresses, document properties, and line items. Tap a section with the orange gear icon to edit it.
ADDRESSES
The Bill To address field is populated with a customer contact’s address. The Ship To address field allows any address to be entered, but this address can be taken from customer contacts as well. Tap an address field to change it. Since the Bill To address does not allow customization, simply tap Choose Address to select the desired billing address. The Ship To address may be customized, and fields are displayed here for editing.
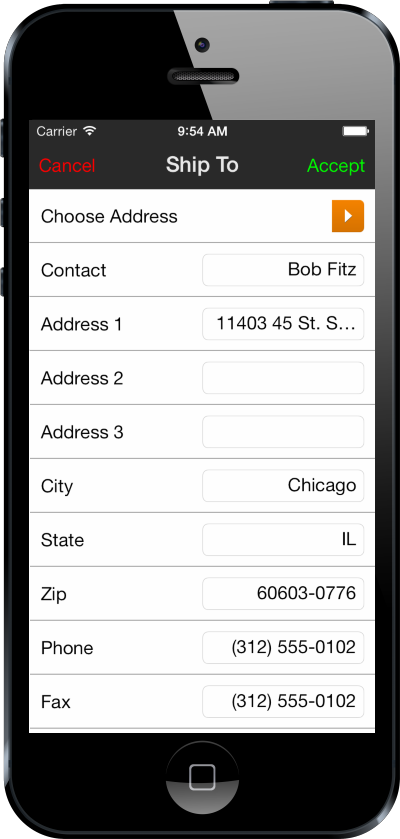
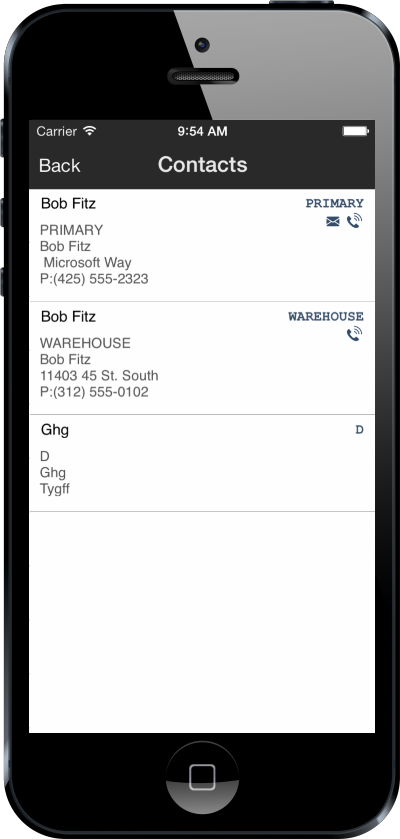
Tapping the arrow to the right of the Choose Address button will display a list of available contacts and addresses for this customer
PROPERTIES
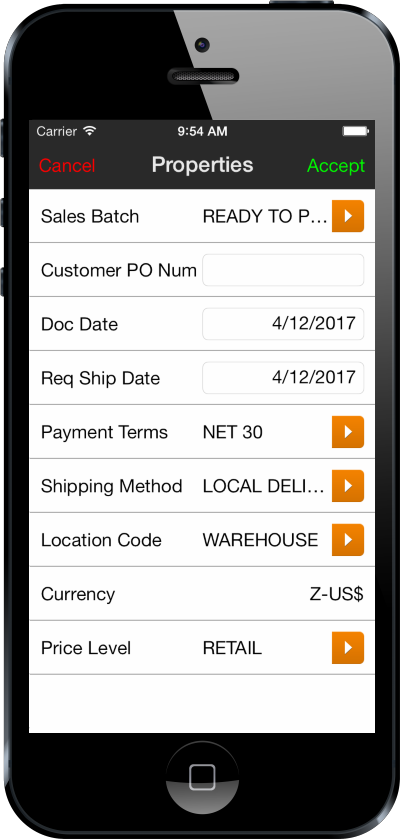
Tap the Properties section to edit the sales document’s Sales Batch, customer PO Number, Required Ship Date, Payment Terms, Shipping Method, Sales Person ID, Location Code, and Price Level. Document properties also include a read-only customer currency field.
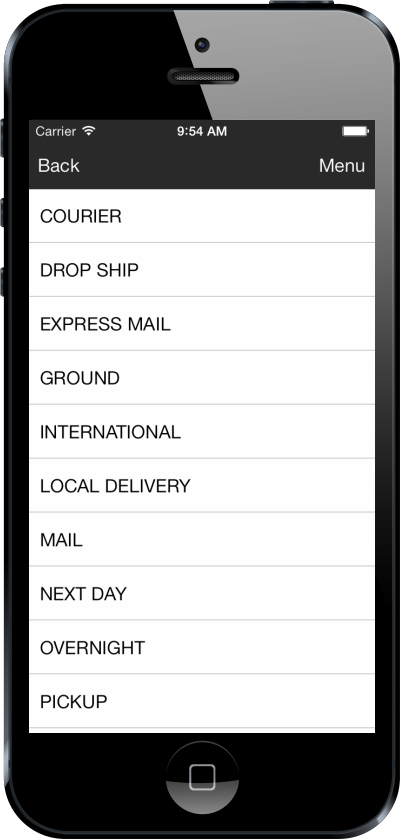
Tapping the arrow to the right of a field will display available options. For example, shipping options are displayed below:
LINE ITEMS
Line Items can be added to the sales document in a number of ways.
SIMPLE LINE ENTRY
The easiest way to enter an item is by tapping the Add Item button.
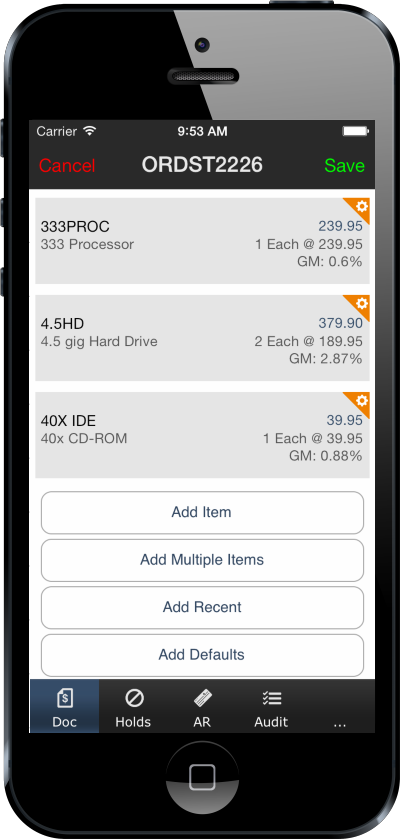
Line items include an item number, quantity, unit of measure, price, description, and an optional comment. If the Item Number is not in inventory, the slider for Is Non Inventory will move to the On position.
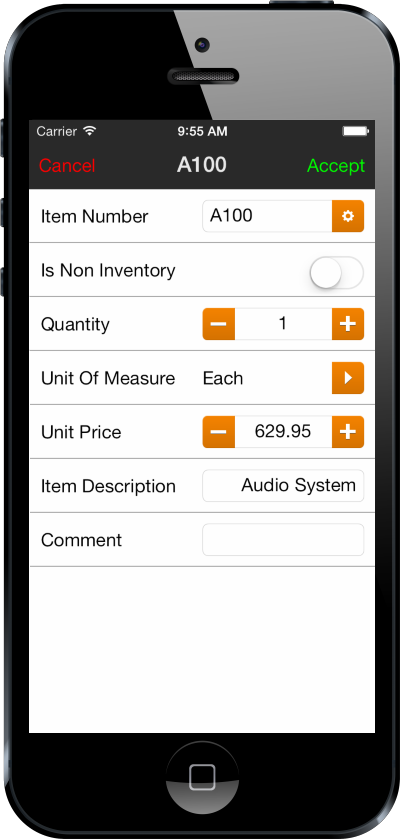
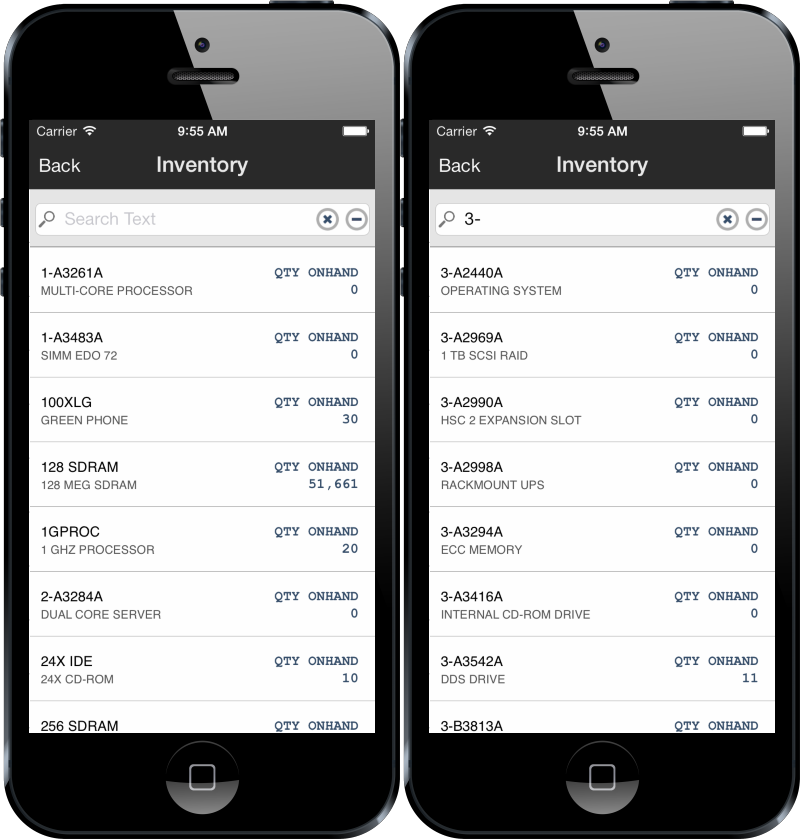
If the exact inventory item number is known, it may be entered and the corresponding item will automatically be selected. Tapping the gear icon to the right of the Item Number will perform a search on inventory items for the entered text. Selecting an inventory item will auto-populate the Unit of Measure, Price, and Description fields with saved information.
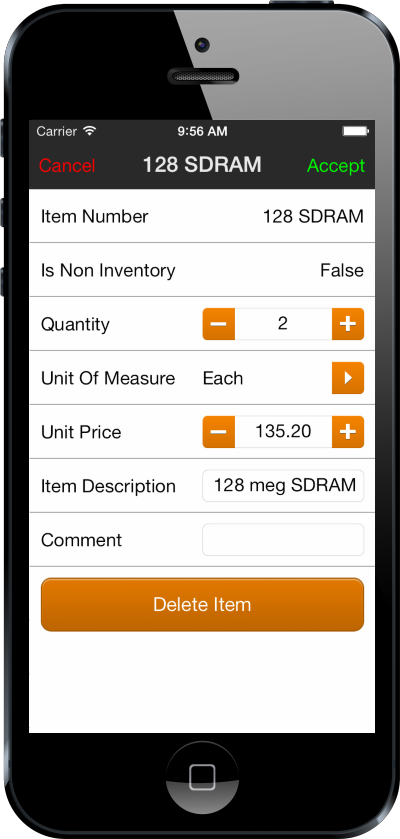
Line items that have already been added to the document may be edited by tapping them in the list. These items may be deleted by tapping the Delete Item button at the bottom of the screen.
DEFAULT ITEMS
Users of the SalesPad desktop application may leverage Customer Default Items they have configured in SalesPad desktop. Doing so is as simple as tapping the Add Default Items option. The server will return the customer default items, and they will be automatically priced.
RECENT ITEMS
Android and iOS 5.0+ users have the option of selecting recent items. This is done by tapping the Add Recent Items option. Doing so will pull up a grid of all items entered on documents associated with this document's parent customer. Quantities can be adjusted by tapping the + and - buttons, or keying them manually. Upon tapping the Add button, the items will be priced and added to the document. This screen only shows items from open documents.
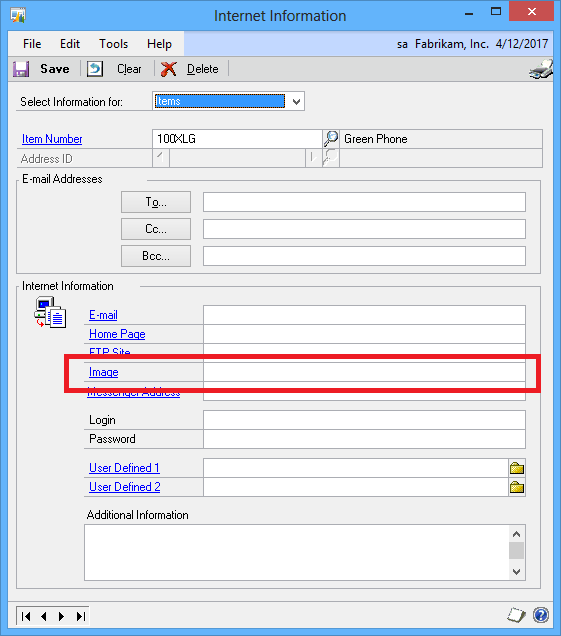
If the Image property for the item is set in the GP Internet Information window, the image for the item will be displayed in the view instead of the description. Tapping on the image will toggle between the item image and its description.
MULTIPLE ITEMS
Tapping the Add Multiple Items button will pull up a new screen with a search box. Here, searching for items will show them in a grid like on the recent items screen. Quantities can be adjusted by tapping the plus and minus buttons or by manually keying them in. When the Add Items button is tapped, the items will be priced and added to the document.
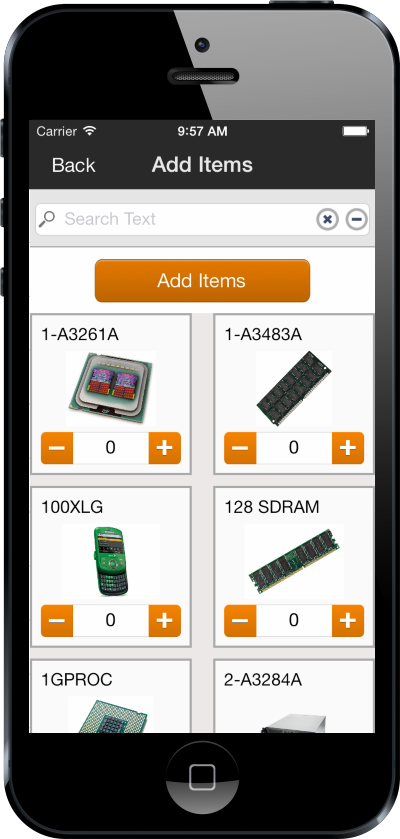
If the Image property for the item is set in the GP Internet Information window, the image for the item will be displayed in the view instead of the description. Tapping on the image will toggle between the item image and its description.
SCANNING ITEMS
Users of supported Socket Mobile scanning devices can enter line items via the scanner by simply scanning the item's barcode. (Refer to the Barcode Scanning Documentation for more information). Upon scanning a barcode, a new screen will be displayed showing an entry for that item and a quantity adjustment field.
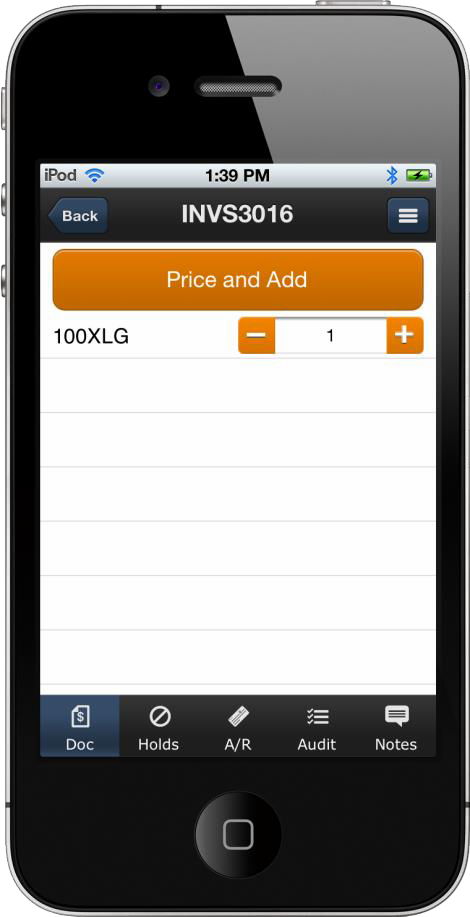
Additional scans will increment the existing quantities, or add new lines if the item number does not already appear on this page. Quantities can also be manually adjusted via the + and - buttons, or by keying the amount in manually.
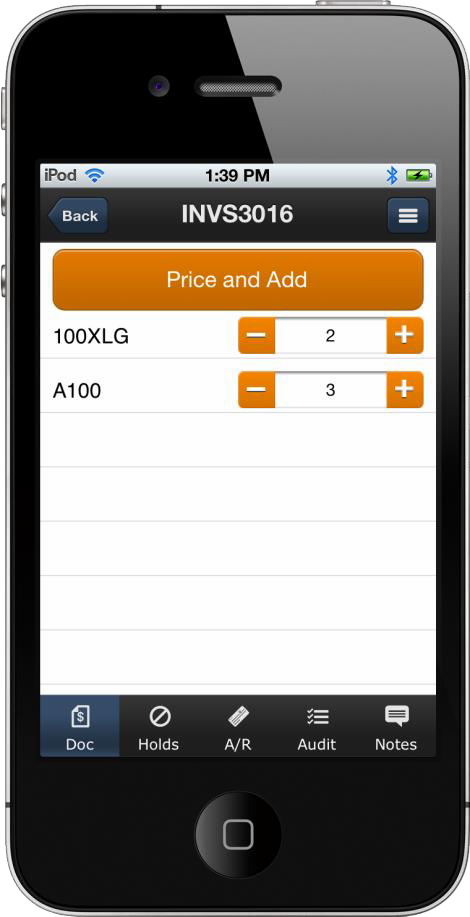
Upon pressing the Price and Add button, the server will be queried for the item's appropriate price and the items will then be added to the document.
SalesPad Mobile supports scanning barcodes stored in various locations, refer to the Extended ItemScanning document for more information.
TOTALS
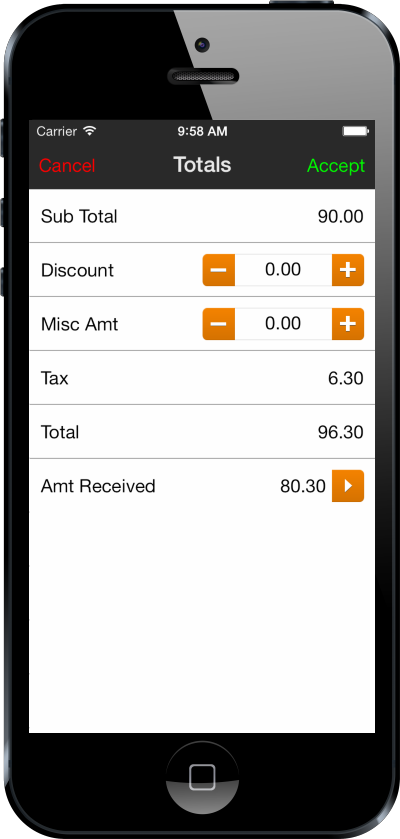
By tapping the Customer section at the top of the screen, users may modify the totals for this document by adding a discount or a miscellaneous charge. The Sub Total, Tax, and Total fields are automatically calculated.
HOLDS
The Holds tab can be used to both view and add holds to a Sales Document.
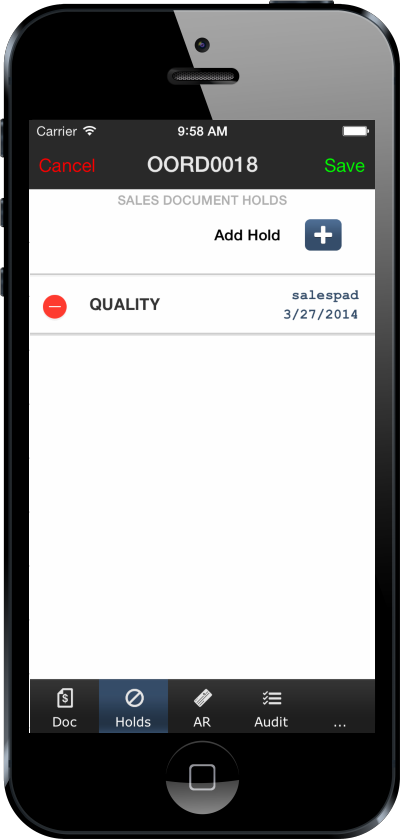
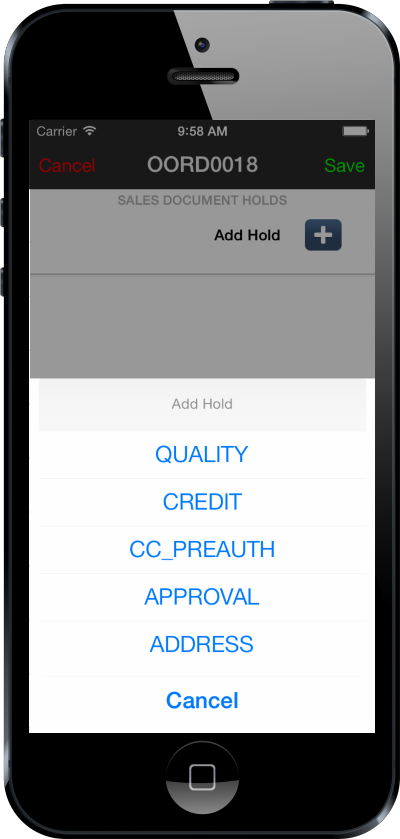
Pressing the Add Hold + button will prompt the user for which type of hold should be placed on the document.
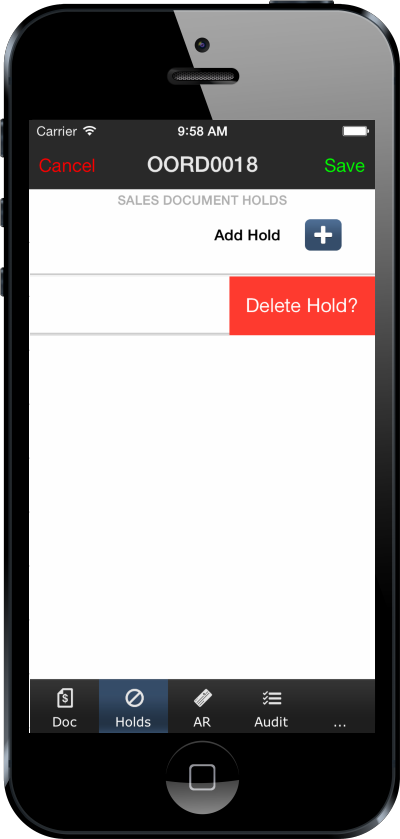
Tapping the - button to the left of any hold will prompt the user if they would like to delete the hold.
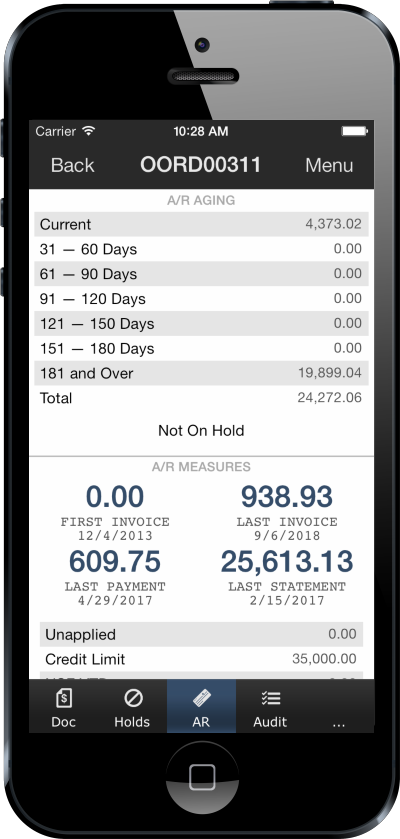
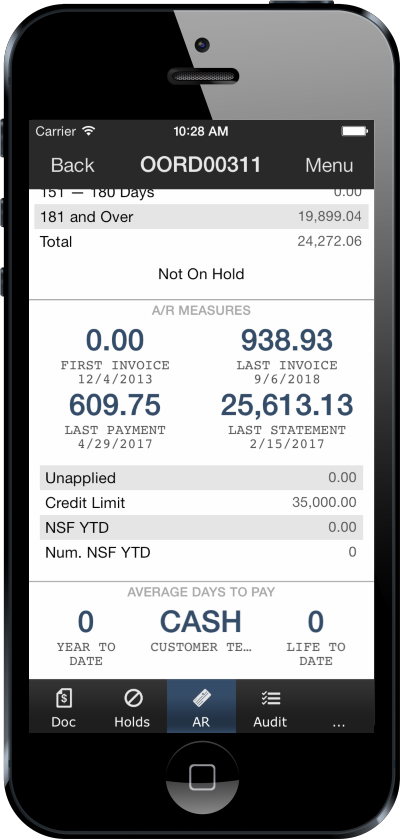
AR
The AR screen lists the balance held by the customer and different aging periods (current, 31-60 days, 61-90 days, etc.).
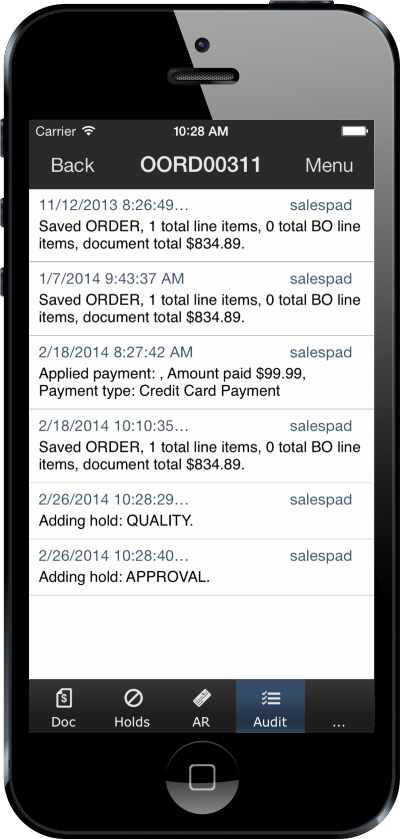
AUDIT
The Audit tab displays the Audit Log for this sales document. Entries are generated for important actions taken on the document (Saving, adding items, adding and removing holds, and so on). Entries are accompanied by a user and time stamp.
NOTES
The Notes tab can be used to both view and add notes to the Sales Document.
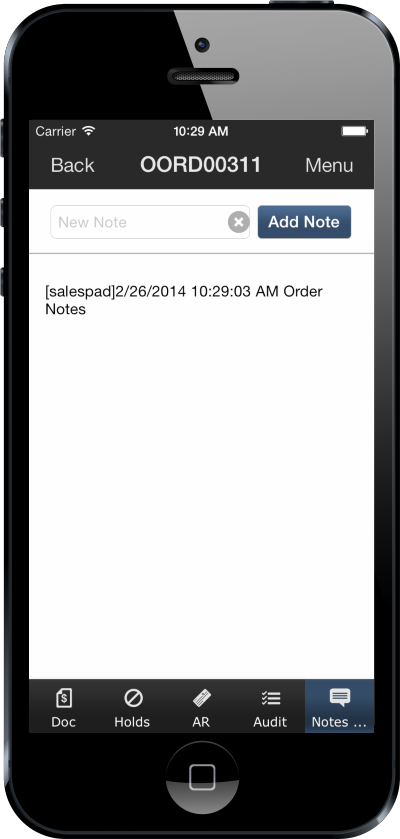
Tapping the note field will display the keyboard for note entry. Entering the desired data and tapping Add Note will add the note to the database.
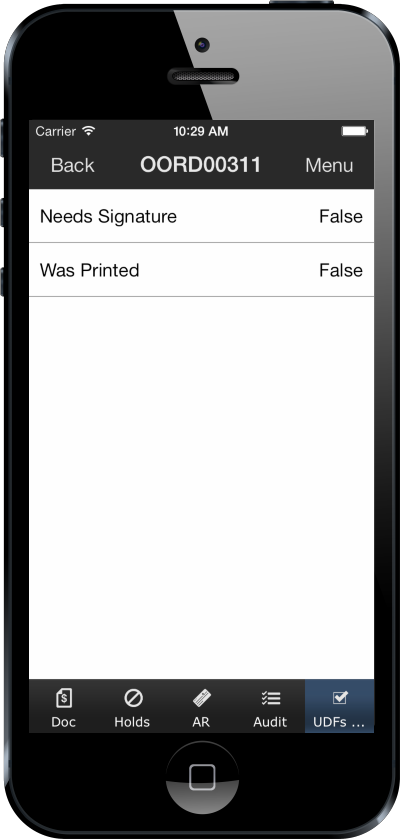
UDFS
For users of the SalesPad desktop application, if there are any user defined fields declared for customers, they can be viewed on this tab.
PAYMENTS
SalesPad Mobile’s Sales Document Entry module now allows users to enter Cash, Check, and Credit Card payments into their Dynamics GP system. Additionally, users of CardControl will be able to enter Credit Card transactions from the device as well. The Payments tab lists all payments entered to this Sales Document. The payments are color-coded so that a blue title represents a check payment, an orange title represents a credit card payment, and a green title represents a cash payment.

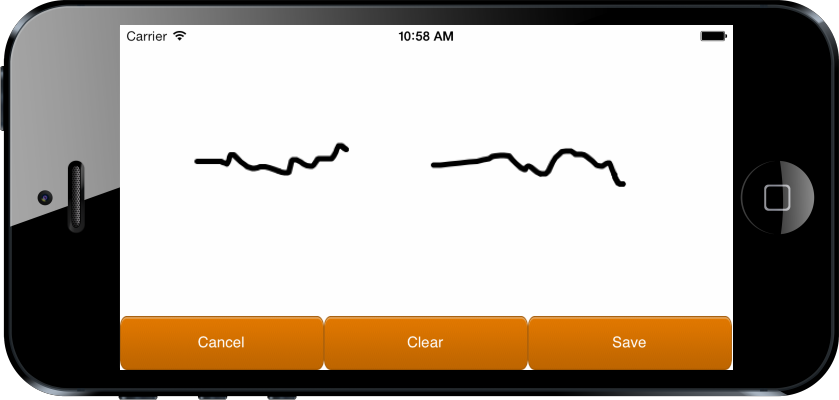
SIGNATURE CAPTURE
The signature capture option allows the user to enter a signature for the current document. If a signature exists already for the current document, the user can view it instead. For SalesPad Desktop users, this functionality requires the "Signature Capture" custom module. For GP Only users, this module is included in the mobile server installation.
SalesPad Support
Comments