Overview
The Simple Mail Transfer Protocol (SMTP) Setup form allows users to setup multiple SMTP addresses. Different SMTP configurations can be maintained to be automatically used for specific users or conditionally based on business objects.
This document also discusses how to enable security for the SMTP Setup form and provides an example of how SMTP addresses can be used to help automate effective business communications.
Setup
The SMTP Setup form will now be available under the “Setup / Utilities” tab at the top of the window.

To add a new SMTP address, click the “Add” button. To remove or edit an entry that already exists, simply select a row and click the corresponding “Remove” or “Edit” buttons. Below is an example of how the SMTP form would look with two entries.

When the “Add” button is clicked, a separate window will pop up (see below). Enter the desired SMTP information for the new entry into this form and then click the “OK” button to save. By entering a “Business Object” type, “Column Name,” and “Column Value,” SalesPad will automatically use the setup SMTP address whenever any document of this type is emailed from SalesPad. Alternatively, the “Business Object” field can be set to “SystemUser” and the “Column Value” field set to the desired “User ID.” All emails sent from the designated SalesPad user will then use the setup SMTP configuration.

User
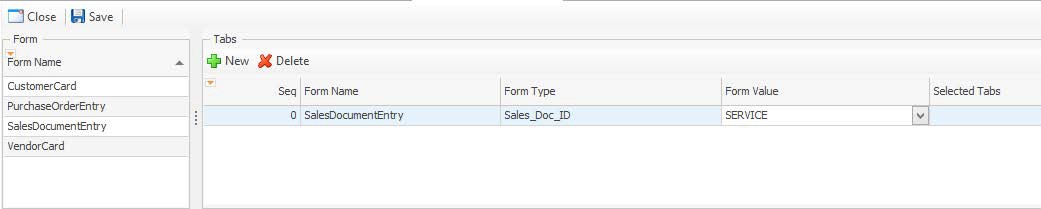
Assume that we have an entry in the SMTP form like the one below. This setup will cause every email sent for a “Sales Document” with a “Sales Doc ID” of “STDORD” coming from SalesPad to use this SMTP information.

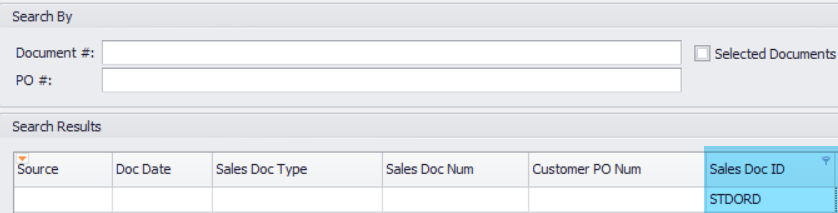
- Click the “SalesDocuments” button from the “Application” tab to open the Sales Documents search form.
- After searching documents, they can be sorted to find all the “STDORD” documents by entering “STDORD” in the “SalesDoc ID” column header.
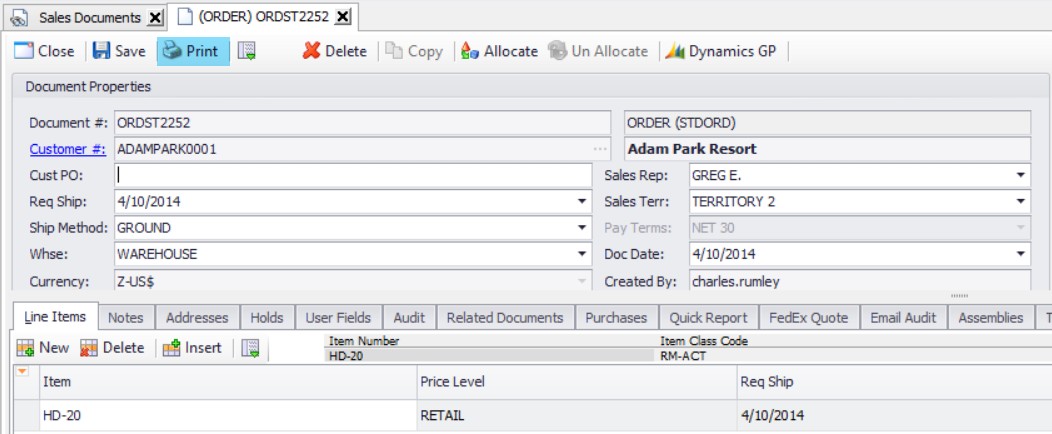
- Open any “STDORD” document and click the “Print” button. This will launch a new window.
- Select the type of document you wish to attach to the email and click the “Email…” button.
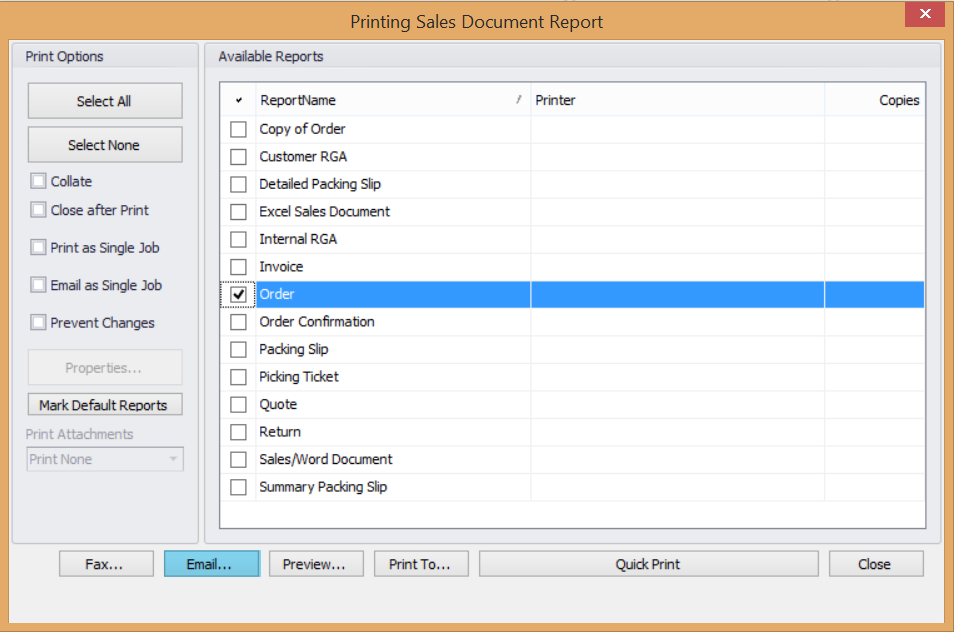
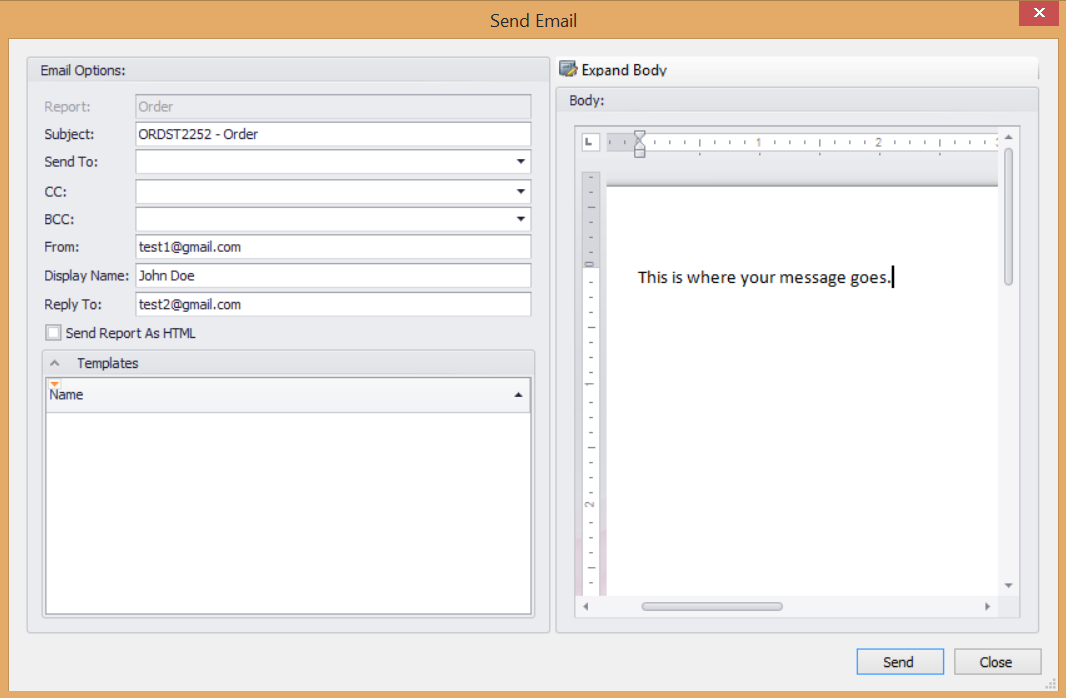
The “Email…” button will launch the “Send Email” window. Since the SMTP information entered for all “STDORD” documents will be used, the “From:” field will not be used. Instead, the email will be from whatever the “SMTP User” email entered on the “SMTP Setup” form is. However, the “Display Name:” and “Reply To:” fields will display whatever information is entered here. This system will work similarly for “Smart Printing” emails, “Sales Document Mass Update” emails, and “Purchase Order Generation” emails.
This system will work similarly for “Smart Printing” emails, “Sales Document Mass Update” emails, and “Purchase Order Generation” emails.
Security
SMTP Setup - Allows users to open the SMTP Setup Module.
SalesPad Support
Comments