Overview
Sales Document Mass Update functionality allows users to make changes to multiple sales documents at one time, rather than making changes one at a time. Sales Document Mass Update is accessible in SalesPad from Modules > Sales > Sales Document Mass Update.
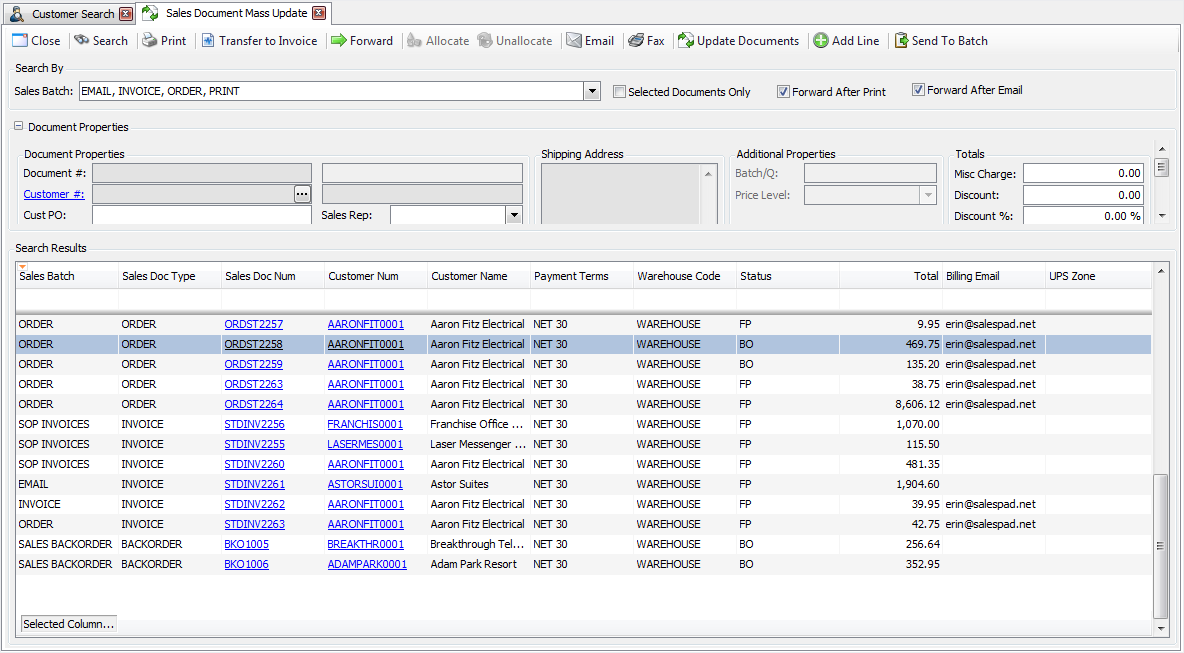
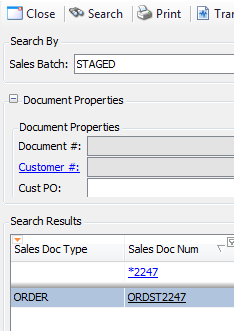
Sales Document Mass Update Screen:
Search
Type in or select one or more sales batches in the Sales Batch field:
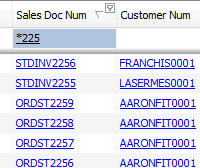
Click the Search button on the header or hit Enter; open documents in the selected batch(es) will display in the Search Results grid.
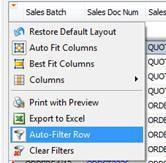
You can further filter results by using the Auto-Filter Row and entering additional criteria:
Check Boxes
Three check boxes appear in the Sales Document Mass Update module, which will be important when performing actions via the buttons on the screen header:

Selected Documents Only: If checked, actions will affect only selected documents; if unchecked, actions will affect all sales documents in the Search Results grid.
Forward After Print: If checked, forwards the document(s) to the workflow-defined next queue after printing.
Forward After Email: If checked, forwards the document(s) to the workflow-defined next queue after emailing.
To print a report or reports for one or more sales documents:
- Select the document(s) from the Search Results that you would like to print (CTRL+Click or CTRL+Shift+Click to select multiple documents).
Note: If Selected Documents Only is not checked, there is no need to select documents as all those displayed in the Search Results grid will be printed regardless - Click the Print button on the screen header
- A confirmation window will appear. Click Yes

The "Print Sales Document Report" window will appear:
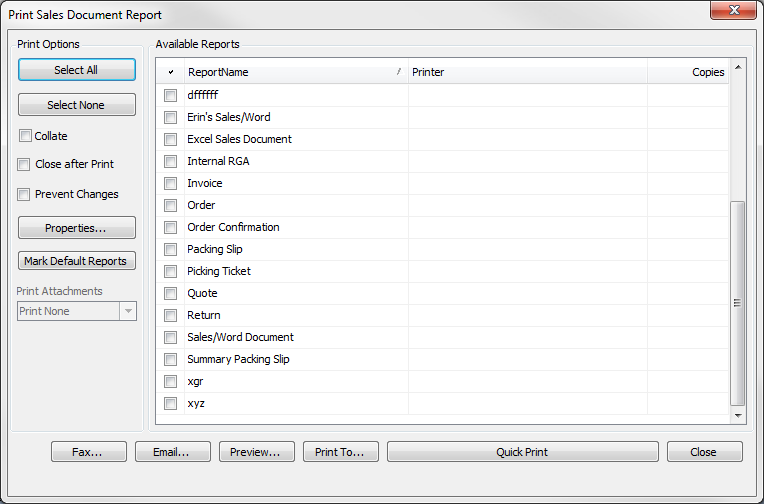
- Select the appropriate report(s) to print
- Select an option (Fax, Email, Preview, etc.) from the buttons at the bottom. Print, fax, or email options will appear upon selection. For more help with printing, faxing, emailing, etc. please visit this document
Once complete, a summary window will appear. If any document could not be printed, an explanatory message will be included. From here either print the confirmation (click Print) or close the window (click OK)
Note: If Forward After Print is selected on the Sales Document Mass Update screen, the document(s) will move to the next queue after printing.
Transfer to Invoice
To transfer one or more documents to invoice:
- Select the document(s) from the Search Results that you would like to transfer (CTRL+Click or CTRL+Shift+Click to select multiple documents).
Note: if Selected Documents Only is not checked, there is no need to select documents as all those displayed in the Search Results grid will be printed regardless - Click the Transfer to Invoice button on the screen header
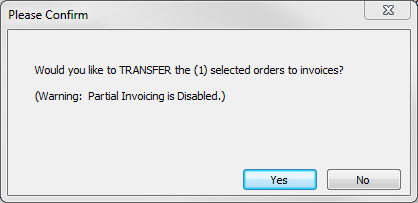
- A confirmation window will appear. Click Yes
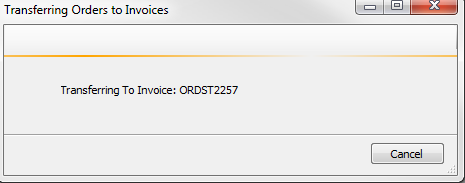
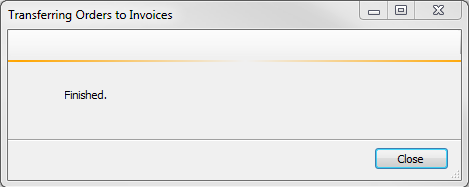
The Transferring Orders to Invoices window will appear until all of the selected documents have been transferred. This may take some time:
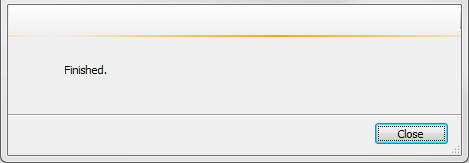
The window will indicate when updating is complete:
- Click Close. A summary window will appear. If any document could not be transferred, an explanatory message will be included
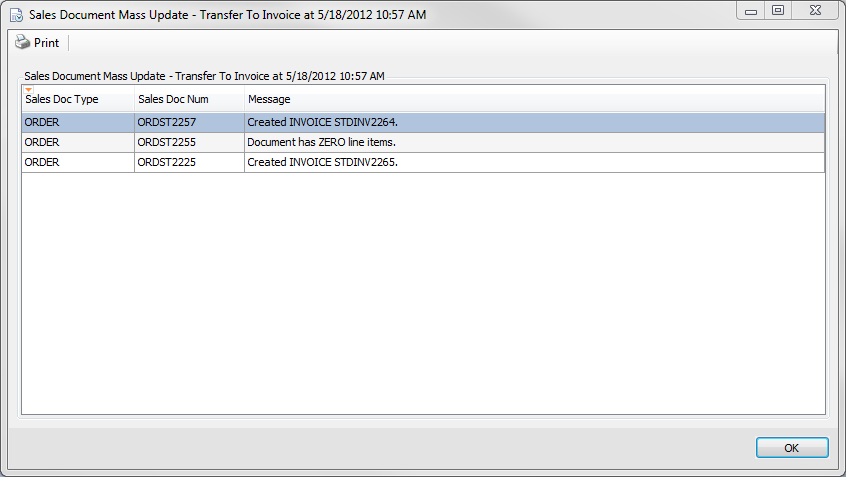
- From here either print the confirmation (click Print) or close the window (click OK)
Forward
To forward documents to the next workflow batch:
- Select the document(s) from the Search Results that you would like to forward (CTRL+Click or CTRL+Shift+Click to select multiple documents).
Note: if Selected Documents Only is not checked, there is no need to select documents as all those displayed in the Search Results grid will be printed regardless - Click the Forward button on the screen header
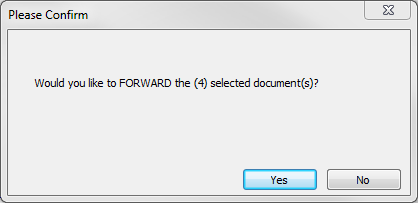
- A confirmation window will appear. Click Yes
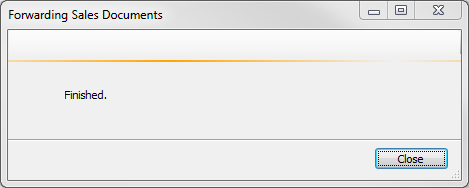
The Forwarding Sales Documents to Invoices window will appear until all of the selected documents have been forwarded. This may take some time:
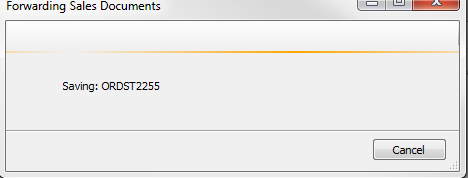
The window will indicate when updating is complete:
- Click Close. A summary window will appear. If any document could not be transferred, an explanatory message will be included
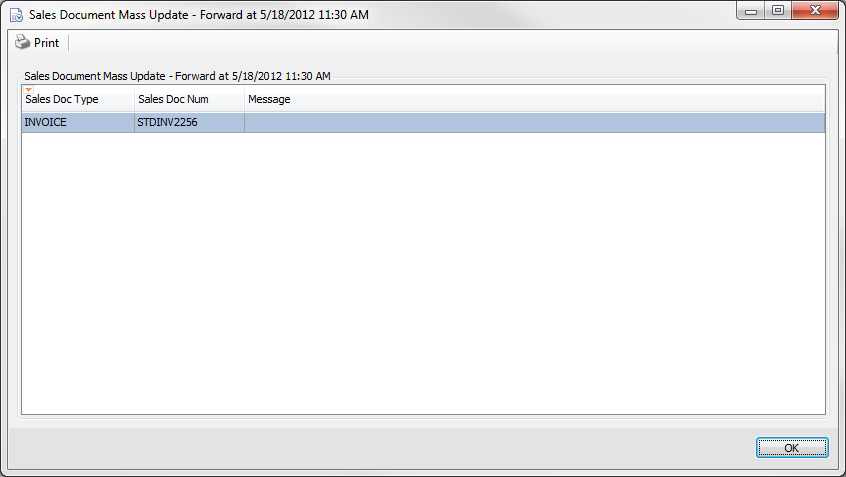
- From here either print the confirmation (click Print) or close the window (click OK)
Allocate
To allocate all items on the document(s):
- Select the sales document from the Search Results that you would like to allocate (CTRL+Click or CTRL+Shift+Click to select multiple documents).
Note: if Selected Documents Only is not checked, there is no need to select documents as all documents displayed in the Search Results grid will be allocated regardless - Click the Allocate button on the screen header
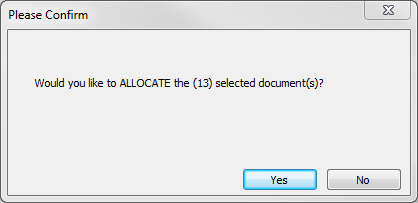
- A confirmation window will appear. Click Yes to allocate the documents
The Allocating Sales Documents window will appear until all of the selected documents have been updated. This may take some time:
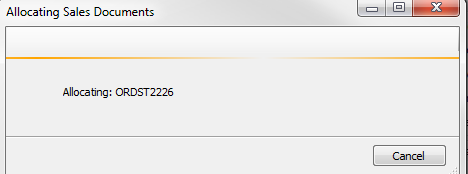
The window will indicate when updating is complete:
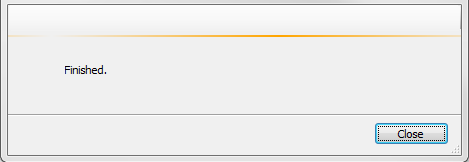
- Click Close. A summary window will appear. If any document could not be allocated, an explanatory message will be included
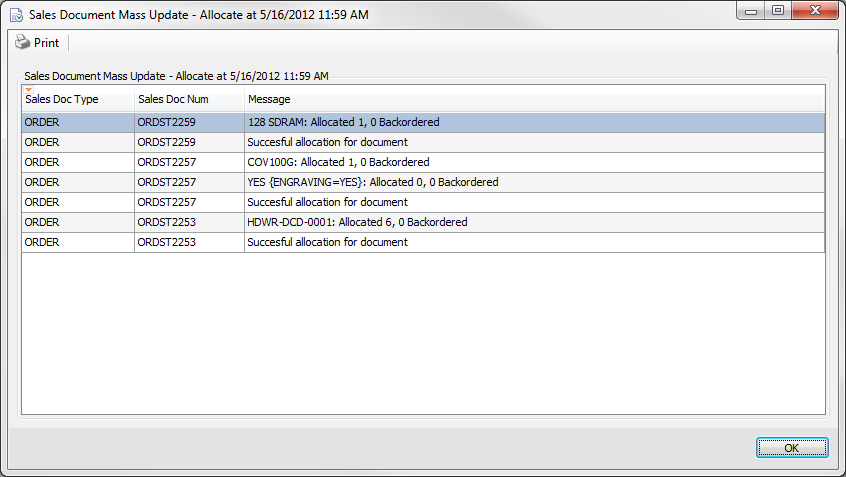
- From here either print the confirmation (click Print) or close the window (click OK)
Un Allocate
To remove allocation of all line items on sales documents:
- Select the document(s) from the Search Results that you would like to un-allocate (CTRL+Click or CTRL+Shift+Click to select multiple documents).
Note: if Selected Documents Only is not checked, there is no need to select documents as all documents displayed in the Search Results grid will be un-allocated regardless - Click the Unallocate button on the screen header
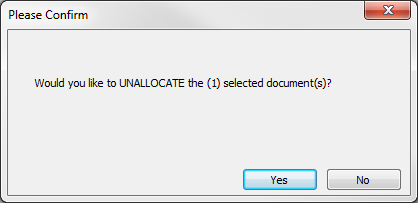
- A confirmation window will appear. Click Yes to un-allocate the document(s)
The Un Allocating Sales Documents window will appear until all of the selected documents have been updated. This may take some time:
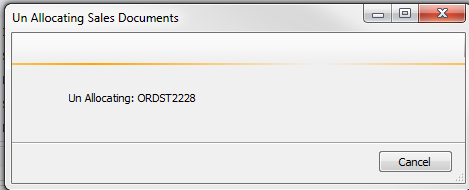
The window will indicate when updating is complete:
- Click Close. A summary window will appear. If any document could not be un-allocated, an explanatory message will be included
- From here either print the confirmation (click Print) or close the window (click OK)
Note: You must have valid Email Server setup to use this function.
The From email address used must match the global address pointed to by the company email server set up in the Sales Email Confirmation settings in SalesPad’s Settings module. (Refer to the linked SalesPad knowledge base article).
To email sales documents:
Procedure:
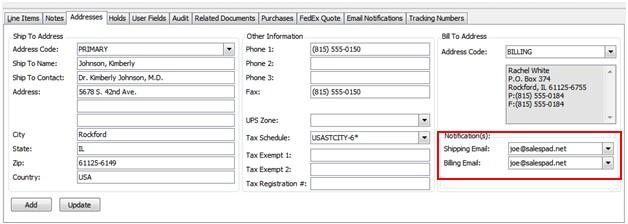
The sales document will pull the customer Ship address email into the sales document shipping email and the customer Bill address email into the sales document billing
email. This will only automatically populate for new sales documents. All preexisting sales documents must be manually updated.
Once email addresses are populated, you can email documents in Sales Document Mass Update.
- Select the document(s) from the Search Results that you would like to email (CTRL+Click or CTRL+Shift+Click to select multiple documents).
Note: if Selected Documents Only is not checked, there is no need to select documents as all documents displayed in the Search Results grid will be un-allocated regardless - Click the Email button on the screen header
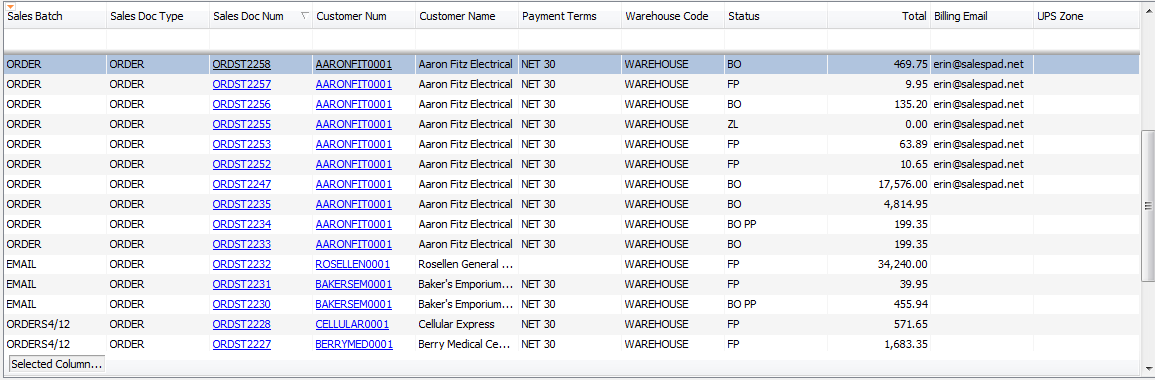
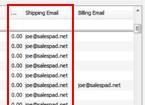
Note: Before you click the Email button, make sure that the email address field you plan to use is populated. If the customer’s Dont Email box is checked (viewable from Customer Search), an email will not actually be sent.- Make sure the shipping email and/or billing email are already populated, as in the screen below (If you do not see the proper email columns populated on the Sales Document Mass Update screen, it will not email properly.)
- If they are, proceed to step 3. If they are not, you can update them from each sales document, on the Addresses tab:
- After updating, save and close the document
- Refresh the information in Sales Document Mass Update by closing and reopening the screen (and re-perform your search to display documents)
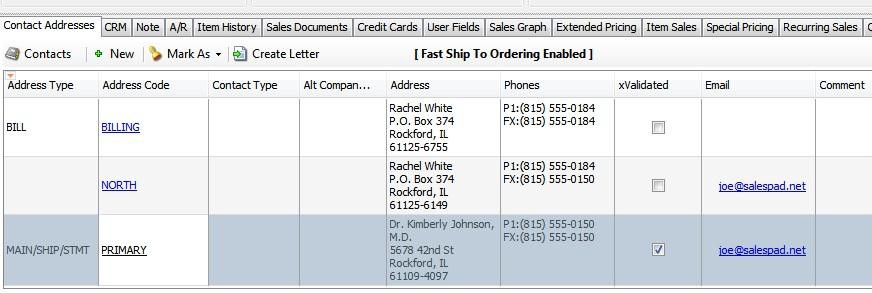
Note: To automatically populate these values for new sales documents, you can fill them out on the Customer Card:
- Make sure the shipping email and/or billing email are already populated, as in the screen below (If you do not see the proper email columns populated on the Sales Document Mass Update screen, it will not email properly.)
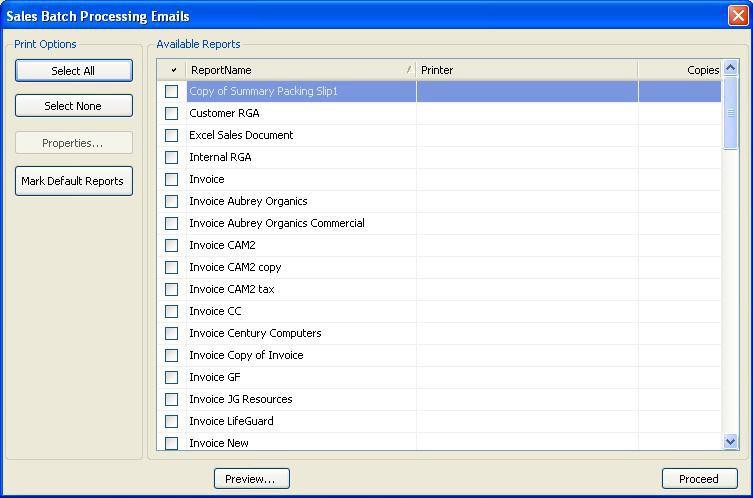
- The Sales Batch Processing Emails screen will appear. Select the related report(s) you wish to email and click Proceed:
- The Send Bulk Email screen will appear.
Note: In a batch mode, the preview will show only the template and not a populated version of the document. Select whether to send to the Shipping Email or the Billing Email (from the Customer Card Contact Card) and fill in the other Email Options
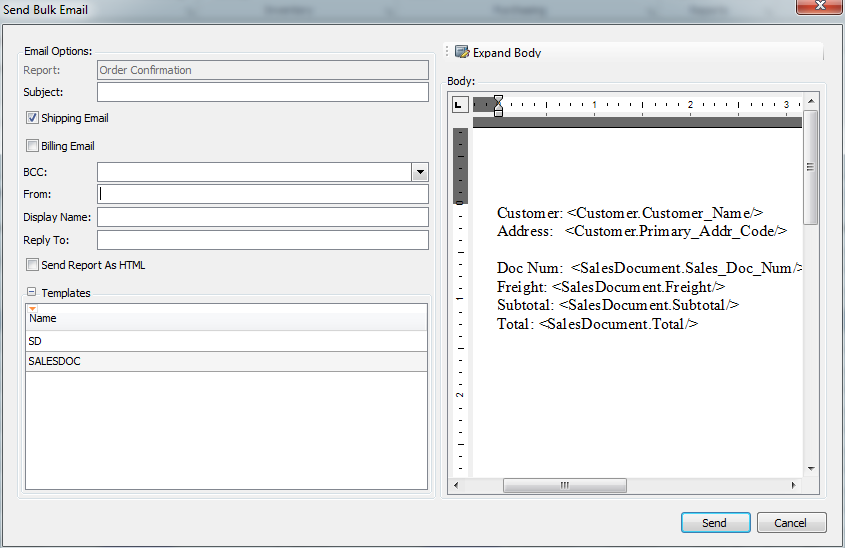
- Select a template for the email. A personal message can be added to the body
- Click Send. The document(s) will be sent and a confirmation window will appear, which can be printed or closed
Note: If Forward After Email is selected on the Sales Document Mass Update screen, the document(s) will move to the next queue after emailing.
Fax
Note: You must have valid Email/Fax Server setup to use this function.
To Fax sales documents:
- Select the document(s) from the Search Results that you would like to fax (CTRL+Click or CTRL+Shift+Click to select multiple documents).
Note: if Selected Documents Only is not checked, there is no need to select documents as all documents displayed in the Search Results grid will be un-allocated regardless - Click the Fax button on the screen header
Note: Before you click the Fax button, make sure that the fax number field is populated. If the customer’s “Dont Fax” box is checked (viewable from Customer Search), a fax will not actually be sent.
Procedure:- Make sure the fax fields are populated
- If they are, proceed to step 3. If they are not, you can update them from each sales document, on the Addresses tab Fax field
- After updating, save and close the document
- Refresh the information in Sales Document Mass Update by closing and reopening the screen (and re-perform your search to display documents)
Note: To automatically populate these values for new sales documents, you can fill them out on the Customer Card > Contact Addresses > Fax field. This will only automatically populate for new sales documents. All preexisting sales documents must be manually updated.
Once fax numbers are populated, you can fax documents in Sales Document Mass Update.
- The same screen appears as does for Sales Batch Processing Emails:
- Select the related report(s) you wish to fax and click Proceed. The Send Fax screen will appear:
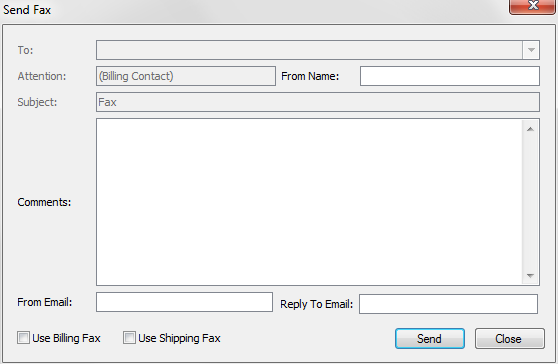
- Fill in the necessary fields and select whether to send to the Billing Fax, Shipping Fax, or both (based on the Contact Address codes on the Customer Card)
- Click Send. The document(s) will be faxed and a confirmation window will appear, which can be printed or closed
Update Documents (Document Properties)
To edit one or more document properties (change shipping method, ship date, warehouse, sales rep, etc):
- Select the document(s) from the Search Results that you would like to make the same change or changes to (CTRL+Click or CTRL+Shift+Click to select multiple documents).
Note: if Selected Documents Only is not checked, there is no need to select documents as all documents displayed in the Search Results grid will be updated regardless - Enter your mass changes into the desired property fields under Document Properties:

Note:Use the +/- next to the title to toggle between showing and hiding Document Properties. Depending on your window sizing, there may be a scroll bar on the right side of the Document Properties section that you may need to use to view all fields.
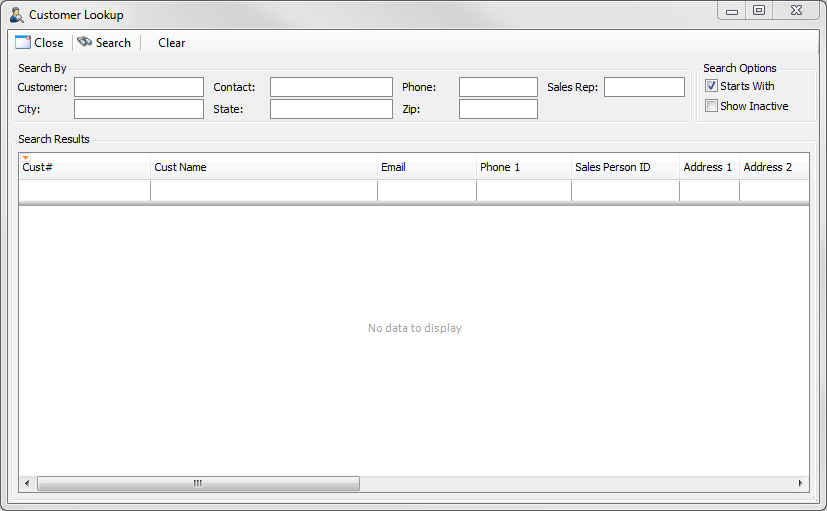
Note: On the Customer # field, click the ellipsis (…) to open the Customer Lookup screen where you can search for and select a customer:
Once a customer is added to the Customer # field , click the Customer # hyperlink to open the customer’s Customer Card.
Note: Hitting Enter after entering an existing customer number into the Customer # field, or entering or selecting information on any other field will simply repeat the Search for criteria entered; it will not make any changes to the documents.
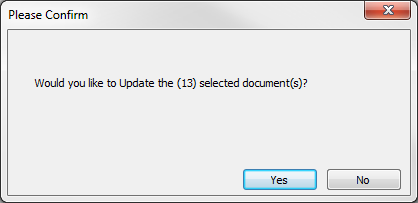
- Click the Update Documents button on the screen header
- A confirmation window will appear. Click Yes to update the document information
An update window will appear until all of the selected documents have been updated. This may take some time. - When the window indicates that updating is complete, click Close. A summary window will appear. If any document could not be updated, an explanatory message will be included
- From here either print the confirmation (click Print) or close the window (click OK)
Add Line
To add a line item to sales documents:
- Select the document(s) from the Search Results that you would like to add a line item to (CTRL+Click or CTRL+Shift+Click to select multiple documents).
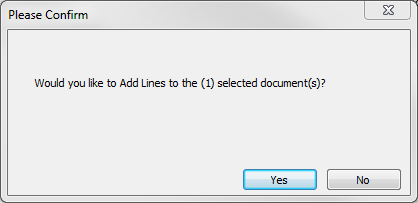
Note: if Selected Documents Only is not checked, there is no need to select documents as all documents displayed in the Search Results grid will be un-allocated regardless - Click the Add Line button on the screen header
- A confirmation window will appear. Click Yes to continue to the Add Line Items window
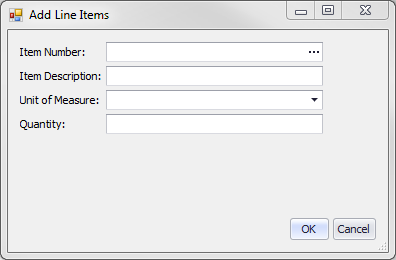
- In the Add Line Items window, enter the Item Number of the item you wish to add. Tab off the Item Number field. The Item Description, Unit of Measure (default), and Quantity (defaults to 1) will automatically populate, and you can change the information as needed:
- When finished, Click OK. The Adding line to Sales Documents screen will appear, displaying progress until the line is added to all selected documents:
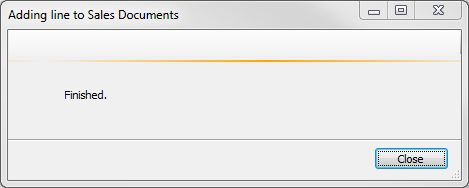
- Click Close. A summary window will appear. If any document could not be updated, an explanatory message will be included
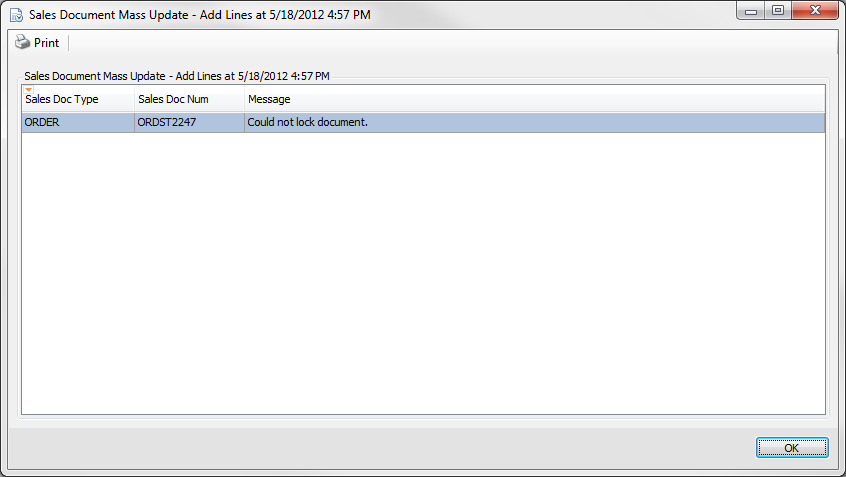
- From here either print the confirmation (click Print) or close the window (click OK)
Send To Batch
Note: Send To Batch functionality works by Sales Batch, independently of the display in the Search Results grid.
To send documents to a different workflow batch:
- Select only one Sales Batch in the the Search By section
- Click the Send To Batch button on the screen header
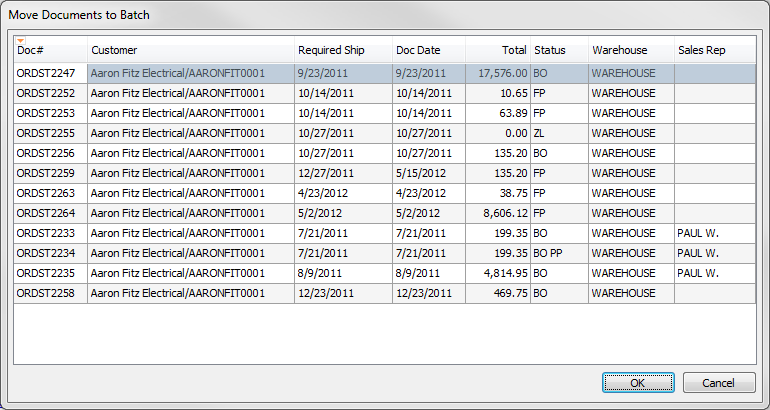
- Documents in the selected batch will be listed in the Move Documents to Batch window. Select one or more documents in this list to move and click OK
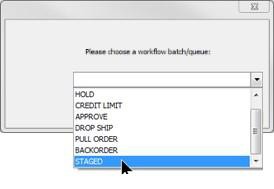
- From the dropdown, select the batch where selected documents should move: or enter the name of a batch in the field and click OK:
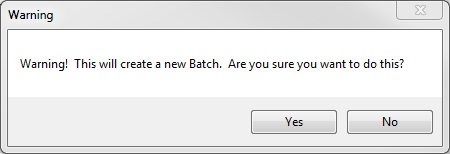
You can also enter the name of an existing batch, or create a new one (click Yes):
- After clicking Yes or OK, the window will close and you will return to the Sales Document Mass Update screen (if a document or documents could not be moved, an error message will appear). To confirm that the document or documents have been moved, select the same Sales Batch selected in step 4 and click Search. The document(s) selected in step 3 should appear in the Search Results grid.
Close

Clicking this button will close the Sales Document Mass Update module.
Security
Sales Document Mass Update* - enables the Sales Document Mass Update Module must be checked in the Security Editor.
SalesPad Support
Comments