Overview
Sales Line Mass Update functionality allows users to make changes to multiple line items on multiple documents at once, rather than making changes to sales documents one at a time.
Usage
Search
Display line items by entering criteria into one or more of the search fields and clicking the Search button (or hit Enter). Leave all fields blank to return all open line items.

Results will display in the Search Results grid, with Quantity totals and Extended Price totals appearing in fields at the bottom:

Note: The % of Inventory column displays a percentage based on a line’s allocated quantity divided by its on hand quantity. Green means the quantity available is negative; red means the quantity available is positive.
Note: Multiple lines from the same sales document will be printed together on the same report/page. To print a report or reports for one or more line items, select the line or lines from the Search Results (CTRL+Click or CTRL+Shift+Click to select multiple lines).
Note: If Selected Lines Only is not checked, there is no need to select lines as all lines displayed in the Search Results grid will be printed regardless
Note: Multiple lines from the same sales document will be printed together on the same report/page.
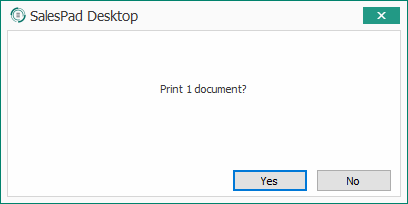
Click the Print button on the screen header. A confirmation window will appear. Click Yes
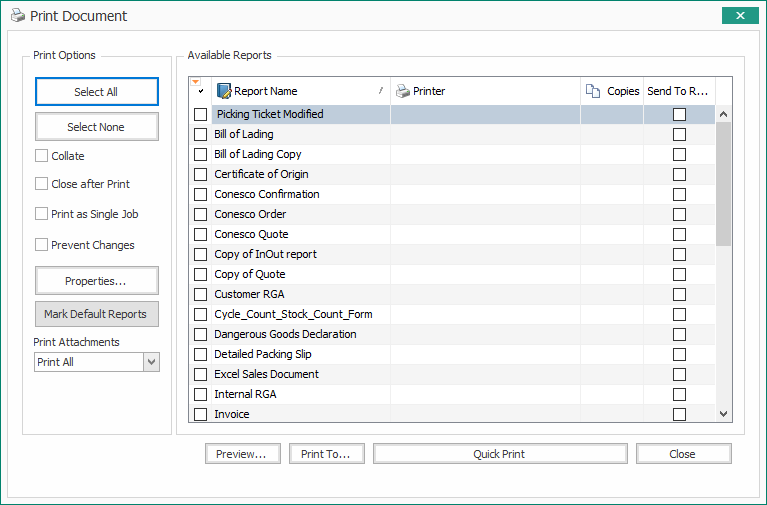
The Print Sales Document Report window will appear. Select the desired report, and select a print option.
For more help with printing, faxing, emailing, etc. please visit our FAQ on emailing, faxing, and printing.
Once complete, a summary window will appear. If any line could not be printed, an explanatory message will be included. From here either print the confirmation (click Print) or close the window (click OK)
Note: If Forward After Print is selected on the Sales Line Mass Update screen, the document(s) will move to the next queue after printing.
Allocate
To allocate all items on the document(s) associated with one or more lines, select the desired line or lines to allocate from the Search Results (CTRL+Click or CTRL+Shift+Click to select multiple lines).
Note: if Selected Lines Only is not checked, there is no need to select lines as all lines displayed in the Search Results grid will be allocated.
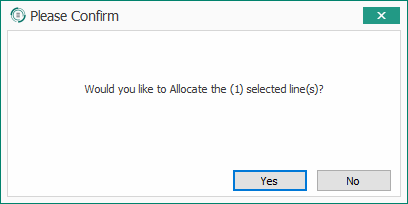
Click the Allocate button on the screen header, and click Yes on the confirmation window.
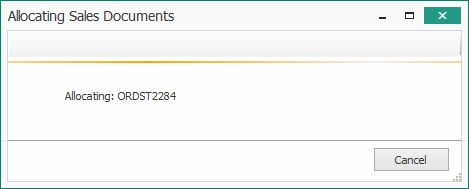
The Allocating Sales Documents window will appear until all of the selected lines have been updated. This may take some time:
The window will indicate when updating is complete:
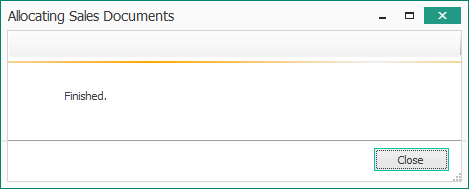
Click Close. A summary window will appear. If any document could not be allocated, an explanatory message will be included
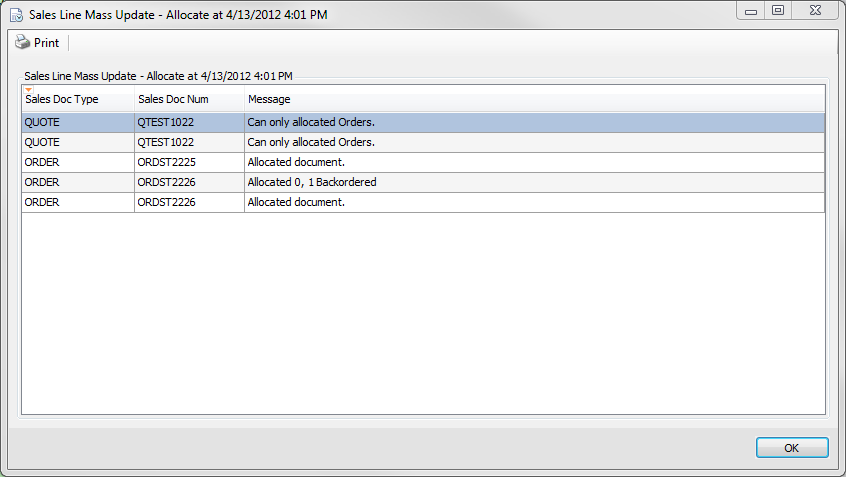
From here either print the confirmation (click Print) or close the window (click OK)
Note: Blocked items and backordered items cannot be allocated. Blocked items are indicated by either a red B or a red X, while backordered items are indicated by a red exclamation point.
Unallocate
To remove allocation from documents associated with one or more lines select the desired line or lines to allocate from the Search Results (CTRL+Click or CTRL+Shift+Click to select multiple lines).
Note: if Selected Lines Only is not checked, there is no need to select lines as all lines displayed in the Search Results grid will be unallocated.
Click the Unallocate button on the screen header, and click Yes on the confirmation window.

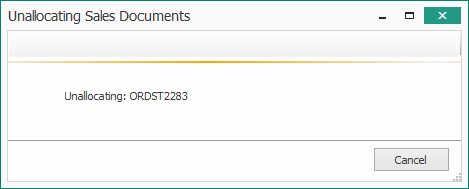
The Unallocating Sales Documents window will appear until all of the selected lines have been updated. This may take some time:
The window will indicate when updating is complete:
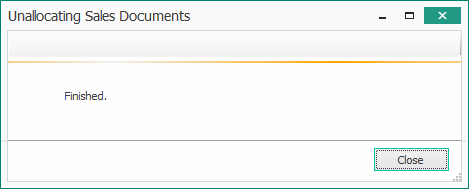
Click Close. A summary window will appear. If any document could not be un-allocated, an explanatory message will be included. From here either print the confirmation (click Print) or close the window (click OK).
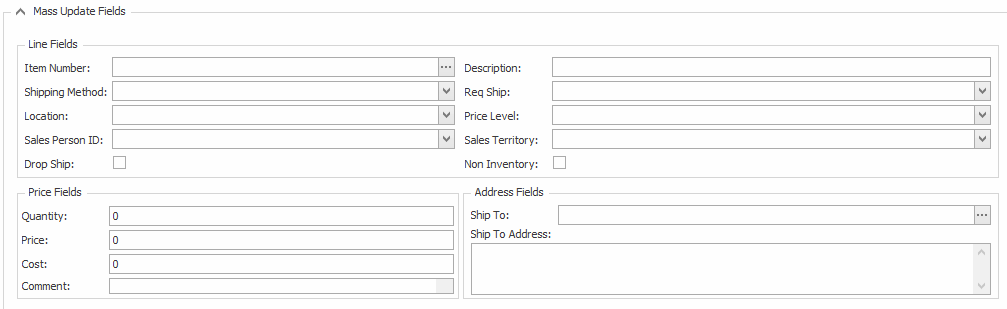
Update Lines (Line Item Properties)
To edit one or more line item properties, (change item number, shipping method, drop ship status, quantity, etc), select the desired line or lines from the Search Results (CTRL+Click or CTRL+Shift+Click to select multiple lines).
Note: if Selected Lines Only is not checked, there is no need to select lines as all lines displayed in the Search Results grid will be updated regardless
Enter the mass changes into the desired property fields under Mass Update Fields:
Click the Update Lines button on the screen header, and click Yes in the confirmation window.

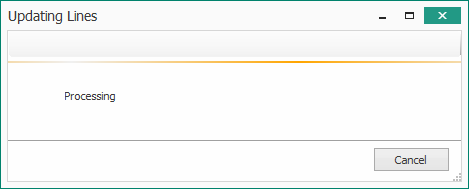
The Updating Line(s) window will appear until all of the selected lines have been updated. This may take some time:
The window will indicate when updating is complete:
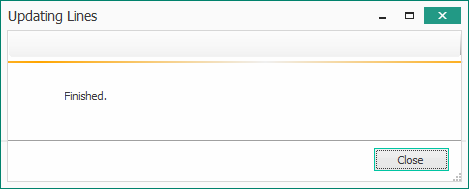
Click Close. A summary window will appear. If any line could not be updated, an explanatory message will be included
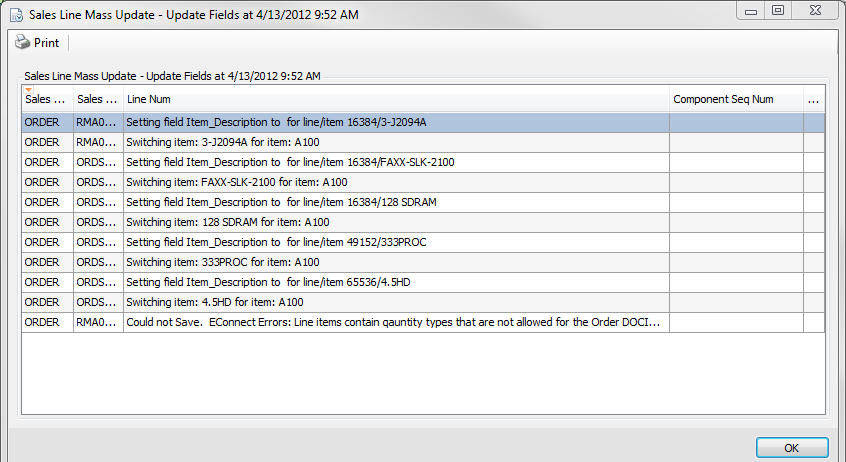
From here either print the confirmation (click Print) or close the window (click OK)
Update Price
To update the price on one or more lines according to the list price set up in Dynamics GP, select the desired line or lines to update from the Search Results (CTRL+Click or CTRL+Shift+Click to select multiple lines).
Note: if Selected Lines Only is not checked, there is no need to select lines as all lines displayed in the Search Results grid will be updated regardless
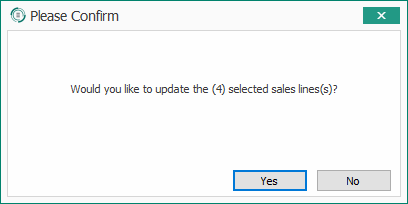
Click the Update Price button on the screen header, and click Yes in the confirmation window.
The Updating Prices window will appear until all of the selected lines have been updated. This may take some time:
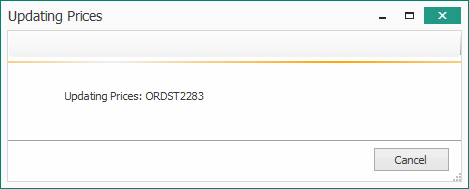
The window will indicate when updating is complete:

Click Close. A summary window will appear. If any line could not be updated, an explanatory message will be included
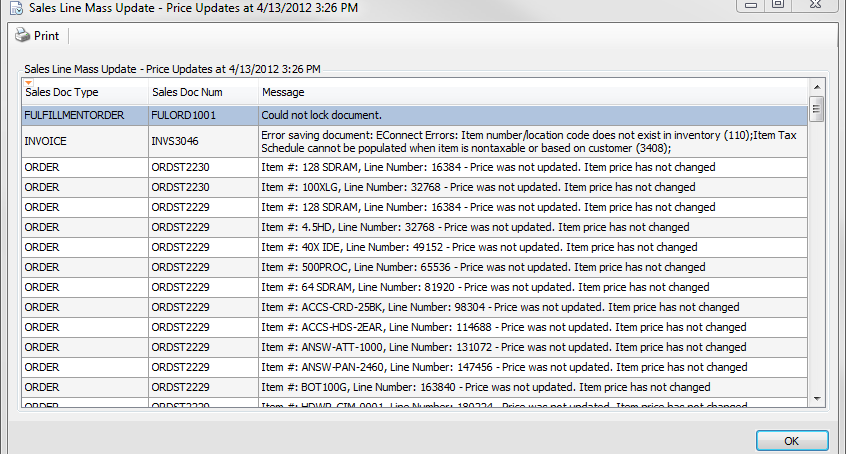
From here either print the confirmation (click Print) or close the window (click OK)
Delete Lines
To delete one or more lines from their sales documents, select the desired line or lines to delete from the Search Results (CTRL+Click or CTRL+Shift+Click to select multiple lines).
Note: if Selected Lines Only is not checked, there is no need to select lines as all lines displayed in the Search Results grid will be updated regardless
Click the Delete Lines button on the screen header and click Yes to update the lines.

The Deleting Line(s) window will appear until all of the selected lines have been updated. This may take some time:
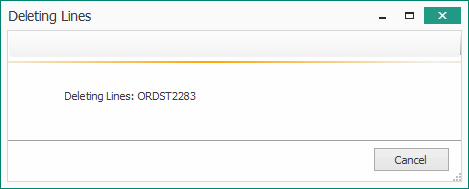
The window will indicate when updating is complete:
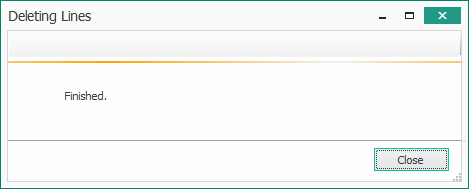
Click Close. A summary window will appear. If any line could not be deleted, an explanatory message will be included

From here either print the confirmation (click Print) or close the window (click OK).
Transfer to Invoice
To transfer one or more lines into an invoice, select the desired line or lines to transfer from the Search Results (CTRL+Click or CTRL+Shift+Click to select multiple lines).
Note: if Selected Lines Only is not checked, there is no need to select lines as all lines displayed in the Search Results grid will be updated regardless
Click the Transfer to Invoice button on the screen header.
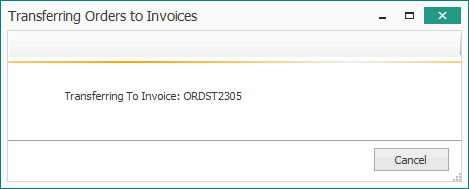
The Transferring Orders to Invoices window will appear until all of the selected lines have been updated. This may take some time:
The window will indicate when transferring is complete:
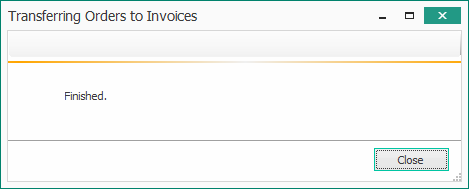
Click Close. A summary window will appear. If any line could not be trasferred, an explanatory message will be included. From here either print the confirmation (click Print) or close the window (click OK).
Security
Sales Line Mass Update - Grants access to the Sales Line Mass Update module.
Can Allocate – Allows a user to allocate line items.
Can Forward – Allows a user to forward documents to the next workflow queue.
Can Unallocate – Allows a user to remove allocations from previously allocated lines.
Can Update Prices – Allows a user to update line prices.
Price Source Exclusion List – To exclude any price sources from mass price updates, enter those price sources in this field, separated by semicolons. Sales lines with sources matching the entries in this list will be excluded during the mass price update.
Print Allowed – Allows a user to print the documents associated with displayed/selected lines
Sales Batches Allowed – To only allow lines/documents in certain sales batches to display in search results, enter the allowed batches in this field, separated by semicolons. Leave blank to allow all batches.
Sales Document Types Allowed – To only allow lines on certain document types to display in search results, enter the allowed document types in this field, separated by semicolons. Leave blank to allow all document types.
Transfer To Invoice Allowed – Non-functional in the initial 4.1 release.
Use Order Number As Invoice Number – Set to True to use the order number as the invoice number when transferring orders to invoice.
Warehouses Allowed – The semicolon delimited list of warehouses that will be returned in the search results.
SalesPad Support
Comments