SalesPad File Transfer Instructions
SalesPad File Transfer Instructions
- In your web browser, navigate to http://ftp.cavallo.com
- Log in using the following information

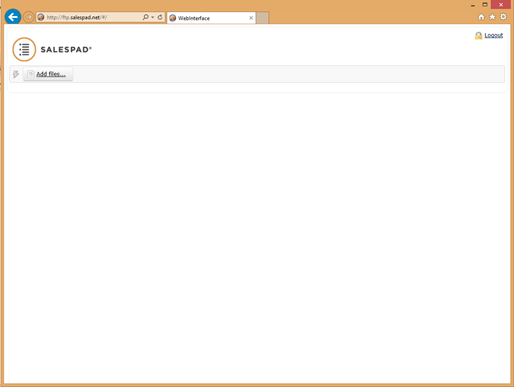
- You should now see a screen like the one below.
- Click the Add files button to select a file for upload. Once you’ve chosen the file you want to upload, a form will appear in which you need to indicate who the files are coming from and who they’re going to. Below is what the screen looks like. There is also a lightning bolt icon to the left that will allow you to use an Advanced Uploader if you wish.
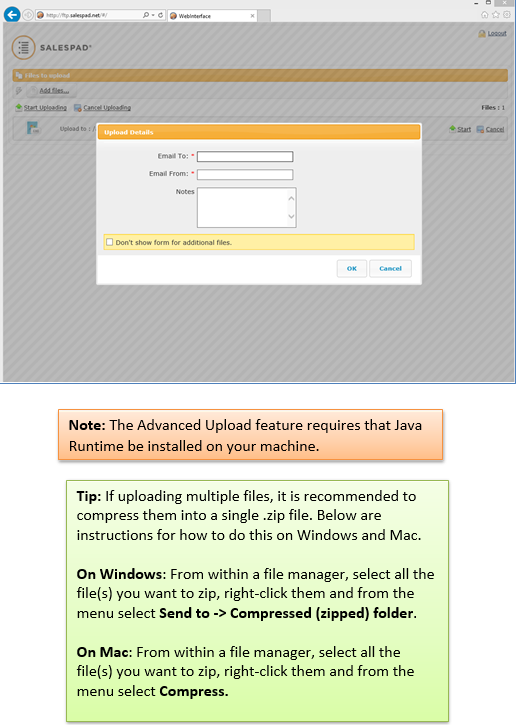
- In the Email To: field type the address of the person you’re sending the file(s) to.

- In the Email From: field type the address that the files are coming from.
- Enter any additional notes and then click Ok.
- You screen should now look like the one below. Please repeat steps 4 - 7 for any additional files you wish to include.
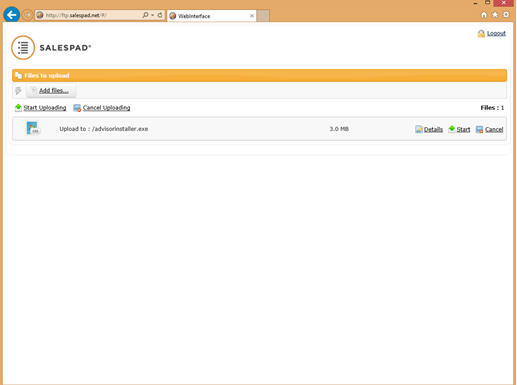
- Once you have all the files selected you want to upload click the Start Uploading button to begin the upload process. Any files that have finished uploading will have a [Done] message next to the item.
- After all the files are uploaded you can logout by clicking the Logout button in the upper right-hand corner.
- The recipient(s) of your file upload should now receive an e-mail that the file(s) are available for download.

SalesPad Support
Comments