To read Part One of Configurator Advanced, click here.
Contents
Default Selection
The configurator allows users to add default options, which are values that are pre-selected when the Sales Line Configurator plugin is launched.
Steps:
1. Open the configuration COMPUTER and add a new attribute called Graphics Card.
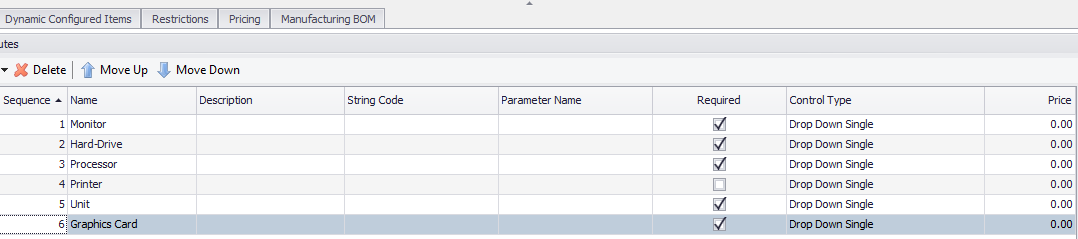
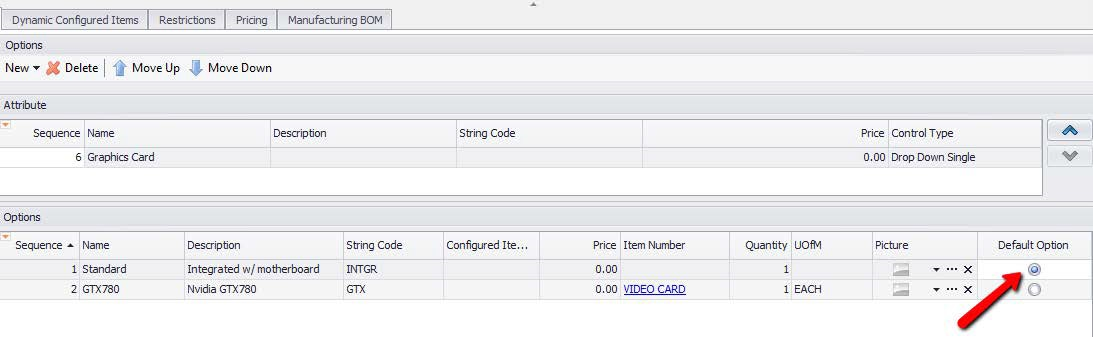
2. Move to the Options tab and add the following items. In this example we want to make the first option (Standard) the default selection.
a. Make the column Default Option visible and check the radio button.
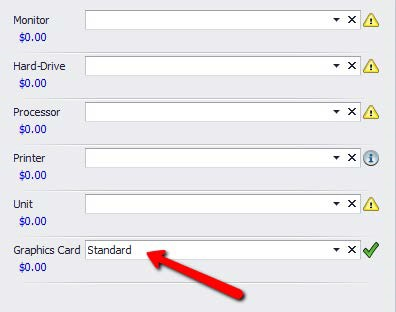
3. Launch the plugin from Test Configuration. You will immediately see that the Graphics Card option is automatically selected to the first option (the default one).
Item Traits
Configurator allows administrators to track which Options (or “traits”) are selected in the Sales Line Configurator plugin when configured items are created. The purpose of the Item Traits is to allow users to query the Item Master table and see what options were chosen for the selected item.
Note: The same information can be extrapolated by the String Code. However, the String Code may not be as easy to read for the end user.
Steps:
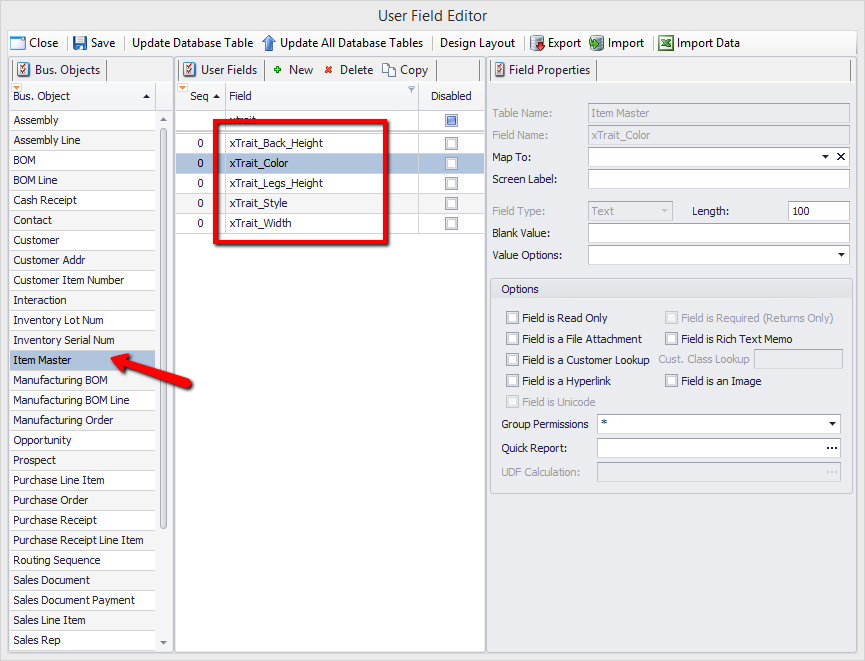
1. Create a User Defined Field (in the Item Master) table for each trait that you want to track.
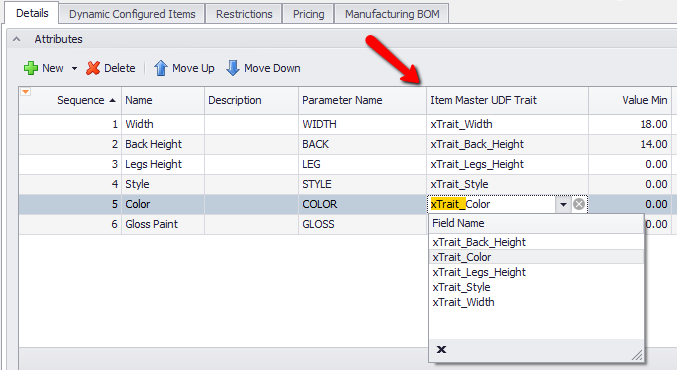
2. Open the Configuration screen and map each Item Master UDF with the appropriate Attribute.
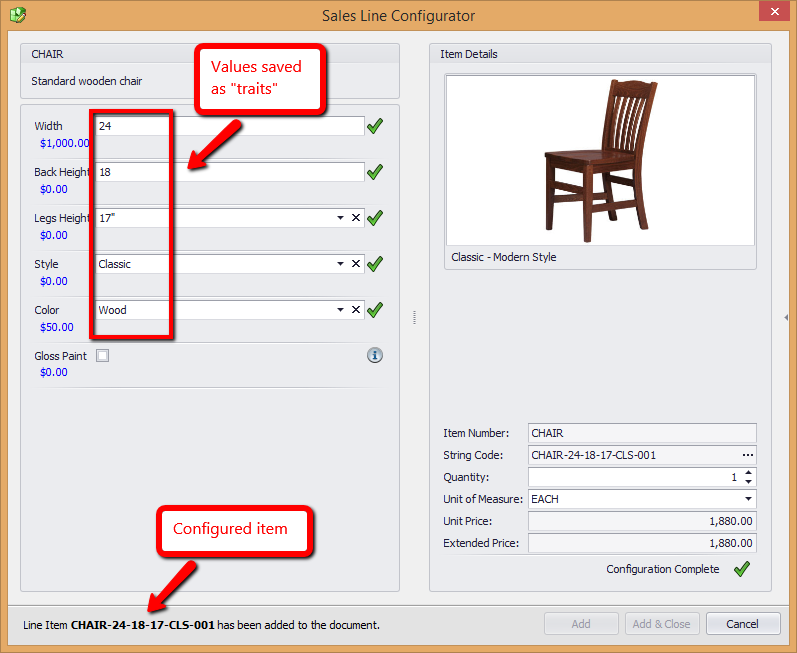
3. Each value from the selection will be saved in a separate field (UDF) in the Item Master table (for the given configured item):
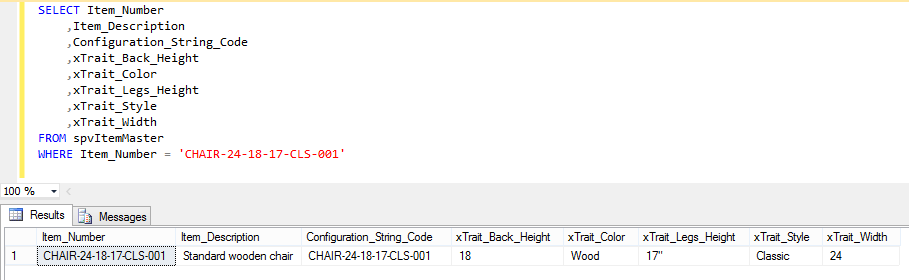
Using a simple query as shown below, users can see the traits (in separate fields) for the selected item:
Nested Configurations
SalesPad allows administrators to nest a configuration within another one. For instance, the configuration CHAIR can be added in the configuration COMPUTER as an additional attribute; this way, the chair can be sold as an additional option with the computer. With nesting, the user can reuse existing configurations in other ones, while keeping the logic of each configuration (such as String Codes, Pricings, Restrictions, etc.) separate from each other.
Steps:
1. Open the COMPUTER configuration and add a new Attribute.
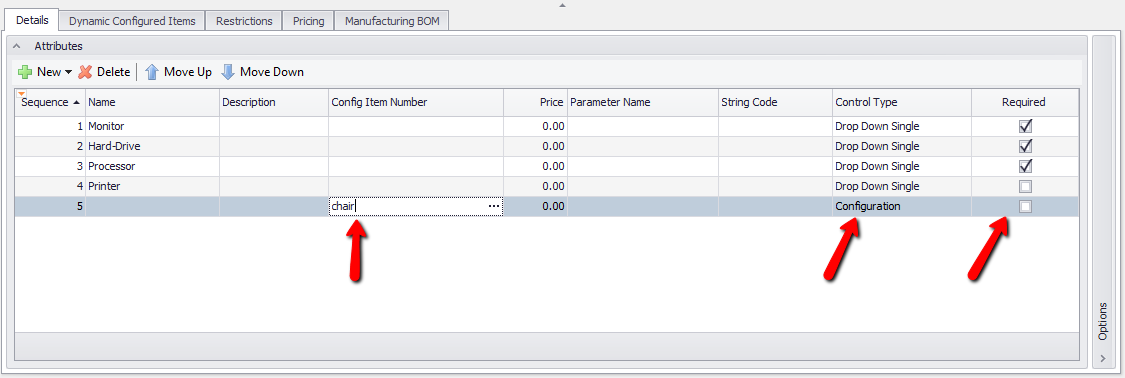
2. Under Control Type, select the option Configuration.
3. Uncheck the box under Required to make, in this example, this attribute optional.
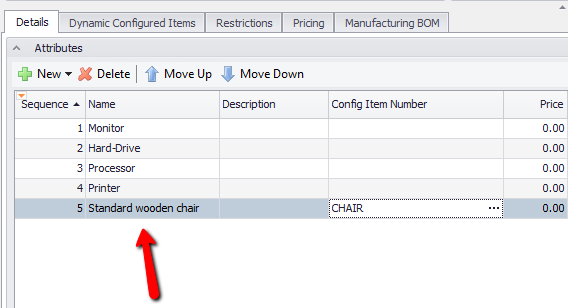
4. Make the column Config Item Number visible (if not already), and type “chair”.
a. This will be the item number of the configuration CHAIR.
As you tab off, Configurator will validate the entry (making sure that it is a legitimate configuration) and it will populate the Name field (if empty):
Note: The field Config Item Number has an ellipsis that opens the Configurator Search screen, allowing the user to search and pick existing configurations.
5. Save the configuration and run the test plugin.
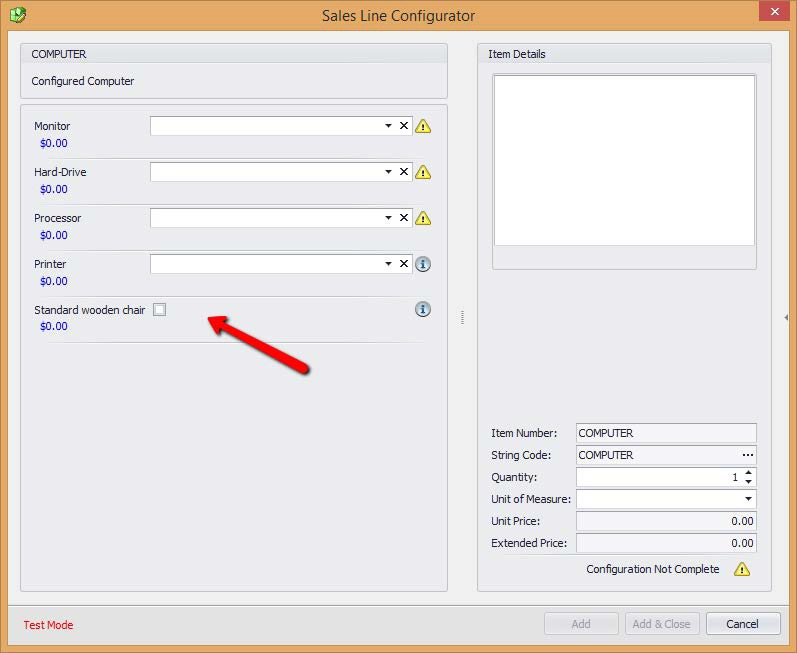
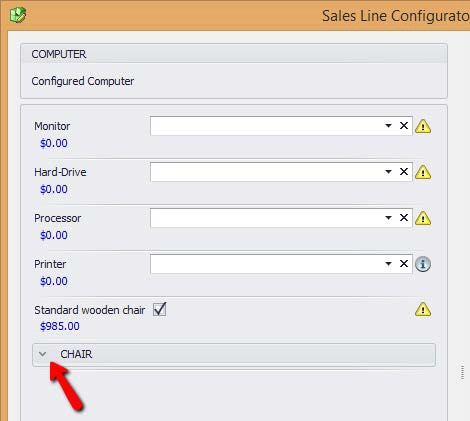
The sub configuration will appear as a check box. If checked, CHAIR will appear right below the attribute:

The sub configuration will feature all the attributes and options, as well as the prices, string codes, and restrictions of the configuration CHAIR as if it was used separately. The CHAIR configuration is wrapped around a group that can be collapsed, making the screen cleaner (in case you have more than one sub configurations). The selection in that sub configuration will be preserved:
The nesting can be of as many levels as needed, this means that sub configurations can have sub configurations as well.
Mapping
When using nested configurations, the user can set up mapping and have the fields pre-loaded with values from the parent configuration. For instance, both configurations can have the attribute Unit and the user can decide to map the selection from the sub configuration with the parent one.
Note: The mapping is applied to attributes that have the same Name and Control Type. Steps:
Make sure both CHAIR and COMPUTER have the same attribute Unit, with the same options:
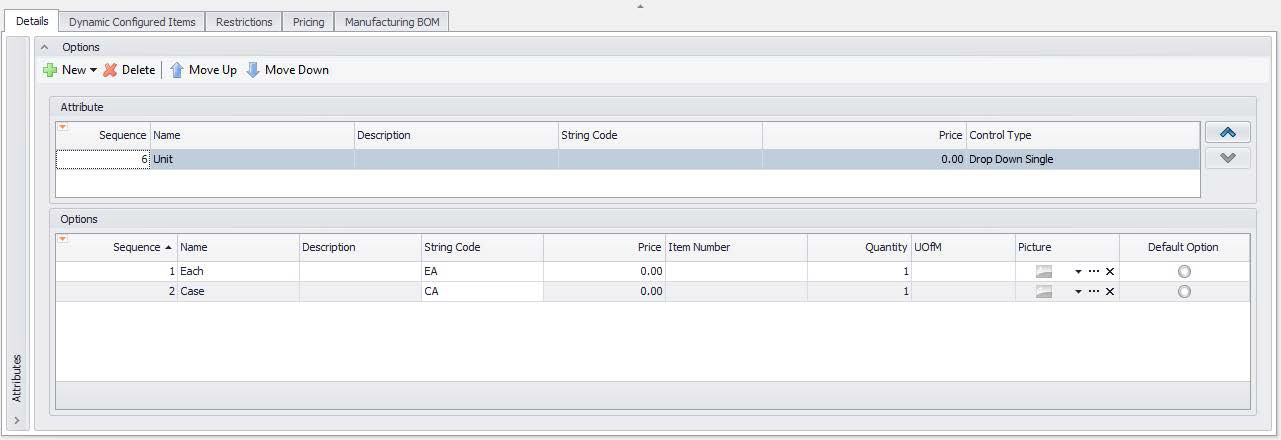
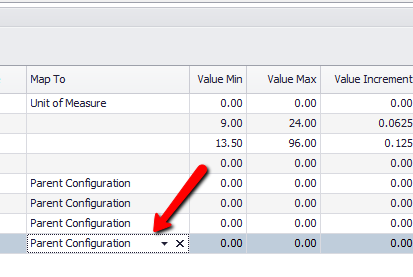
In the Details tab, Attributes page, set Map To to Parent Configuration.
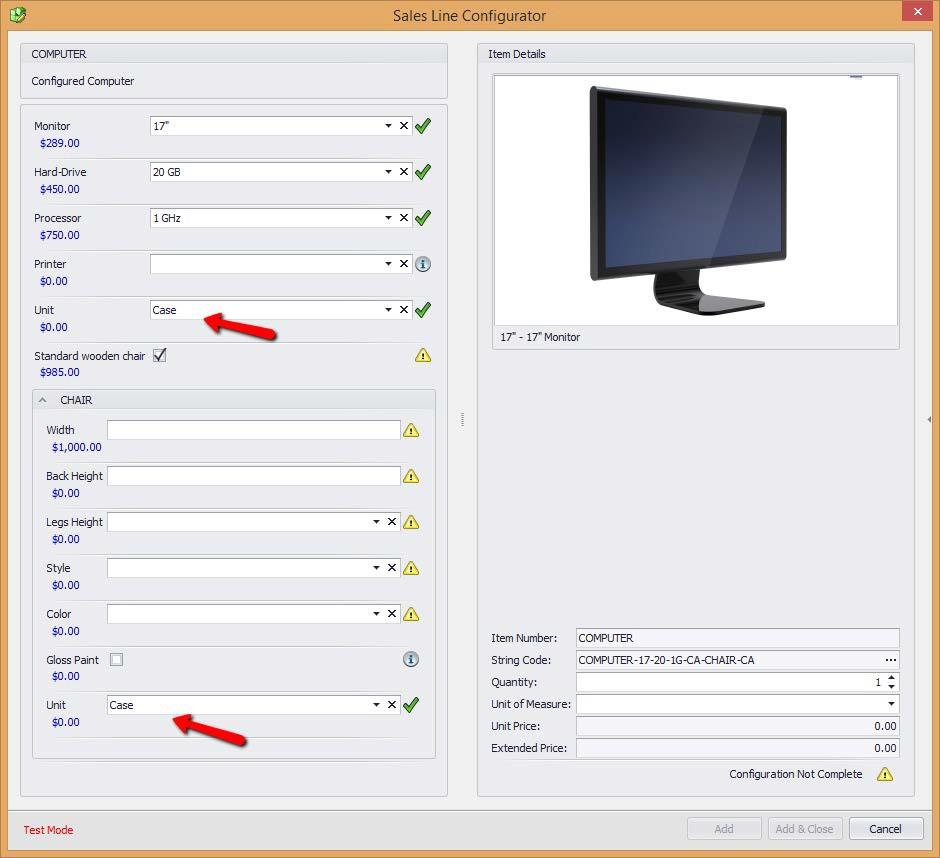
3. Run the test plugin and make a selections: as soon as you flag the attribute Standard wooden chair, this sub configuration will have the attribute Unit prepopulated with the same value as the parent configuration COMPUTER.
Note: The mapping only prepopulates the sub configuration attributes, it does not synchronize the values from the two controls. For instance, if you change the value for Unit in COMPUTER, the selection will not automatically be updated in the CHAIR sub configuration.
Configured Items
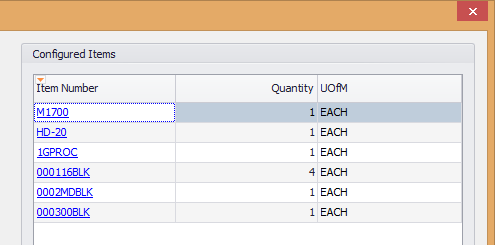
When using nested configurations, the Configured Items will have the components from all the configurations (parent and sub configurations):
Excel Import
Configuration allows users to import several different types of data:
- Attributes-Options
- Dynamic Configured Items
- Pricing
Attributes-Options Excel Import
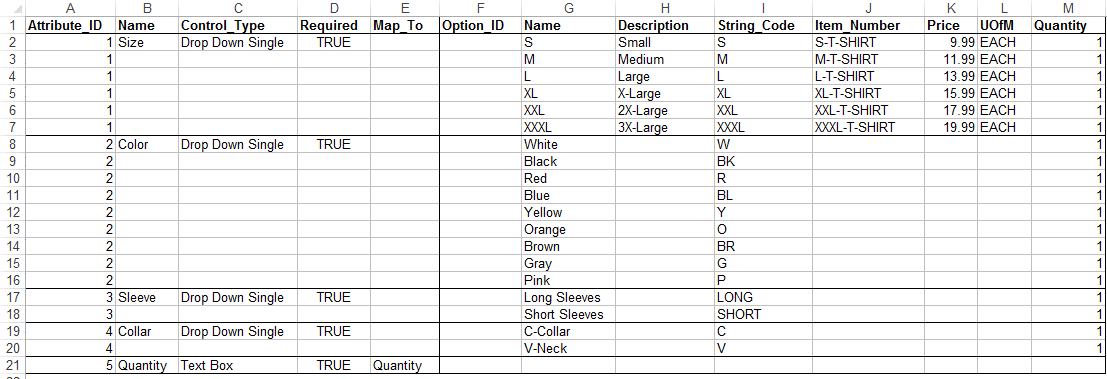
The configuration form allows users to import attributes and options from an Excel file into a new or existing configuration. In this example we will import the following data for a new configuration T-SHIRT.
The spreadsheet must be follow these specifics:
- The first field must be the Attribute_ID.
- In the Attribute_ID column, you must have numeric values for each attribute that you are importing.
- It can simply be a sequence number like in the example above.
- After the column Attribute_ID, you should have all the columns relevant to the attributes.
- Column names are case sensitive and the have the underscore character instead of space.
- You can import data for any field available in the configurator screen.
- After the columns for the attribute, you must have the column Option_ID.
- This column can have no data; its purpose is to separate the attribute columns from the option columns
- After the column Option_ID, you should have all the columns relevant to the options.
- Column names are case sensitive and the have the underscore character (_) instead of space.
- You can import data for any field available in the configurator screen, except for the field Picture.
Notice that the data for options are grouped by attribute through the Attribute_ID field. Also notice that you need only one row of data for each attribute.
Steps to import the data:
1. Create a new configuration (in this examples we have the item T-SHIRT).
a. Open up an empty configuration screen, type T-SHIRT in the Item Number field, and tab off
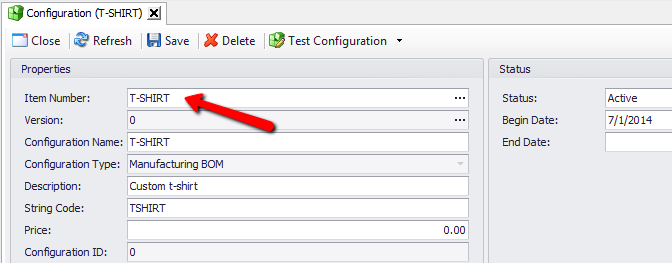
2. Click Save.
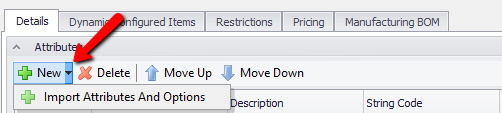
3. In the Details tab, Attributes page, click the little triangle next to the New button and select Import Attributes And Options from the menu.
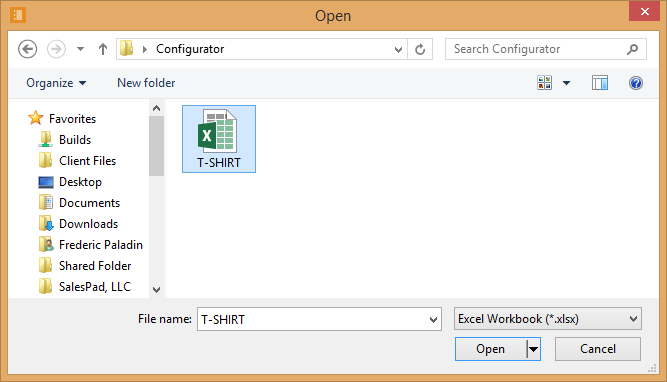
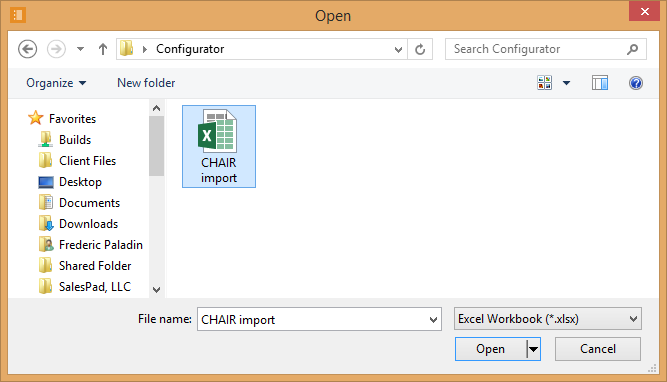
4. In the Windows file browser, select the file to import and click Open.
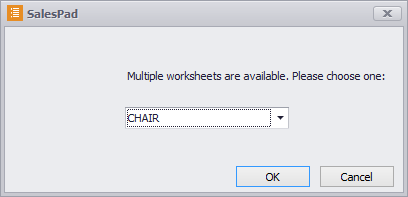
5. If the file has more than one spreadsheet, users will be prompted to select the sheet from a dropdown.
6. A confirmation message will indicate that the import is done. A log table will pop up if any error occurred during the import.
7. Double-check that the attributes and the options were imported correctly and save the configuration.
Note: The import tool does not remove current attributes and options. If you wish to replace the current values, you will have to manually delete them before running the import.
Dynamic Configured Items Excel Import
“Configurator” provides a tool to import the data for dynamic configured items from an Excel file. For instance, we can import the following table into the configuration CHAIR.

Note: The column names should match the fields that you see in the grid view, with underscore instead of space. Steps:
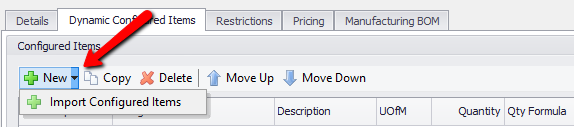
1. Load the configuration CHAIR and select the tab Dynamic Configured Items.
2. Click the little triangle next to the New button and select Import Configured Items from the menu.
3. The standard Windows file browser will pop up allowing to select the file to import. Click Open.
4. If the file has more than one spreadsheet, users will be prompted to select the sheet from a dropdown.
5. Click OK to import.
6. A confirmation message will indicate that the import is done. A log table will pop up if any error occurred during the import.
Note: The import does not replace the existing data. You would need to manually delete the entries if you wish to replace the current items. Also notice that the tool only imports the Configured Items and not the Conditions.
Pricing Excel Import
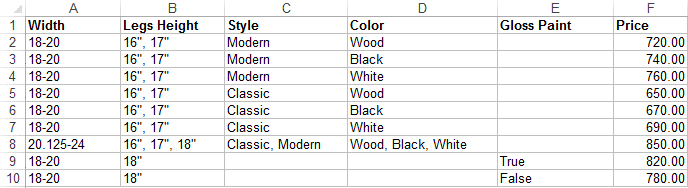
Configurator allows users to import pricing in the Pricing tab from an Excel spreadsheet. The spreadsheet must reflect the same fields available in the tab (the set of fields depends on the list of attributes in the configuration).
Example of a pricing table saved as an Excel file:
Steps:
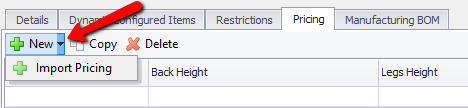
1. Click the little triangle next to the New button and choose Import Pricing.
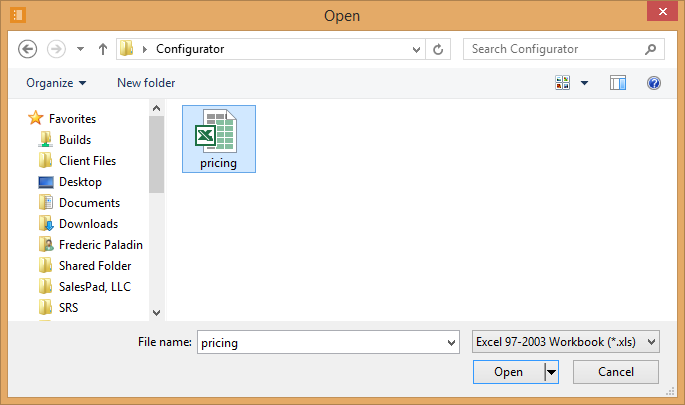
2. The standard Windows file browser will pop up, allowing you to select the file that contains the prices to import.
a. If the file is not visible, choose a different file extension filter from the drop down on the bottom right corner of the dialog box.
3. Click Open. If the file contains more than one spreadsheet, an input box will pop up allowing you to select the sheet from a drop down.
a. The sheet with the same as the configuration’s item number will be preselected.
b. Click OK to import.
4. As soon as the import is done, you will see a confirmation message.
a. Any errors will be shown in a log table after the import, indicating the row and column and the error type.

5. Save the configuration.
Note: It is important that you save the configuration before leaving the Pricing tab. This is because the table is dynamically generated using the information from Attributes. Leaving the Pricing tab without saving the configuration may cause the loss of unsaved data.
Note: The import tool does not remove the current prices. If you wish to replace the current values, you will have to manually delete them before running the import.
SalesPad Support
Comments