Overview
System Log Search allows users to look through the system log. A user can customize how results are drawn and what information is displayed. This document will teach you how to access System Log Search, use the search function, copy system log entries, and export a search.
Table of Contents
System Log Search
Accessing System Log Search
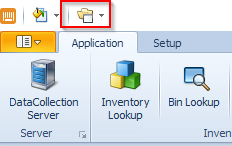
In DataCollection, go to the folder in the bar on the top left of the screen.
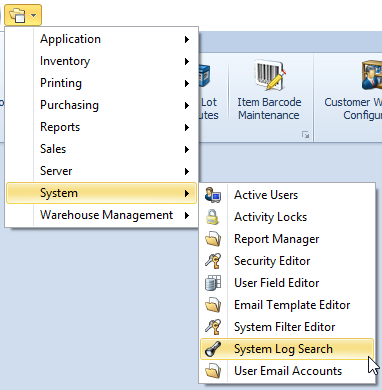
Click on this folder to access a drop-down menu, then go into System, and from that menu select System Log Search.
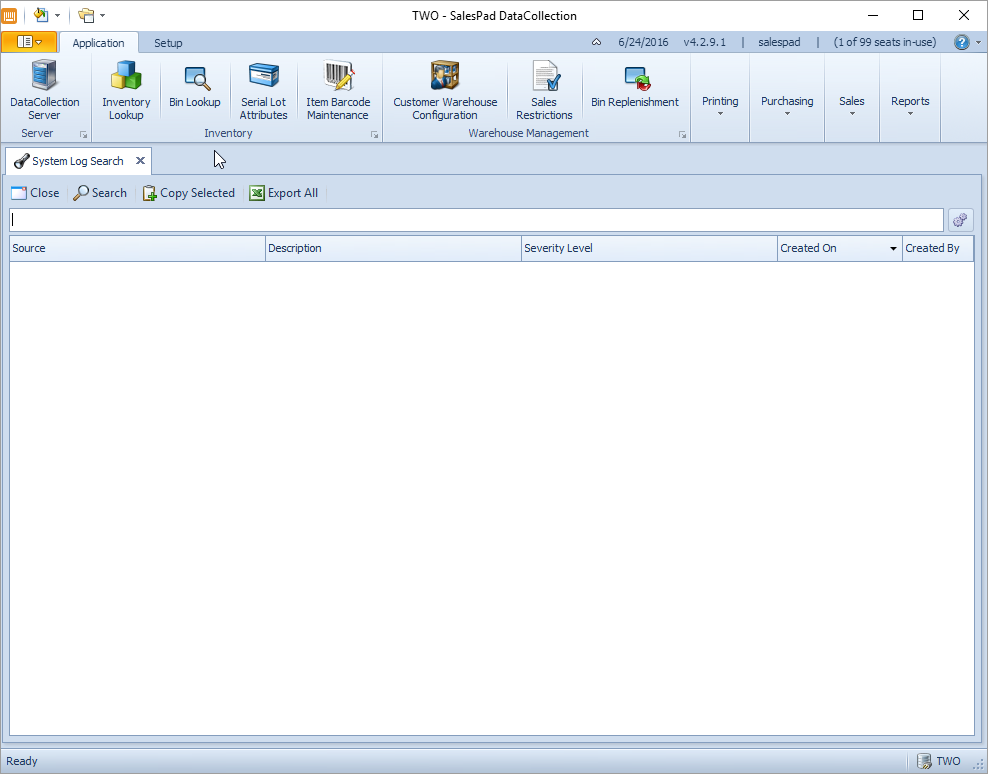
This will open the System Log Search module.
Using the Search Bar
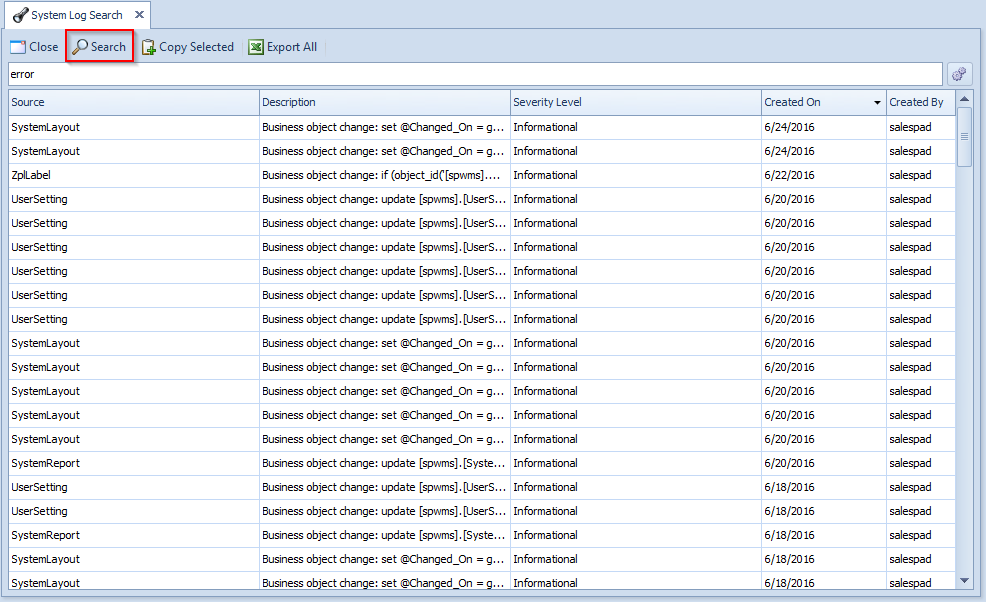
The search bar for System Log Search uses text input to look through system log entries for matching text. To use the search bar, click in the white space and type your search terms.

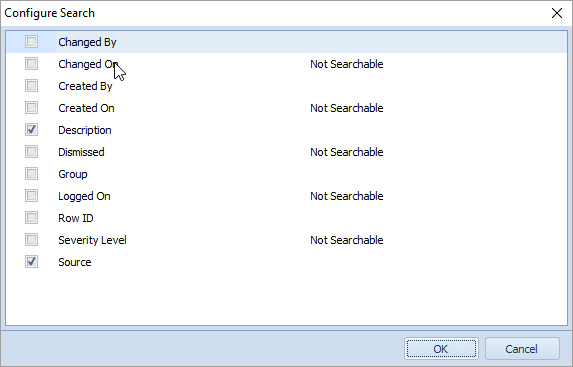
Once you’ve performed your initial search, click the gears to the right of the search bar to access the Configure Search window. Here you can specify which fields your search affects. Click the check box next to the field(s) you want to use for your search, then click OK to save the changes.
After your desired search settings are in place, click the Search button to complete the action. There will be a list of system log entries that match your search.
Copying a System Log Entry
Select the target System Log Entry by first clicking on it in the list, then clicking the Copy Selected button.

The System Log Entry will be copied onto the clipboard so that it can be pasted elsewhere.
Exporting System Log Search Results
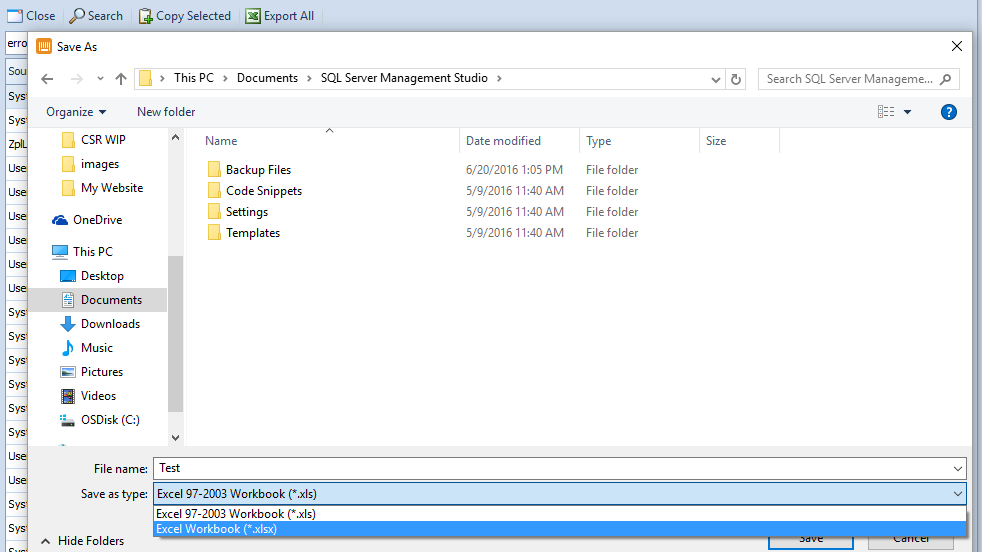
Click the Export All button. A directory window will pop up asking you where and how to save it. Exported files can be saved as either .xls or .xlsx.
Security
System Log Search – Allows users to access System Log Search.
SalesPad Support
Comments