Overview
The Cavallo Cloud suite of applications currently includes:
- Mission Control (Business Central)
- Profit Analytics (Great Plains, Business Central)
In addition, Cavallo's Administration application spans both of these, enabling users to self-onboard companies and autonomously manage users across both applications. The following documentation provides a comprehensive guide to the onboarding flow, from start to finish, to help users navigate from invite email to using the application!
Table Of Contents
- Overview
- Owner Invites
- Welcome Screen
- Great Plains Onboarding Flow
- Business Central Onboarding Flow
- Finance & Supply Chain Onboarding Flow
- Requesting Assistance
- Company Status
- FAQs
Owner Invites
Once a company decides to move forward with a Cavallo Cloud product, an invite for our self guided company onboarding will be triggered to the main point of contact. Within the Cavallo Admin application there are 3 main user roles:
-
Owners
- Highest level of permission. Owners can add other owners, perform all admin tasks and access all applications in addition to all companies.
-
Admins:
- Admins can also access all products and companies in addition to managing users. Admins cannot add or remove owners.
-
Users:
- Normal users of the application. No ability to manage companies or users.
By default, the individual receiving the invite from Cavallo will be registered as an Owner. This may be updated at a later time in the user management page. The below images reflect an example of the invite email subject line and body:
Clicking the hyperlink within the body of the email will bring the user to app.cavallo.com and will prompt the user to sign in with Microsoft. Once logged in, the welcome screen for onboarding should appear.
Welcome Screen
The welcome screen introduces users to Cavallo Cloud's guided onboarding experience. As the first screen a user sees, it determines the appropriate onboarding flow for them. By clicking "Next," Cavallo will check the database for the ERP type and guide the user accordingly.
Great Plains Onboarding Flow
The Great Plains onboarding flow involves two main steps:
- Provide a company name for the new Cavallo company
- Establish a connection with our data export tool
Saving the company name will kick off several background jobs that will run concurrent with the onboarding platform. No action is required by the user running the onboarding wizard for these automations to take place. These jobs have two main focuses:
- Validate that Cavallo can connect to the data exporter
- Once a connection is established, sync the company data to Profit Analytics
Once the onboarding is completed, the user will be transitioned to the company select page where they can continue to onboard new users. Below is a walk through of the Great Plains onboarding flow:
Business Central Onboarding Flow
The Business Central flow has 4 main steps:
- Log into Business Central
- Select an Environment/Company combination
- Download the Cavallo Core Connector into the selected company.
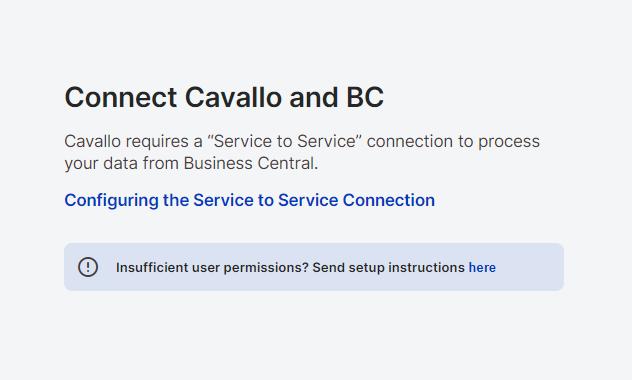
- Configure the Service-to-Service Connection.
Saving the company/organization combination will kick off several background jobs that will run concurrent with the onboarding platform. No action is required by the user running the onboarding wizard for these automations to take place. These jobs have two main focuses:
- Validate that the Cavallo Core Connector is installed
- Once a connection is established, sync the company data to Profit Analytics or create the initial workflow for Mission Control.
Once the onboarding is completed, the user will be transitioned to the company select page where they can continue to onboard new users. Below is a walk through of the Business Central onboarding flow:
Part 1:
Note: Step 1 will require a log in to Business Central. This user has previously logged in to mask sensitive login information.
Part 2:
Requesting Assistance During Onboarding
During the onboarding process, certain steps may need to be completed by users with higher permission levels. If a step contains the below "Insufficient user permissions" help box, users will have the option to send instructions to a user with the necessary permissions to complete the step.
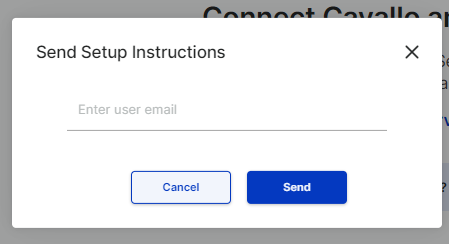
Clicking "here" will pop up a window for users to enter an email address for users with the correct level of permissions.
Once a valid email is entered and the send button is clicked, an email will be triggered out to the selected user. The below email template should be expected:
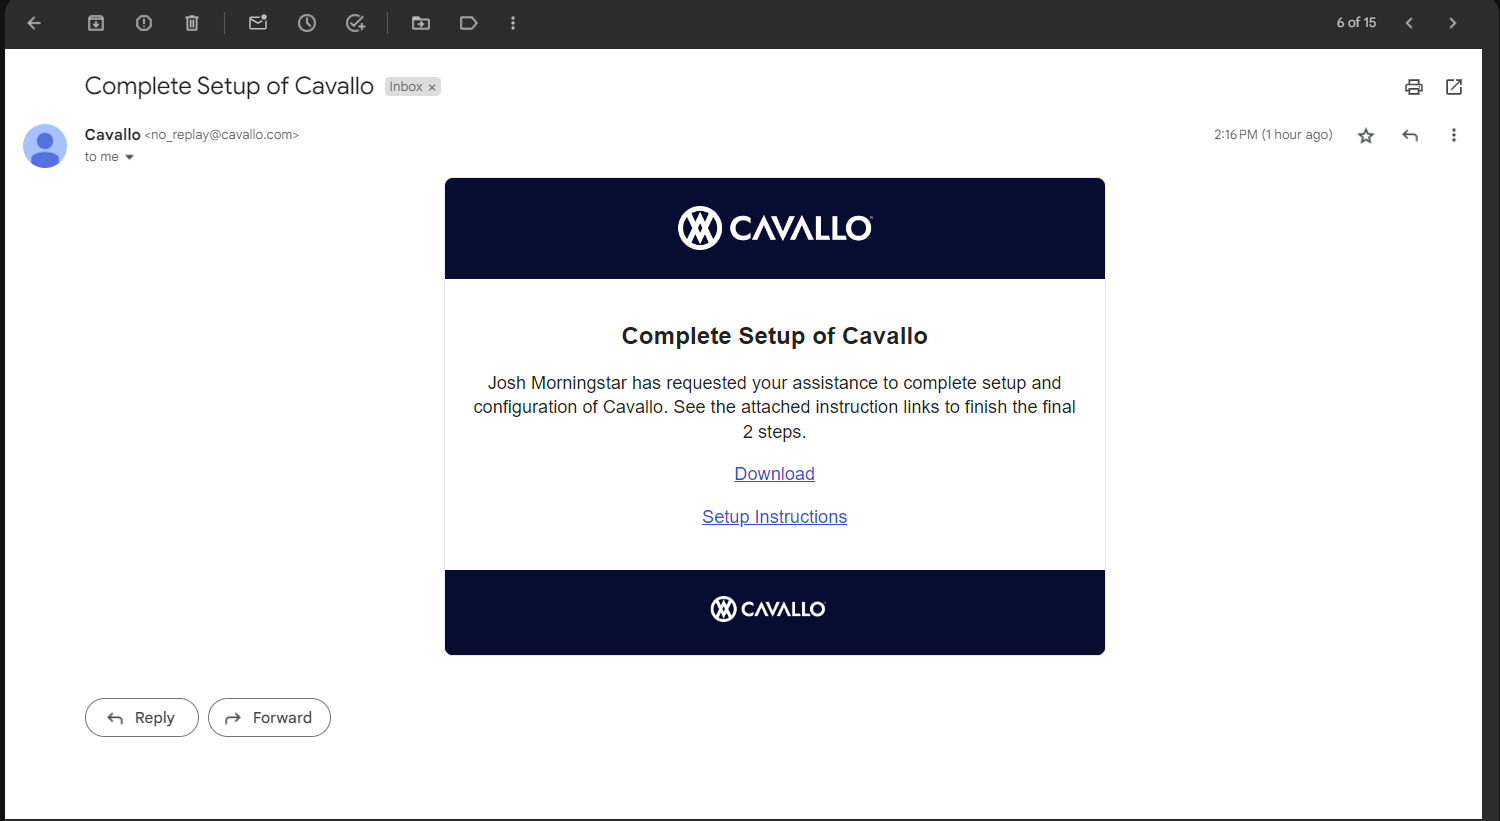
Please note, these steps are completed outside of the Cavallo onboarding flow within Business Central. The instructions in the email will bring the user to the correct support documentation to complete the step.
Finance & Supply Chain Onboarding Flow
*Coming Soon*
Company Status
During the onboarding process, there are two background jobs that are initiated after a company name is saved (GP) or an environment/company combination is saved (BC). Each of these background jobs are associated with a status chip on the company select page. Below is a description of these statuses:
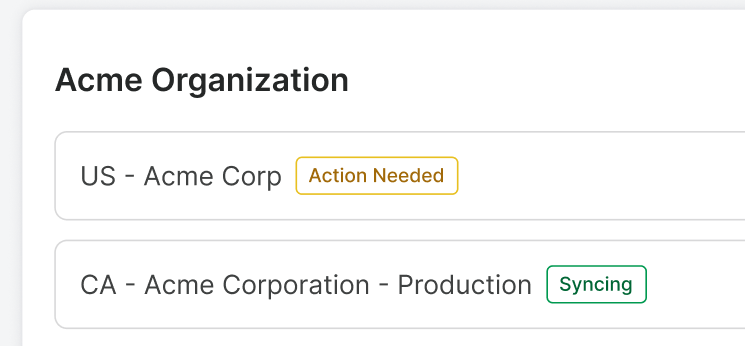
Action Needed: This status pertains to the initial background job, which is responsible for verifying Cavallo's connection to the organization's data. For Great Plains, this involves ensuring Cavallo can connect to the GP exporter. For Business Central, it means confirming that Cavallo has detected the core extension installation and that the service-to-service connection is configured. Upon completion, this job ends, and the second background job commences.
Data Syncing: This status indicates that the second background job has started and is functioning correctly. For Profit Analytics, this job synchronizes company data necessary for generating our analytics charts. For Mission Control, it populates the initial workflow and automatically sets the required Cavallo API credentials, enabling users to run automated workflow actions within Business Central.
For more information on the company select page, please visit our support documentation here.
FAQs
My companies have been stuck in "Action Needed" or "Syncing" what should I do?
- Please reach out to support@cavallo.com for any assistance with onboarding.
- If for any reason a white screen is showing follow the below steps:
- Right click on the screen and at the bottom select "Inspect"
- Then navigate to your browser's refresh button
- Click and hold the button and select "Empty Cache and Hard Reload"
SalesPad Support
Comments