Overview
The Vendor Audit Tab allows end users to track modifications made to the Vendor Card. In this document you will learn which actions are recorded on the Vendor Audit Tab. Before proceeding, please visit the Security Settings sections of this document to ensure that you won’t run into difficulties.
Usage
Location
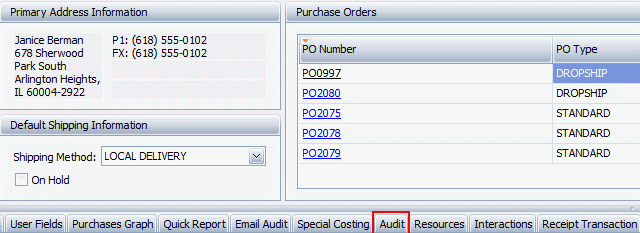
The Vendor Audit Tab can be accessed by opening the Vendor Card and selecting the Audit button.
Audit Tab
The Vendor Audit Tab will show the Vendor ID, Description, User Name, and Audit On columns by default. Audit ID and Vendor Name are available through the column chooser. These lines will record any changes made to the Vendor Properties at the header level, such as Vendor Class, Vendor Status, Payment Terms, or Currency.Changes made to the Note and User Field tabs will also display on the Audit tab.

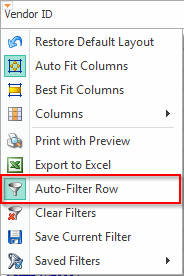
You can use the Audit information to monitor who is changing details on a given vendor, or you can use the Auto-Filter Row to easily filter the information to find a specific day or change. To enable the Auto-Filter Row, click the orange triangle in the top left of the grid, then select Auto-Filter Row.
This will show the Auto-Filter Row at the top of the Audit grid. Entering information into this row will allow the user to filter the grid.

Security
Vendor Audit – Enables the Audit Tab on the Vendor Card
SalesPad Support
Comments