Overview
The Sales Person Card is the screen that allows users to view information about Sales People. In this documentation, you will learn how to read the properties for the Sales Person, as well as how to read and edit the various tabs on the card. Relevant securities and settings will be listed at the end of the document.
Usage
To access the Sales Person card, click on the Sales Person name when it is blue to open their card in another tab. This can be done from Sales Document Search, Sales Person Search, Customer Search, Sales Monitor, and many other locations within SalesPad.

Header
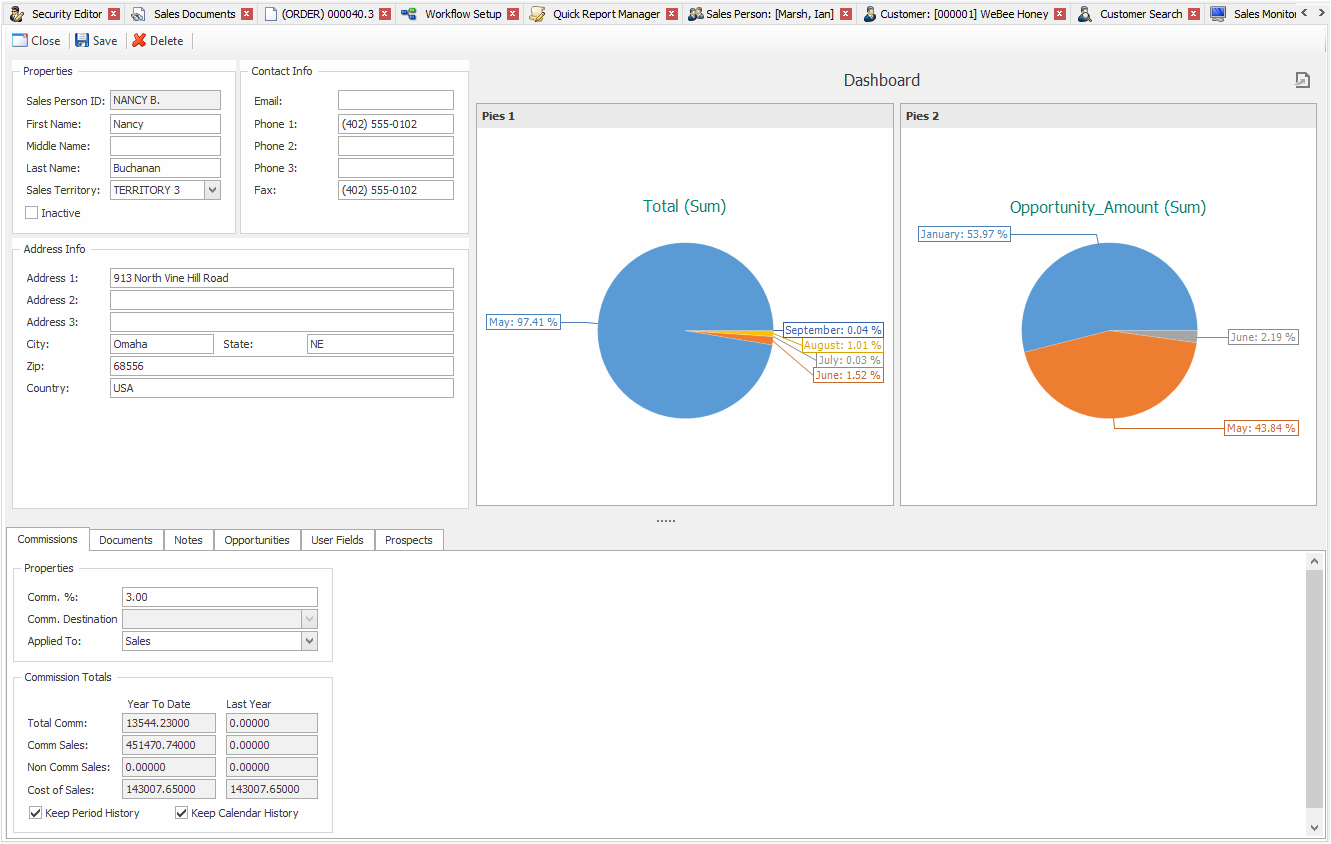
In the card’s header, there are four areas that display information about the Sales Person:
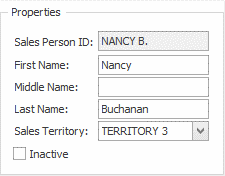
Properties shows you the basic properties for the Sales Person, such as ID, Name, Sales Territory, and Active status.
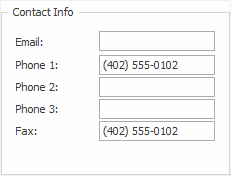
Contact Info shows you the Sales Person’s Phone Number, Email, and Fax Number.
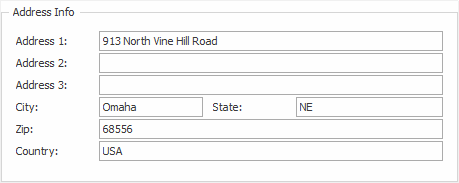
Address Info shows you the Sales Person’s Street Address, State, City, Zip, and Country.
Lastly, Dashboard displays sales information about the selected Sales Rep. The two graphs default to the percentage of annual profit by month. The profit for the company is displayed on the left. The total profit amount generated by Sales Rep is on the right.
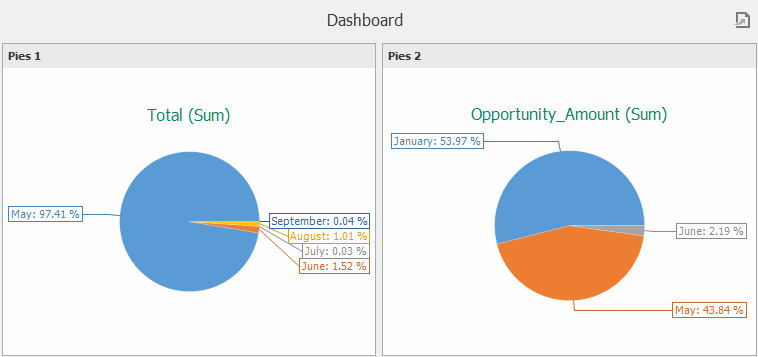
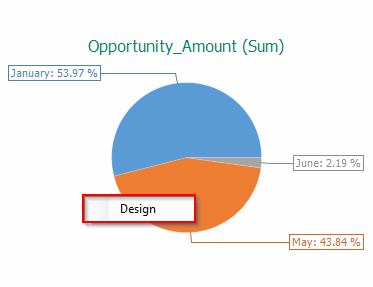
These graphs can be modified by right clicking on them and selecting Design.
For more information about customizing these graphs, refer to our documentation on Dashboard Designer.
Note: If the Sales Person card is loading slowly, make sure your dashboards have Begin & End dates specified.
Tabs
Commissions
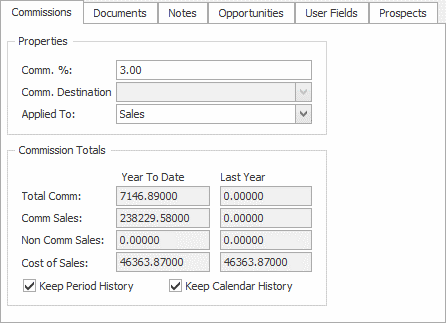
In the commissions tab, you can view information about commission for the Sales Person. The Properties area shows the Commission Percentage, the Commission Destination, and what the commission applies to. The Commission Totals area allows you to see the Total Commission, Commission Sales, Sales without Commission, and the Cost of the Sales.
Documents
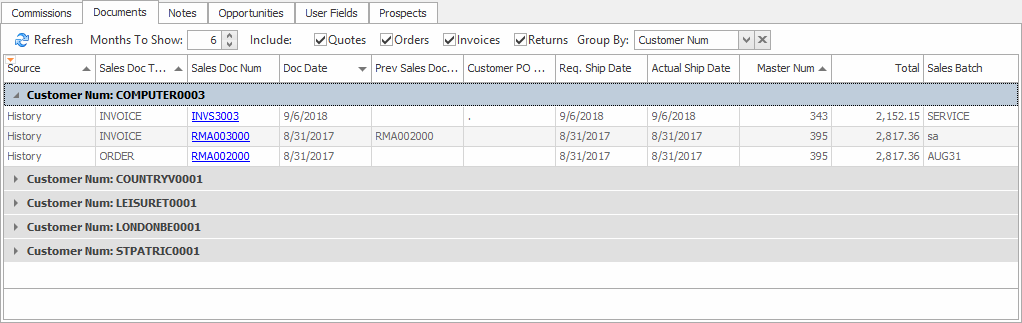
The Documents tab shows the documents for the selected Sales Person. You can choose how many months to include, as well as which document types to include in the grid. There is also a Group By dropdown menu that allows you to group the documents by the chosen field.
Notes
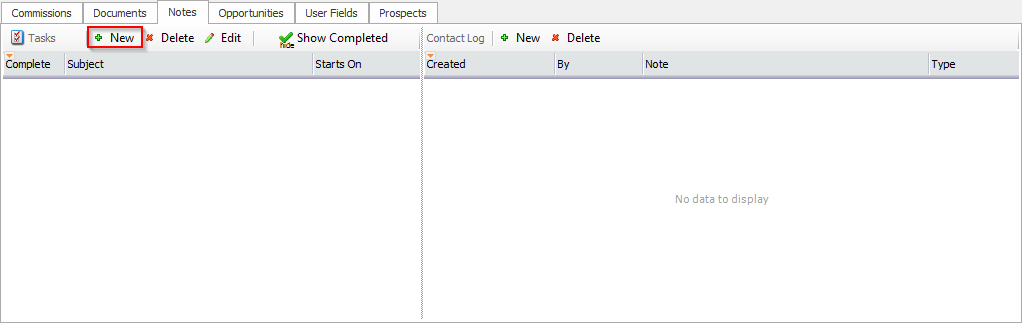
The Notes tab allows you to add Tasks for the Sales Rep as well as CRM Notes to the Contact Log. Tasks are often used by Sales Reps to schedule appointments with customers. The CRM notes tab allows a Sales Rep to take notes for each time they contact the customer. To add a Task, click the New button.
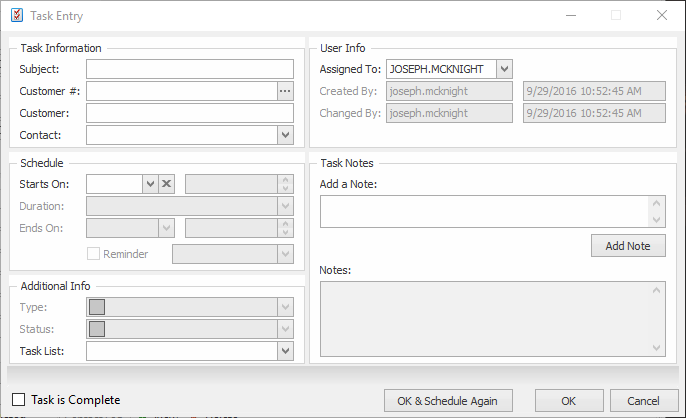
This will open up the Task Entry window. Here, you can enter the relevant information for the Task and schedule it as well. Click the OK button to enter the task for the Sales Person. You can also click the OK & Schedule Again button to enter the task and immediately open Task Entry again to enter a different task.
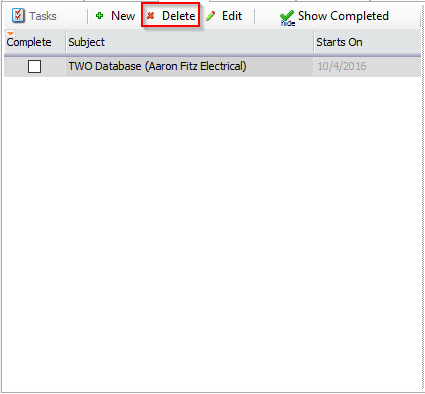
To delete a task, select it from the list, then click the Delete button.
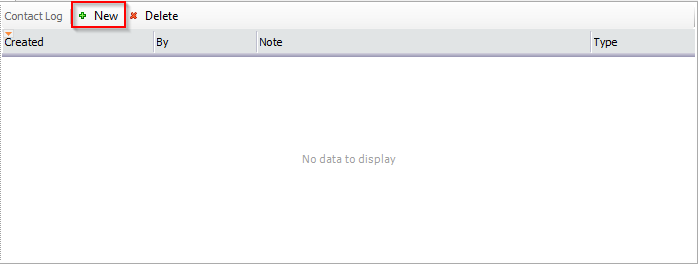
To add a new note to the Contact Log, click the New button in the Contact Log window.
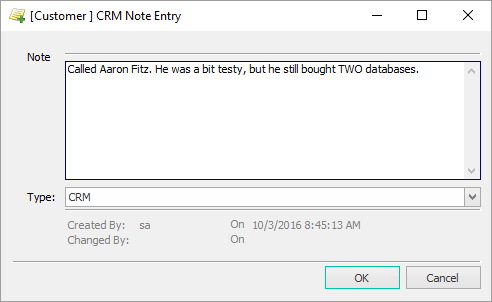
The CRM Note Entry window will pop up. Here, you can type out your note in the text box. The type of note can be selected in the dropdown menu at the bottom of the window. Once you have finished, click the OK button to add the note to the Contact Log.
Opportunities
This tab allows users to see all of the opportunities generated by the Sales Rep. You can also use the auto-filter row to quickly sort through their opportunities.

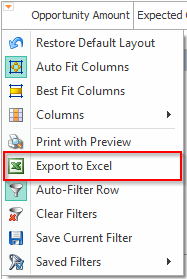
You can also export this information to an excel grid. To do this, click on the orange triangle in the top left of the grid. A dropdown menu will appear. Select Export to Excel to open up a navigation window. Navigate to where you want to save the grid, then click the OK button.
User Fields
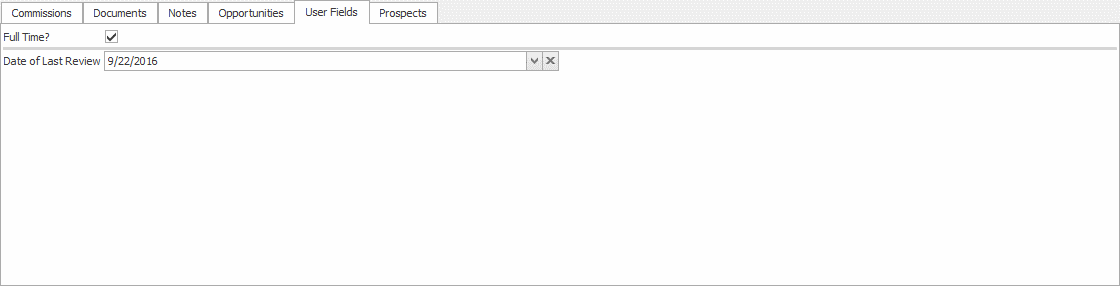
This tab allows users to see the Sales Person User Fields and edit them. These fields can be created in the User Field Editor under the Sales Rep category. For more information on creating User Fields, please refer to our User Defined Fields documentation, as well as our User Field Editor tutorial video.
Prospects
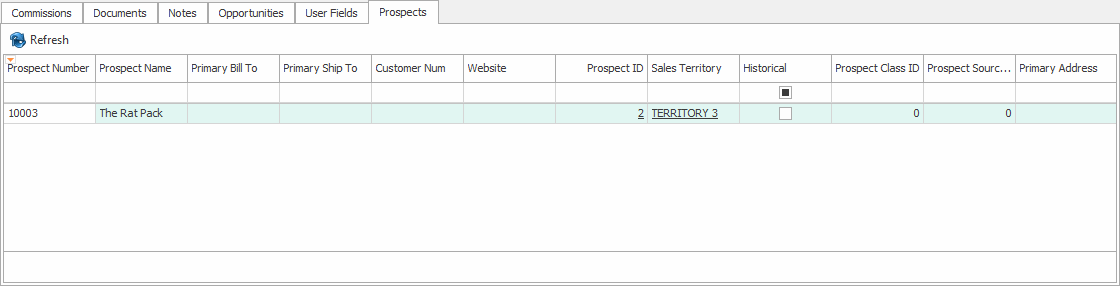
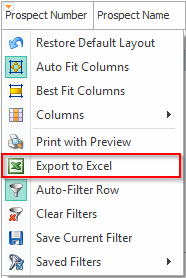
This tab allows user to see all of the prospects assigned to the Sales Rep. You can also use the auto-filter row to quickly sort through their Prospects.
You can also export this information to an excel grid. To do this, click on the orange triangle in the top left of the grid. A dropdown menu will appear. Select Export to Excel to open up a navigation window. Navigate to where you want to save the grid, then click the OK button.
Security
Sales Person Card* – Allows users to open and view the Sales Person Card
Sales Person Commissions – Allows user to view and edit the Commissions tab
Sales Person Documents* - Allows user to view the Documents tab
Sales Person Notes* - Allows users to view and edit the Task and Contact Log in the Notes Tab
Sales Person Opportunities – Allows users to view the Opportunities tab
Sales Person Properties* - Allows users to view and edit the Properties on the Sales Person Card
Sales Person Prospects – Allows users to view the Prospects tab
Sales Person User Fields* - Allows users to view and edit the User Fields tab
Note: Securities with an asterisk (such as Sales Person Card) have sub-securities that are listed in the middle section of the Security field. Sub-security descriptions appear in the bottom section of the field. Review and customize these as desired.
SalesPad Support
Comments