Overview
All columned grids throughout SalesPad are customizable. Individual users can choose to display only certain information and changes will remain for the individual user on subsequent logins.
Some individual grid customizations require proper security. Refer to the SalesPad Security Settings guide for more information (example: Can Export Grid sub-setting).
Arranging Columns
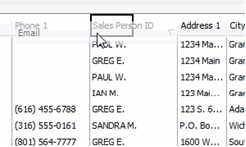
Click and drag column headers to organize their position on the grid:
Adding and Removing Columns
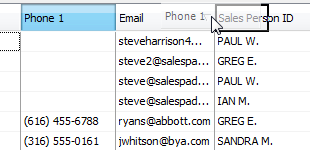
To remove a column, click and drag the column header down until the “X” appears:

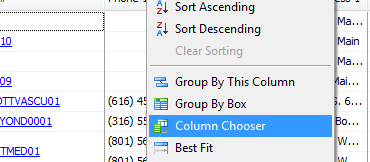
To add a column, right-click on the header and select “Column Chooser”:
A customization box opens:
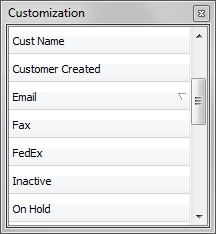
Find the desired column and drag it from the box to the desired location on the header:
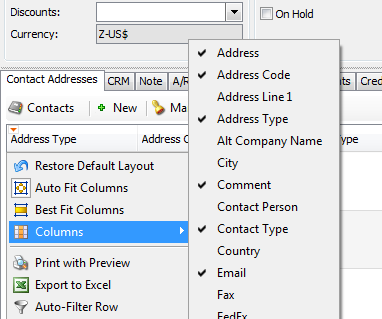
You can also click the orange triangle (  ) drop-down in the top left corner and choose columns to display from the “Columns” drop-down:
Orange Triangle / Filtering
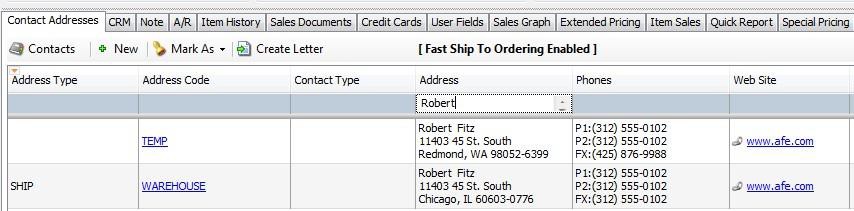
In addition to adding columns, the orange triangle drop-down also allows printing and exporting of grid information (“Print with Preview” or “Export to Excel”), default layout and fit options, and access to the auto-filter row, where you can filter the grid display by an entered search term:
Wildcards
Use the % and * wildcards with the filter line:
For example, typing “andr” will return results for Andrew, but “%andr” or “*andr” will return anything containing those letters, and would return both Andrew and Sandra.
Removing Filters
If you remove the auto-filter row, the grid display will still be filtered by any entered search term until the filter is removed. Remove the filter either by selecting “Remove Filters” from the orange triangle drop-down, or by unselecting the search term check box or closing the display on the bottom of the screen:

Editing Filters
If more than one filter was used, you can click the down arrow on the bottom display and choose a filter to re-apply:

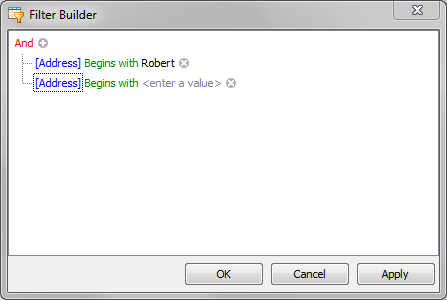
You can also click “Edit Filter” on the right side of this display and change the current filter by clicking the “+” or “x” symbols, entering any values, and clicking “Apply”:
Column Filters
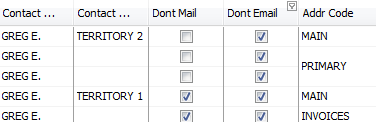
Some columns have an icon indicating that you can filter by results. Click the icon and select a filter from the drop-down:
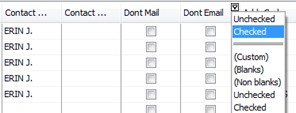
In the example, the filter choices were “Unchecked” and “Checked.” With “Checked” selected, the results are now filtered so only results with the “Don’t Email” box checked display:
If you select “Custom” from the filter drop-down, you can create a custom filter from the “Custom AutoFilter” popup:
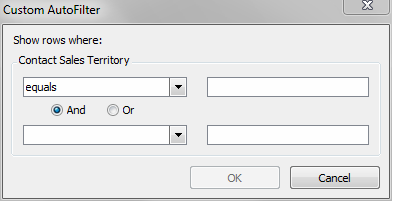
Select a filter and enter a value in the field. The grid will return only results matching the entered filter.
Auto Filter Row
If this is set to “True,” whenever an auto-filter row is used on any grid view and closed the next time the grid-view is opened, the previous value in the auto-filter row will be restored (this is our default behavior).
When set to “False,” whenever an auto-filter row is used on any grid view and closed the next time the grid-view is opened, the auto-filter row will be blank.
This also affects user defined fields that have a quick report view.
Organizing Results
Click on a column header to toggle the display, sorting in ascending/descending order (for example, alphabetical or reverse alphabetical order). The arrow on the right side of the column will indicate if it is being sorted ascending or descending:
Grouping by Column
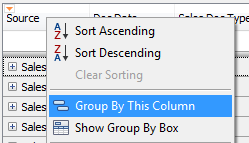
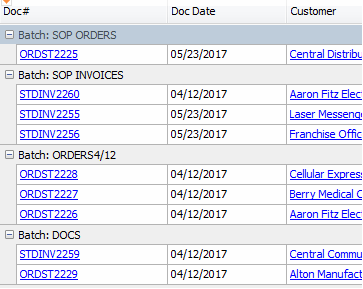
Users can right-click on a column header and select “Group By This Column” to change the grid layout to expandable/collapsible sections based on the chosen column header:
You can ungroup by selecting “Show Group By Box,” right-clicking on the column name in the “Group By Box,” and selecting “Ungroup.” For more details on using advanced grouping features, please contact SalesPad support.
Any grid organization, position of columns, or filters left upon log out will persist the next time the user logs in.
SalesPad Support
Comments