Overview
The following instructions will guide you through the process of upgrading or uninstalling your version of SalesPad Desktop. To request a new version of SalesPad Desktop, fill out the upgrade request webform.
Menu
Upgrade Requirements
- The current SalesPad Desktop build (provided to you after you've filled out the upgrade request webform)
- Administrative privileges on the computer where you will be installing SalesPad Desktop
- The name of the SQL Server database to which you will create a SalesPad Desktop connection
- The System Administrator (sa) password for the SQL Server database to which you will create a SalesPad Desktop connection
Upgrade Installation
Before upgrading your version of SalesPad Desktop, all users need to log out of the database that you are upgrading. If you're only upgrading your test system, users only need to log out of that database. Users do not need to log out of Dynamics GP during the upgrade. Additionally, we recommend performing a SQL database backup before upgrading your version of SalesPad Desktop.
NOTE: The 'Database Update' and 'Can Apply Database Update' securities need to be enabled in order to successfully update SalesPad Desktop.
To begin the SalesPad Desktop installation, open the installation file provided to you. The Setup Wizard will appear. Click Next, then read and accept the EULA (End User License Agreement) by clicking I Agree.

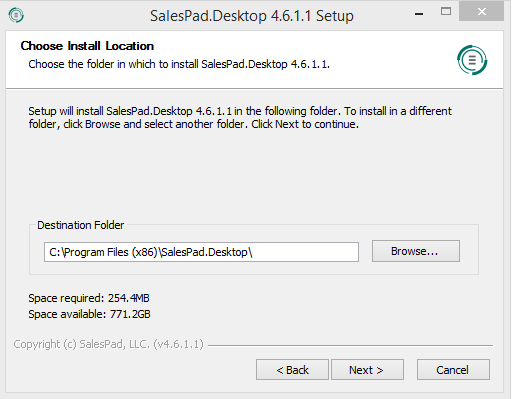
Choose the location you want to install the program to. By default, the system will show the last location where you installed SalesPad Desktop. Typing a new location in the Destination Folder field will automatically create the new folder for you, if the location you want does not already exist.
Note: You will need to install in a new location if you are planning on running multiple versions of SalesPad Desktop. For example, if you are testing a new version of SalesPad Desktop on the same computer that you access your live environment from, you need to choose a new location for this installation.
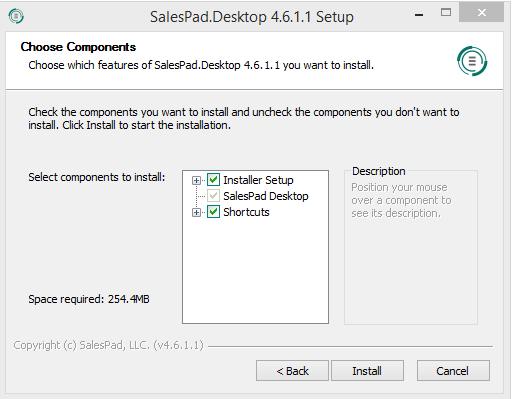
You will now have the option to include shortcuts during the installation or not. Mark your preference, then click Install.
Note: Shortcuts can be created after installation by navigating to the installation location and right-clicking the SalesPad.exe file, then choosing Send To, then Desktop.
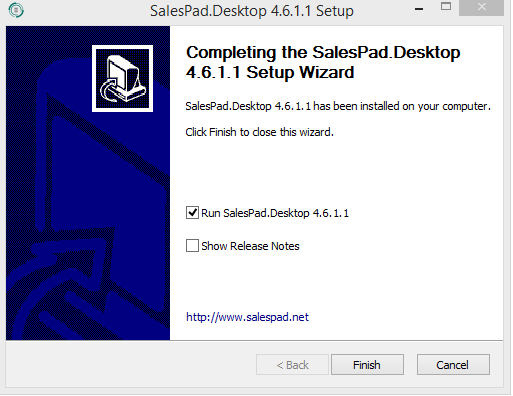
If you have additional DLLs to add to your installation, uncheck Run SalesPad.Desktop and click Finish. Leave that option checked if you do not have any additional DLLs to add to the installation.
Database Update
Once you launch the new version of SalesPad Desktop, make sure that you are logging into the database you want to upgrade. If that connection does not exist yet, you will need to click the + button and create a new one.

We recommend logging into SalesPad Desktop with the admin account so that you have the permissions needed to run the database update.
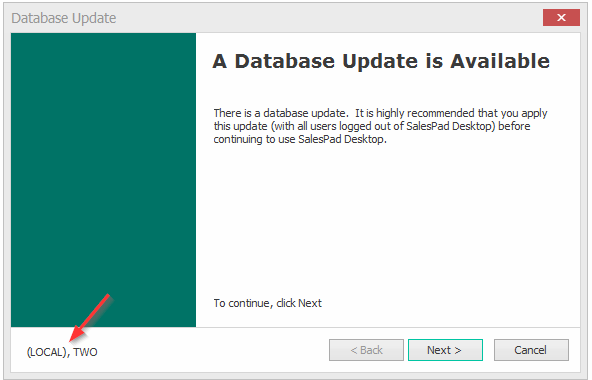
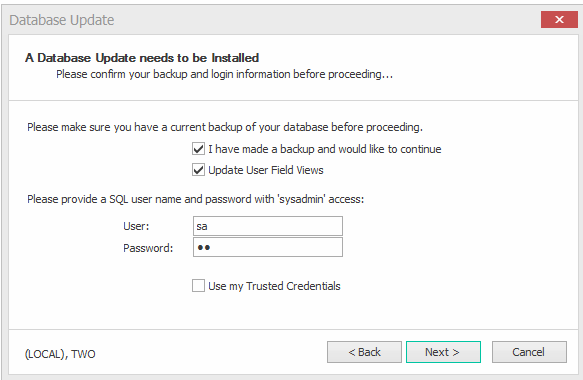
The Database Update prompt will appear the first time that you log into the new version of SalesPad Desktop. The bottom left of that pop-up window will display the name of the SQL Server and the database that you are upgrading. Double-check that these are correct, then click Next.
Next, check the box indicating you've made a backup and provide a SQL username that has sysadmin access. Please reference our SalesPad Installation and Connection Guide for the minimum requirements for the SQL user. Click Next.
Note: The Use my Trusted Credentials checkbox will only work if the current Windows user logged in is also a SQL user with sysadmin access.
After successfully running the database update, click the Next button, then select Finish.
Additional Notes
- After the successful database update, you will need to install the new version of SalesPad Desktop on all machines that access that database.
- The update only runs once per database, so if you first upgrade your test system, you will need to also update your production database.
UNINSTALLING SALESPAD DESKTOP
To uninstall SalesPad Desktop, navigate to the SalesPad Desktop installation folder and run the executable uninstall file. If you need to remove objects from the database, contact SalesPad Support for help with this step.
SalesPad Support
Comments