Overview
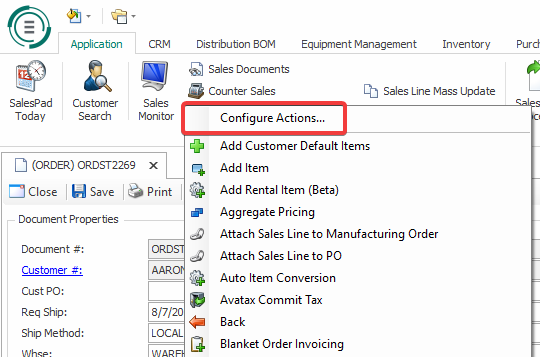
The Configure Actions feature, accessible from the Actions button (  ) on sales documents, sales lines, Customer Cards, or purchase orders, allows users to organize the sequence of the menu items and add Action Buttons for plugins on the header.
Usage
On a sales document, sales lines, Customer Card, or purchase order, click the Actions button ( ) and select Configure Actions from the drop-down
The Configure Action Items screen appears:
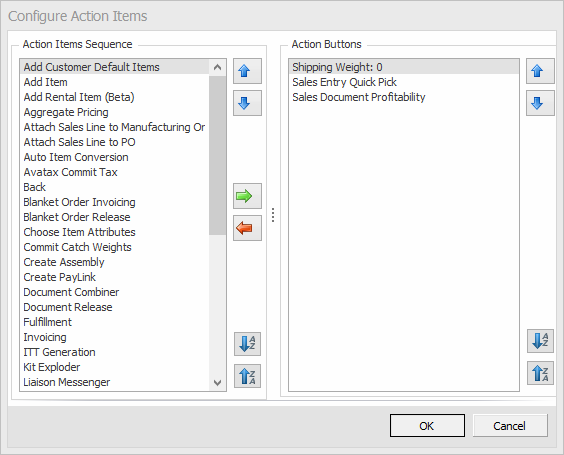
You can change the sequence of the Action Items (plugins) by selecting one from the list and clicking the up or down arrows on the right to move it. You can also sort alphabetically from A-Z or Z-A using these buttons:
You can also pull a plugin onto the toolbar for the Sales Document Entry window. To do so, select the plugin you want to make into an Action Button, then click the green arrow to pull it into the Action Button grid on the right of the Configure Action screen. The actions should show on the toolbar as shown here:

If you would like to remove an item from the Action Buttons highlight that plugin and clock the red arrow to move it back to the drop-down menu.
SalesPad Support
Comments