Introduction
This document covers the setup and use of the Mobile Item Label Printing screen in Inventory Manager. Item Label Printing is intended to be used with supported portable Zebra label printers, a list of which can be found at the end of this document.
NOTE: Android Handhelds cannot access Item Label Printing before version 5.7.0.
Settings and Security
As with all screens in Inventory Manager, the Mobile Item Label Printing screen must be enabled in the Security Editor for all user groups that need access.

In the Settings editor, there is one setting directly related to Mobile Item Label Printing:
- Print Small Barcodes On Mobile – When enabled, Mobile Item Label Printing will print a more compact version of the barcode. This is useful when Item Numbers are longer than 15 characters in length, since the barcodes may not fit on the label without scaling. Defaults to ‘False’.

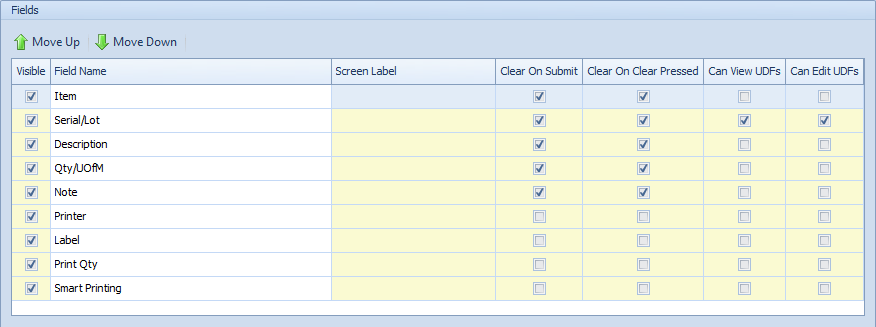
Additionally, the Mobile Layout Manager controls where Item Label Printing appears in the main menu, which order its fields appear in, which fields clear when submitting a transaction, and other functionality.
Setup on Device
Android
On the mobile device, open the Settings app and navigate to the Bluetooth page. Click the ‘Pair new device’ button and pair with a Zebra printer.
In Inventory Manager, log in and select Accessories in the main menu. Tap on the Zebra Printer cell to open the Zebra Printer settings page. Tap on the Device cell and select the paired Zebra printer. Inventory Manager will then attempt to connect to the printer.
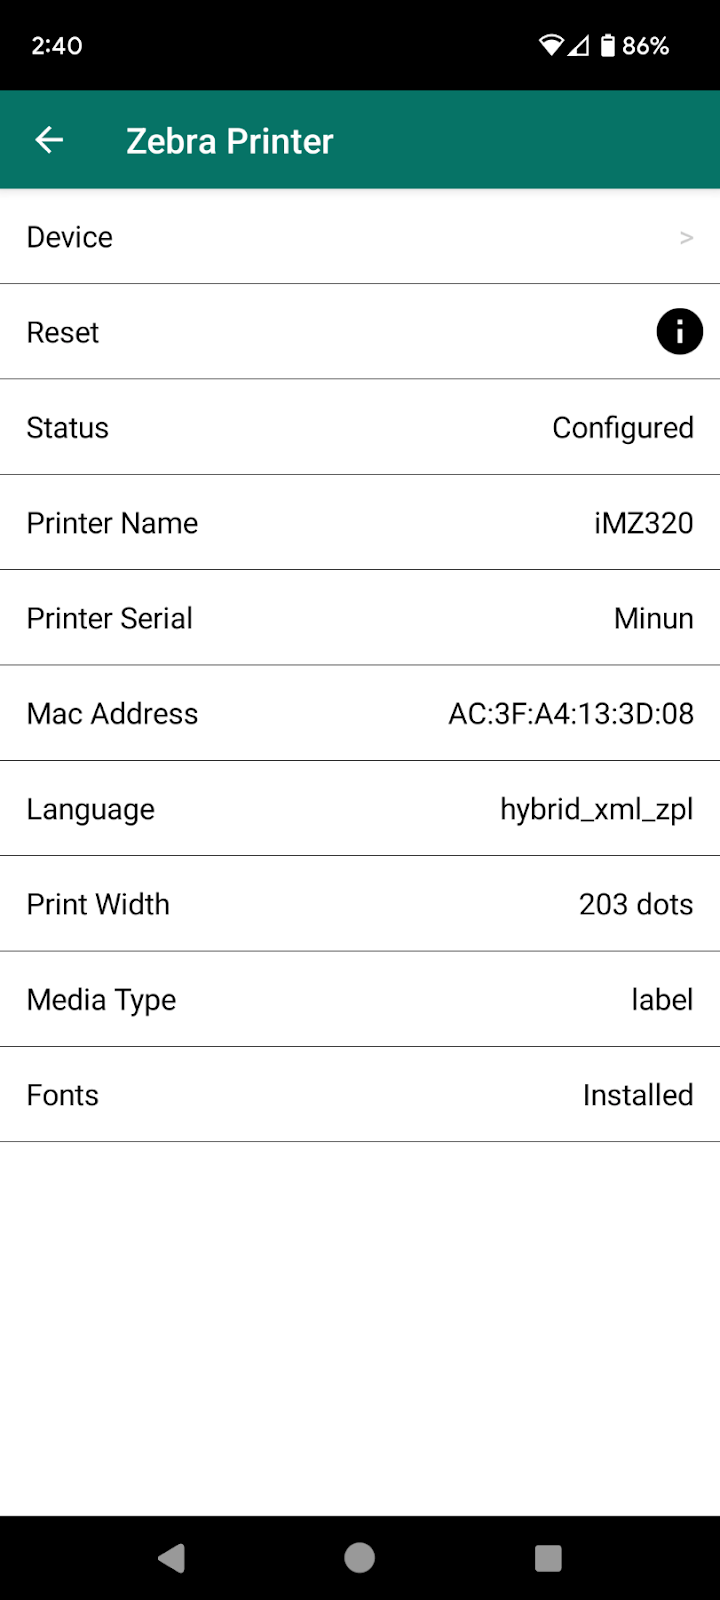
Once a printer is selected, the Item Label Printing module will automatically use it when printing.
Windows Mobile
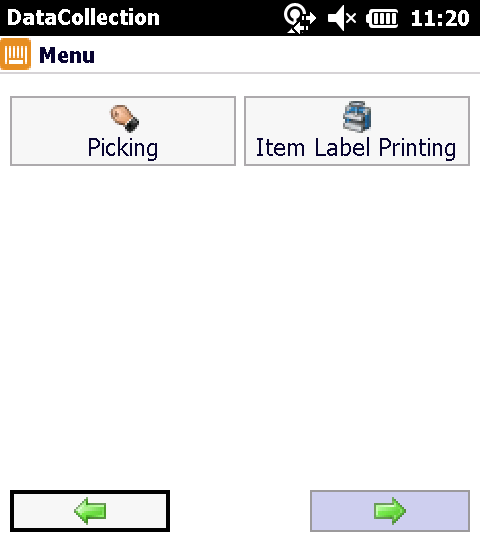
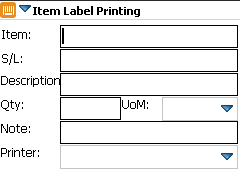
Log in to the mobile device and locate the Item Label Printing button. It may be on another page.
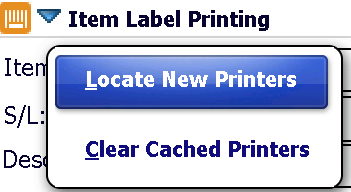
You will see the following screen by default. To find new printers, click the blue arrow in the top left corner to access the Actions Menu.
Click on Locate New Printers. The scanning process can take a few moments, usually around 20-30 seconds. The scan searches for discoverable Bluetooth devices in range and does not require the devices to be paired in order to be used.
You will see something similar to the screenshot below, depending on how many Bluetooth devices are in range. To save a printer, you will need to provide a nickname in the box below its Device Name. By default, Zebra printers use the serial number of the printer as the Device Name.
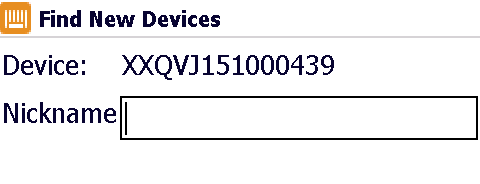
After entering a nickname, click OK to return to the Item Label Printing screen. There should now be a value in the Printer field. This field will load the first printer in the cache. If a device is no longer needed in the cache, you can use the Clear Cached Printers option in the Actions menu to start clean.
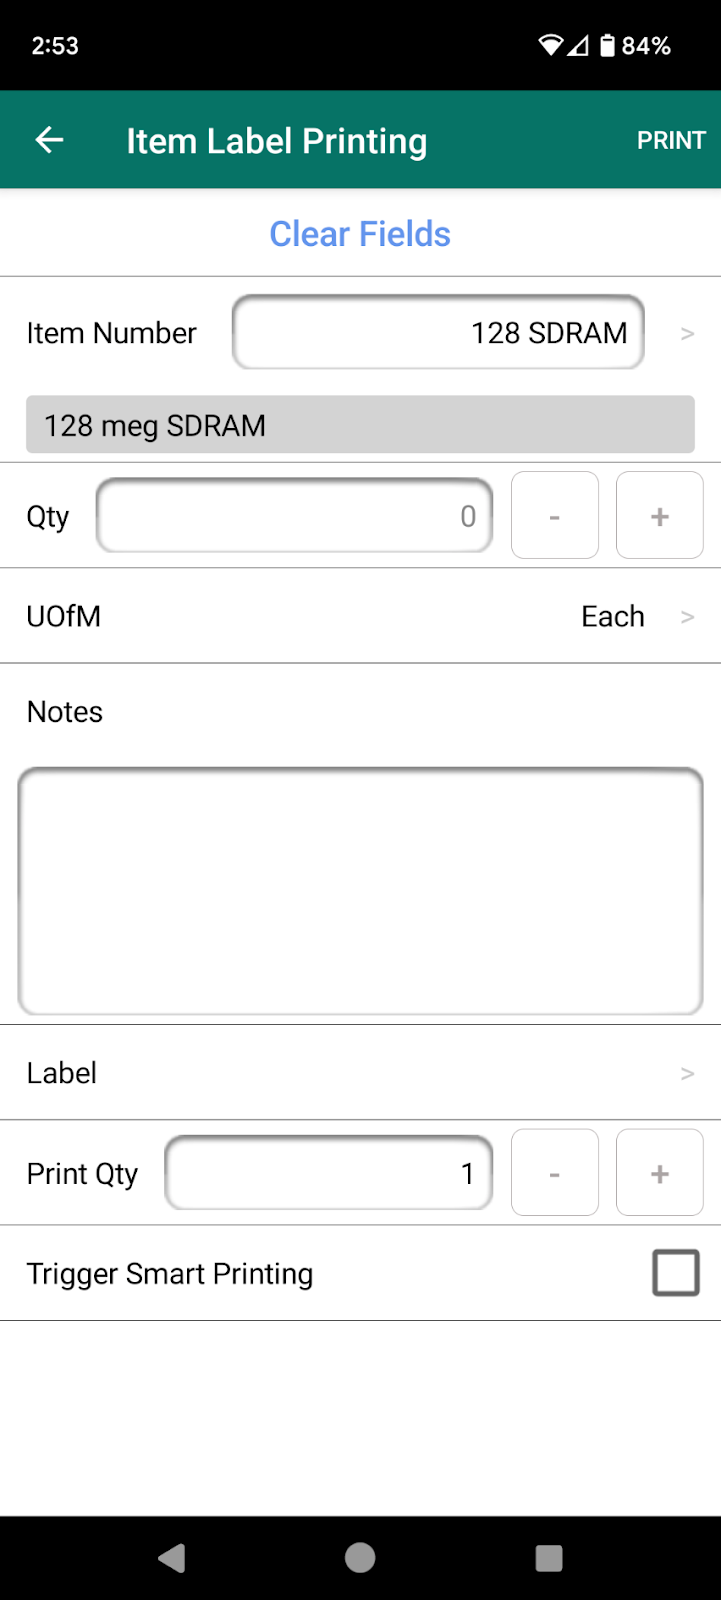
Using the Screen
To print an Item Label, simply enter all appropriate information into the screen and click Submit. The mobile device will attempt to print a standard label to the selected printer. Serialized items will only print one label at a time, for the first serial number scanned.
Supported Printers
Inventory Manager only supports Zebra printers.
Android
- iMZ series
- QLn series
- RW series
- P4T series
- RP4T series
- ZQ500 series
- ZQ300 series
Windows Mobile
- iMZ series
SalesPad Support
Comments