Overview
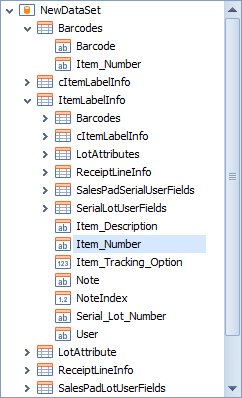
The Item Barcode Maintenance module of DataCollection allows users to create custom barcodes for items. These can then be used as barcodes for item labels created in Report Manager. In this document you will learn how to create, delete, and edit barcodes in Item Barcode Maintenance. You will also learn how to create and bind a barcode field in Report Manager.
Table of Contents
Usage
To begin, open the Item Barcode Maintenance module.
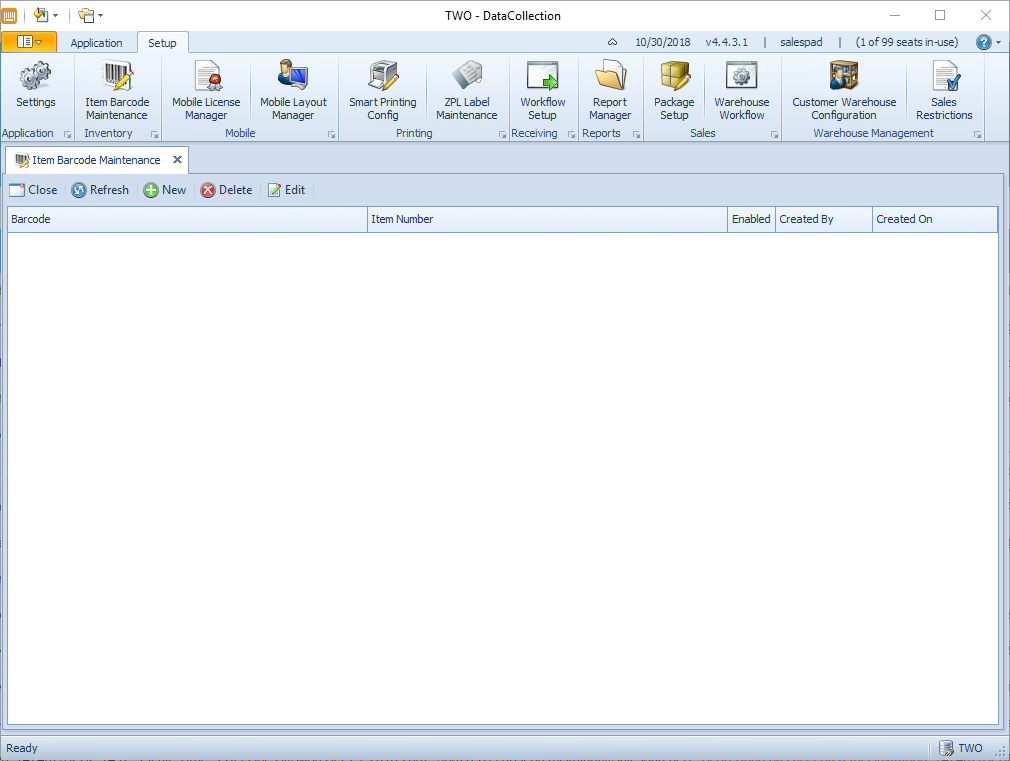
Creating an Item Barcode
To create an item barcode, click the New button.

This will open the New Barcode window. Enter the custom barcode number and the item you want to associate it with.
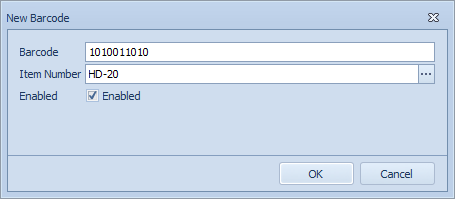
You can manually enter the item number, or you can search your inventory by clicking on the ellipsis to the right of the Item Number field. There is also a check box that allows you to determine whether or not the barcode is enabled. If a barcode is not enabled, it will not display for the assigned item.
Deleting an Item Barcode
To delete an item barcode, select an existing entry and click the Delete button. A confirmation window will pop up. Click Yes to delete the barcode, click No to cancel the operation.
Editing a Barcode
To edit an item barcode, select an existing entry and click the Edit button. The Edit Barcode window will pop up. This window is identical to the New Barcode window. From here, you can change the barcode value, the item number the barcode is assigned to, and enable or disable the barcode.
Report Designer
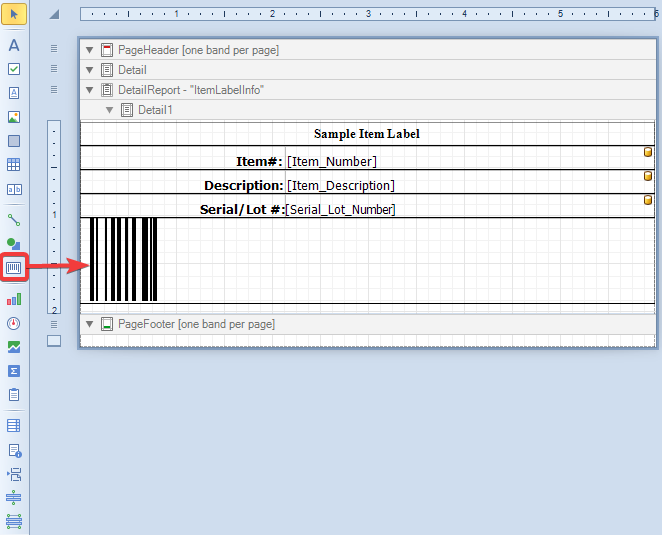
Creating an Item Label
When designing a report with the Item Label type, click and drag the barcode item along the left side of the report designer to pull a barcode onto the report. Place the field wherever you want.
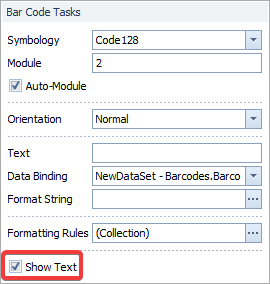
From here, you will need to click the green arrow in the top right of the barcode field. This allows you to set what data the barcode is pulling in. You will also want to enable AutoModule, which will automatically fit the barcode to fill the entire field.
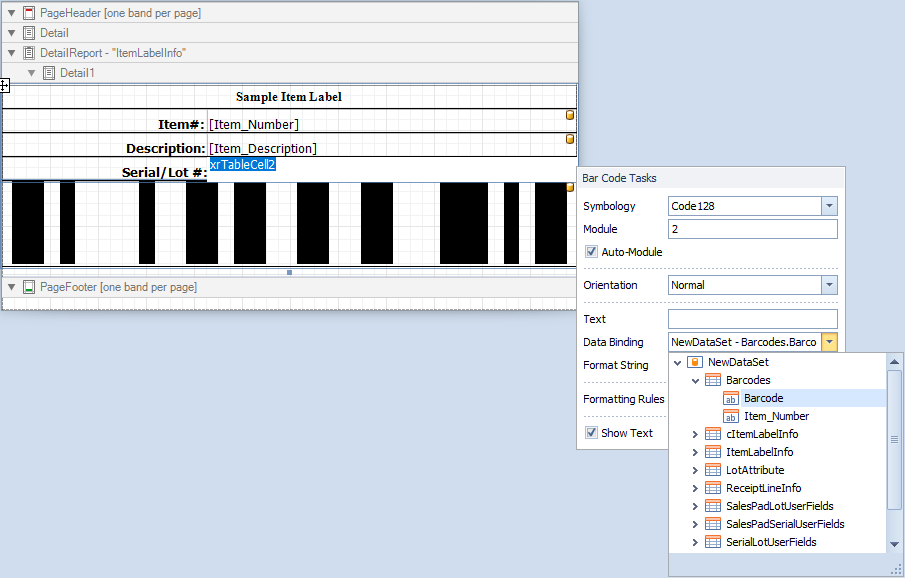
Bind this field to the barcode by clicking on the arrow that appears above the label when it is selected, then use the dropdown menu for Data Binding to select the Item Number field we found previously. After you have bound the field, enable Show Text by clicking on the check box in the label properties.
Security
Item Barcode Maintenance – This security allows users to access the Item Barcode Maintenance module.
SalesPad Support
Comments