Overview
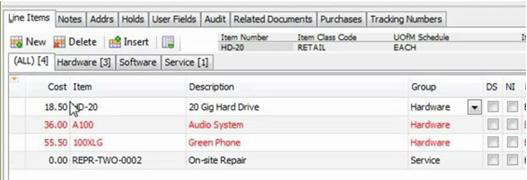
Sales line items can be grouped under separate tabs during order entry. The following example shows a document with Hardware, Software, and Service groups:
All items on the document:

Service group items:

Use – Grouping Line Items
Group names entered in Modules > Settings appear as tabs on the sales document, and the column name entered becomes a column with a dropdown menu for each line. Group names also appear in the dropdown for selection.
To add a line item to a group, either
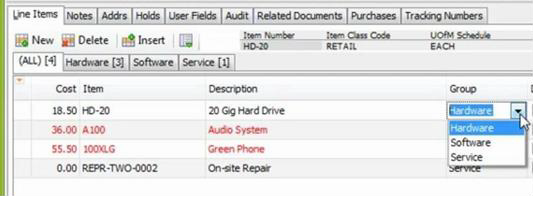
- Select an existing line item and click the arrow under the custom group column to display the dropdown. Select a group from the list:

- Click on the desired group tab and click New to add a line item directly to that group The item will appear under the selected group’s tab, as well as under the All tab.
Note: Line item grouping can be used with report scripting to control which line items are printed. For more information, refer to SalesPad Reports documentation or contact your Account Manager to discuss getting a resource.
Note: A line item’s associated tab on each document is found in the ITEMCODE column on the SOP10200 table.
Custom Groups
Custom groups can be created when grouping sales line items. To create a custom group, follow these steps:
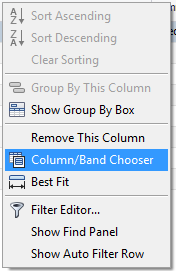
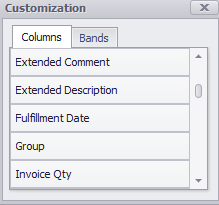
- Open a document, and then right-click on the Line Items section to open Customization.

- Click Group to open the Group Sales Line Items option.

- Once clicked, you can add custom variables to view data differently.

- For example: to view by day, you can enter Day 1, Day 2, etc.

- The Custom variables will show as tabs on the line.

Settings
Use Sales Line Item Groups - If set to True, the group labels specified in the Default Sales Document Groups will be visible during sales transaction entry.
Default Sales Document Groups - A semi-colon delimited list of sales line item groups
SalesPad Support
Comments