Overview
The Item Sales Options plugin allows users to add custom details to items (such as color, personalized message, etc.) via one or more SalesPad User Defined Fields. Once configured, item options can be entered/selected during sales document entry.
Item Sales Options can be set up in the following ways:
- True or false options (via check box)
- Single or multi-line text values
- A pre-defined dropdown list or free text edit of values
Additionally, an Item Sales Option can be set up as another item number, which is added to the original item during sales document entry.
In order to set up Item Sales Options, Sales Entry Options, Item Sales and Item Sales Options must be enabled in the Security Editor (Modules > Security Editor):
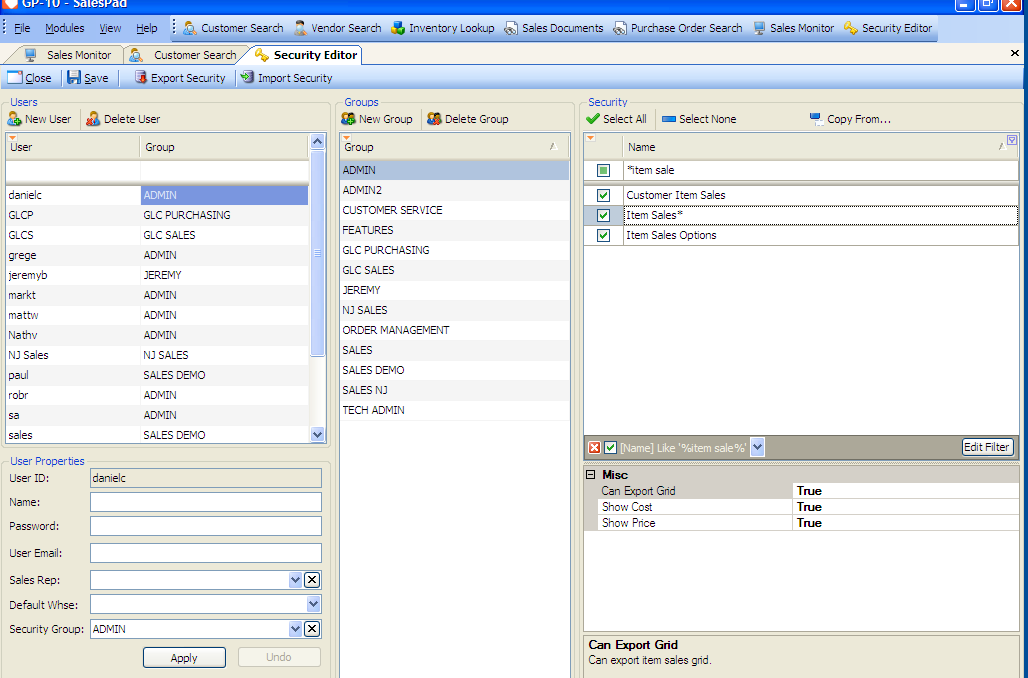
Make sure all three security settings are checked.
Save any changes. You must log out and log back in to SalesPad for security changes to take effect.
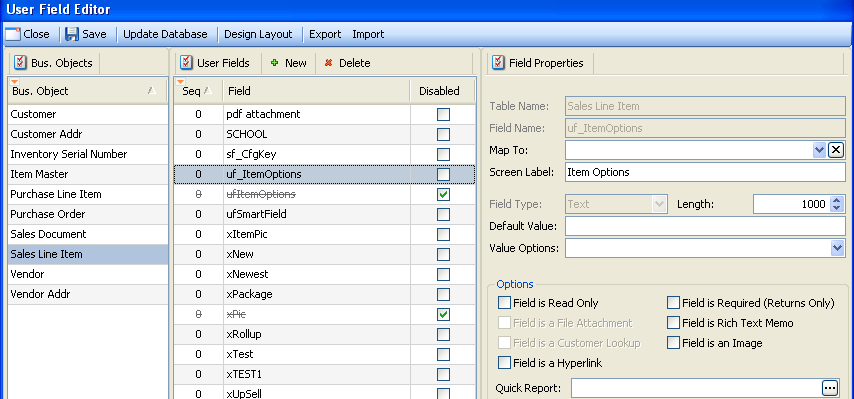
In Modules > User Field Editor, create a User Defined Field called uf_ItemOptions on the Sales Line Item.
*NOTE: Cavallo will not be supporting changes to this feature. If you require more advanced functionality, we recommend exploring our documentation on Configurator, Configurator Advanced Part One, Configurator Advanced Part Two, Configurator Kits and Packages, and Configurator with Manufacturing.
Procedure
- From the Bus. Object column, select Sales Line Item
- Click the New button in the User Fields column
- Enter uf_ItemOptions in the New User Field popup:
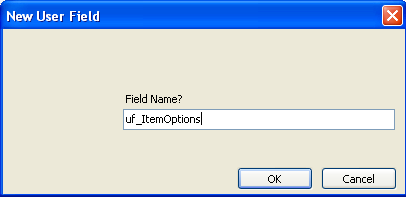
- Click OK
- In the Field Properties column, Type "Item Options" in the Screen Label field
- Set the Field Type to "Text" and enter a length for the new field
Note: Under Options, if Field is Read Only is checked, options chosen for a line item during sales order entry will not be editable. If the box remains unchecked, options can be changed after entry.
Sales Line Item User Defined Field Configuration
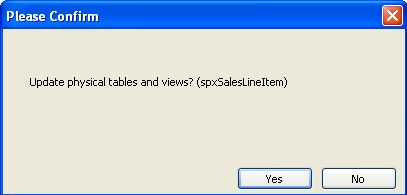
- Click Save
- Click Update Database and click Yes when you see the update prompt:
- After saving the user field, close the User Field Editor. SalesPad will prompt you to log out and log back in.
Note: Refer to the SalesPad User Defined Fields document for more information on creating user defined fields.
After enabling security and configuring the user defined fields, go to Modules > Inventory Lookup to set up Item Options.
Procedure
- Search for and select the item to create options for
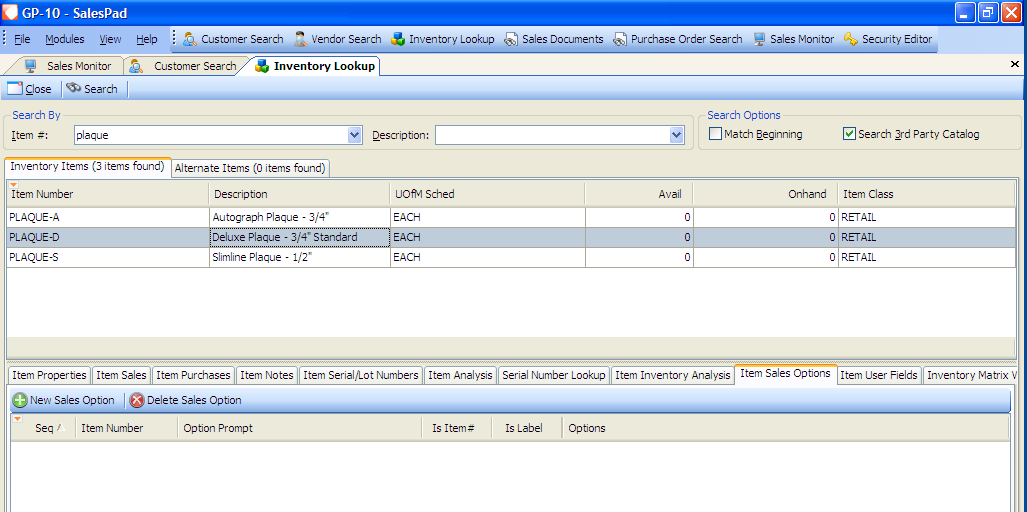
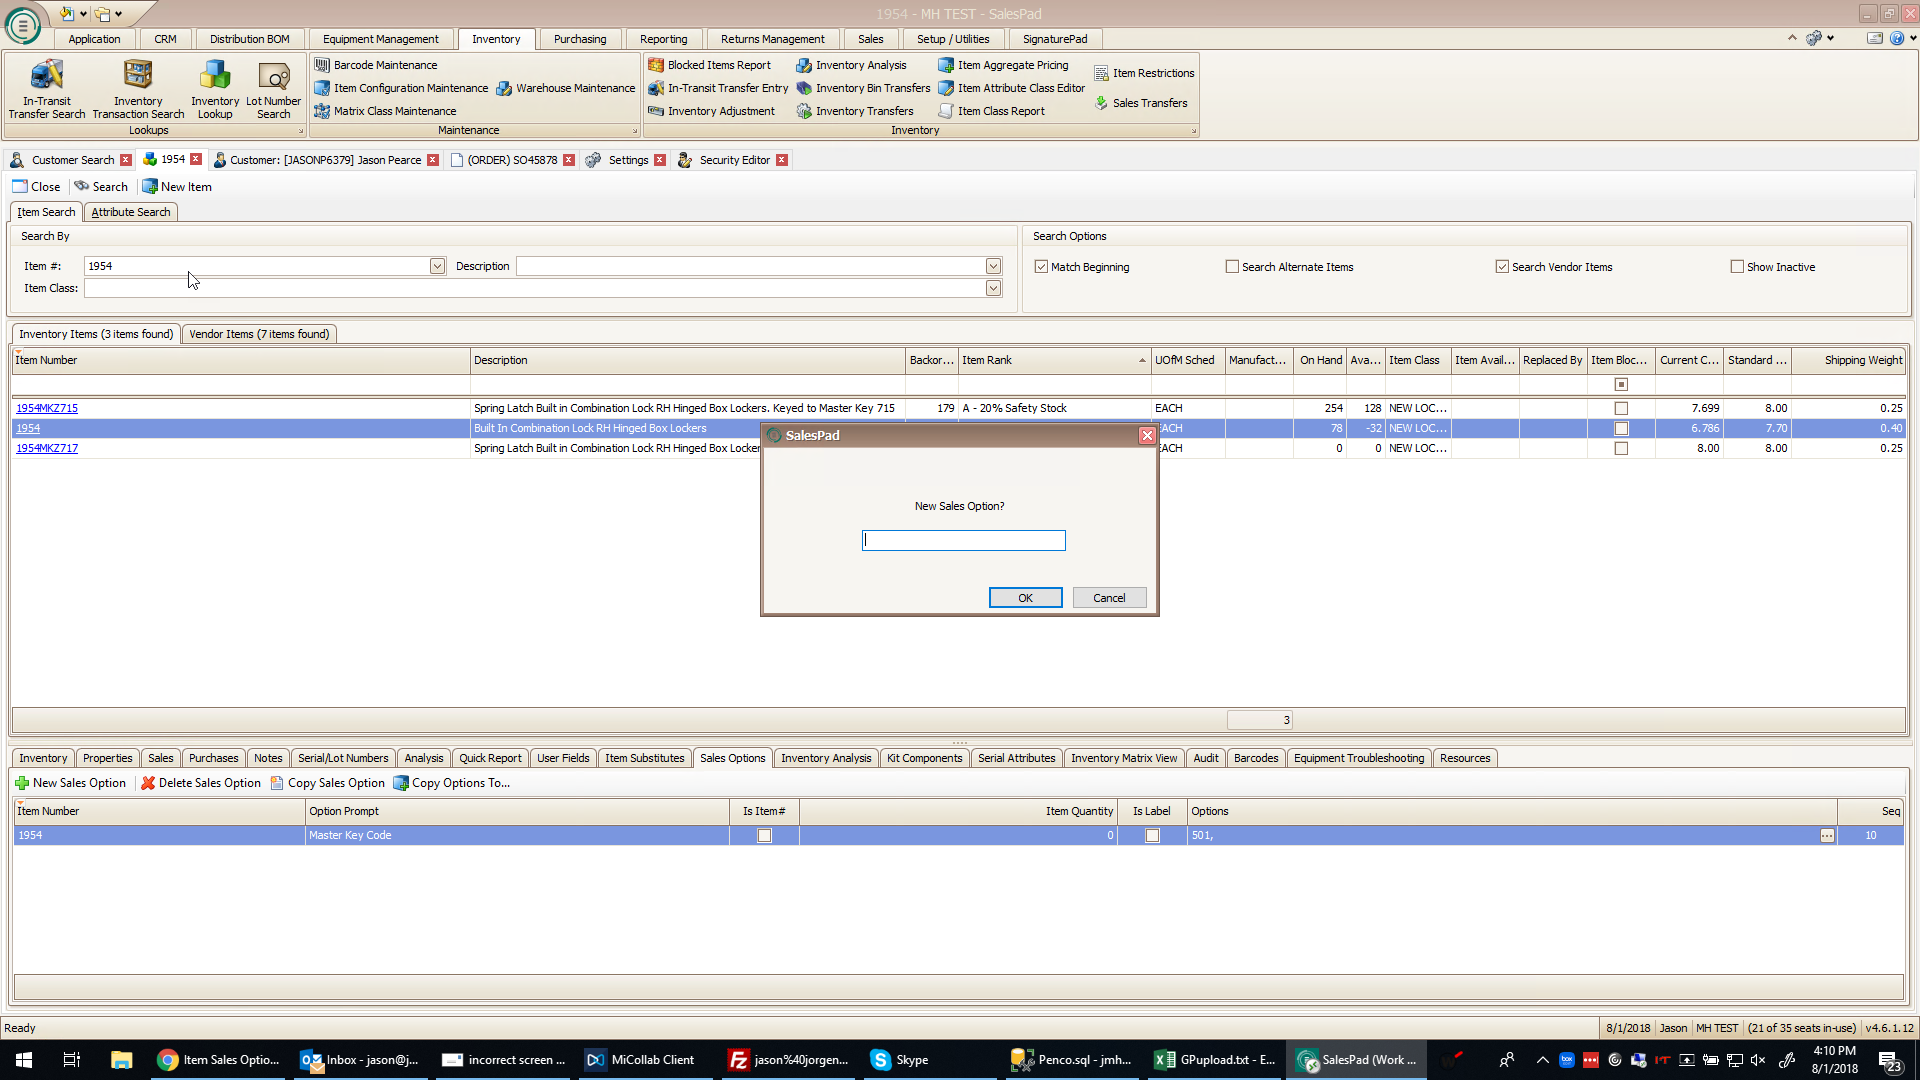
- Click the Item Sales Options tab and select New Sales Option
- Name the new option in the screen that appears (for example, Color)
- Click OK
- In the Options field, click the ellipsis to begin entering an options set

- In the screen that appears, type in options for the item
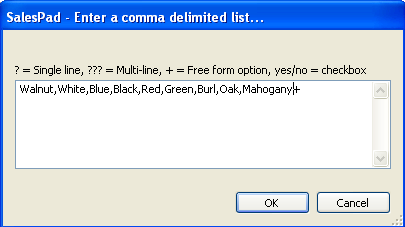
- Options separated by commas will result in a dropdown list. Putting a + after the list will allow free-form entry in addition to a drop--down list (for example, an additional color could be added manually during sales entry instead of the pre--defined choices). Otherwise, simply enter "?" for a single line entry field, "???" for a multi--line entry field, or "yes/no" for a check box.
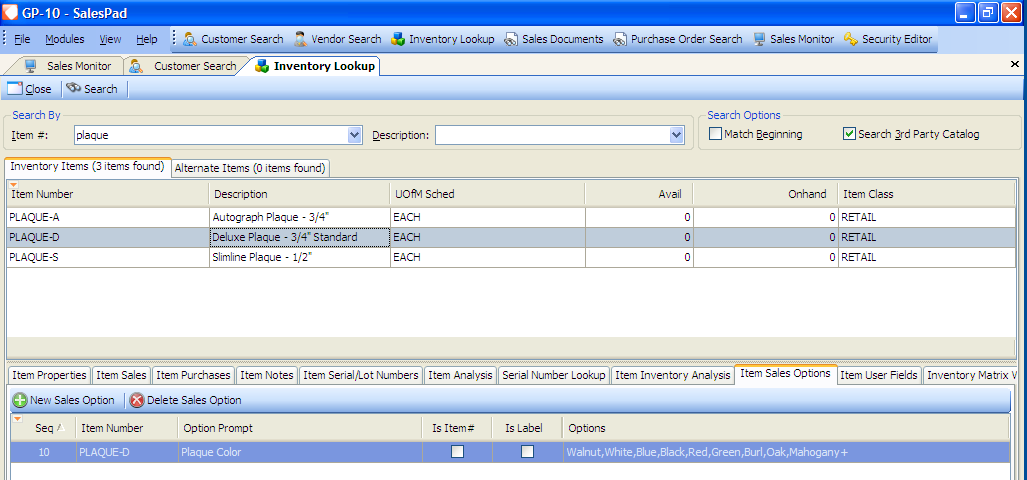
Note: In a sales document, a multi--line entry will appear in the Comments column of the Line Items tab. Other options will appear under the Item Options column. - Click OK. The options entered will be visible:
Note: The process can be repeated for additional options on the same item number:
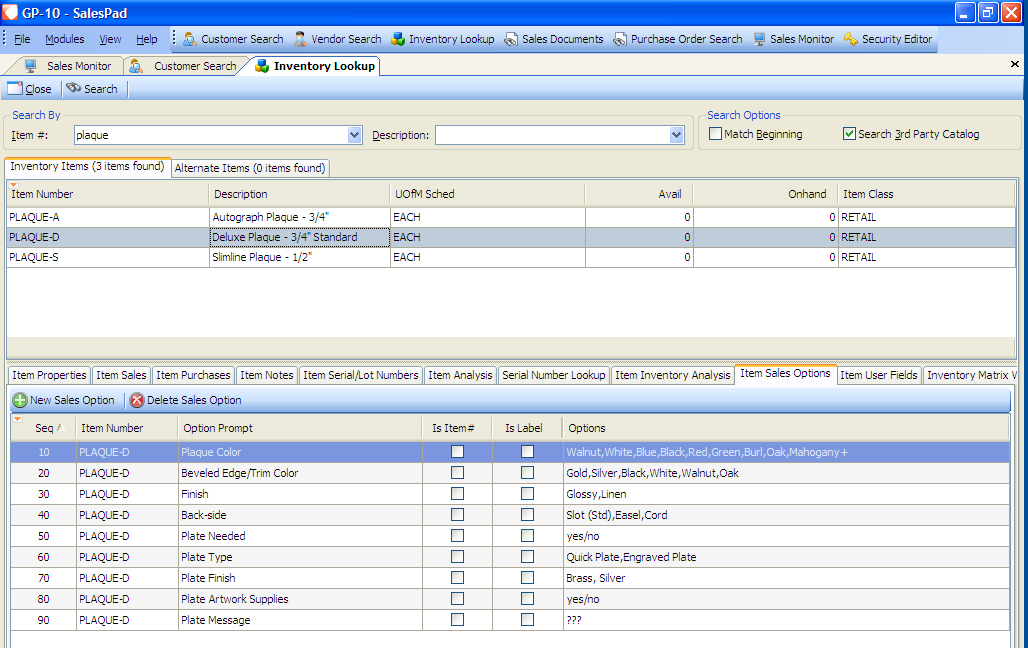
The Seq column in the grid represents the order (in intervals of ten) that the options will appear in sales order entry. By clicking in the field, the order can be changed.
If the Is Item# box is checked, the option will require an item number, which will add an additional item in conjunction with the original (for example, an accessory). If the option is configured as a free form entry, an item number must be entered; if configured as a dropdown list, pre-set item numbers can be chosen from that list. If the Is Label box is checked, text typed into the Options field will appear automatically and be read only.
Note: All Inventory Lookup/Item Sales Options changes are saved automatically.
Once Item Sales Options are configured, they can be selected during sales document entry when an item with options is entered in the Line Items tab.
Procedure
- Open a new sales document for a customer
- Enter the item with options as a new Line Item
- Press the Enter key or select Item Options from the Actions dropdown (
 ) on the Line Items tab. The Item Options screen should appear, where options can be entered or selected:
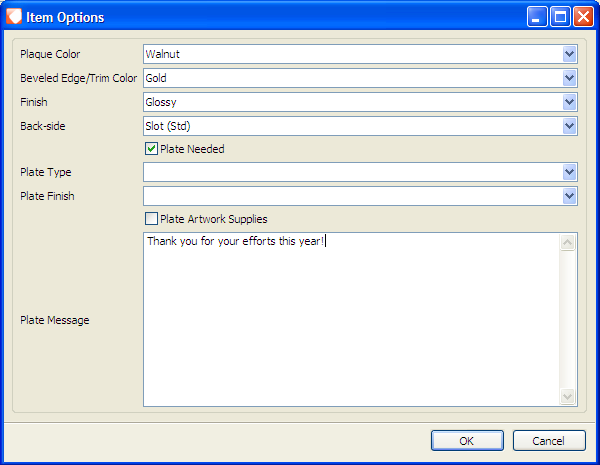
- Enter or select options and click OK
- Single line, check box, and dropdown menu Options will appear in the Item Options column (all options will be visible on hover). Multiline options will appear in the Comments column:

SalesPad Support
Comments