Overview
Grid Reports are powerful reporting tools that can be set up to display a wide range of information. Their primary purpose is to provide a mechanism to create and run simple reports based on SQL queries and user input.
Note: Grid Reports are only available in Advanced Console and Warehouse Management.
Security
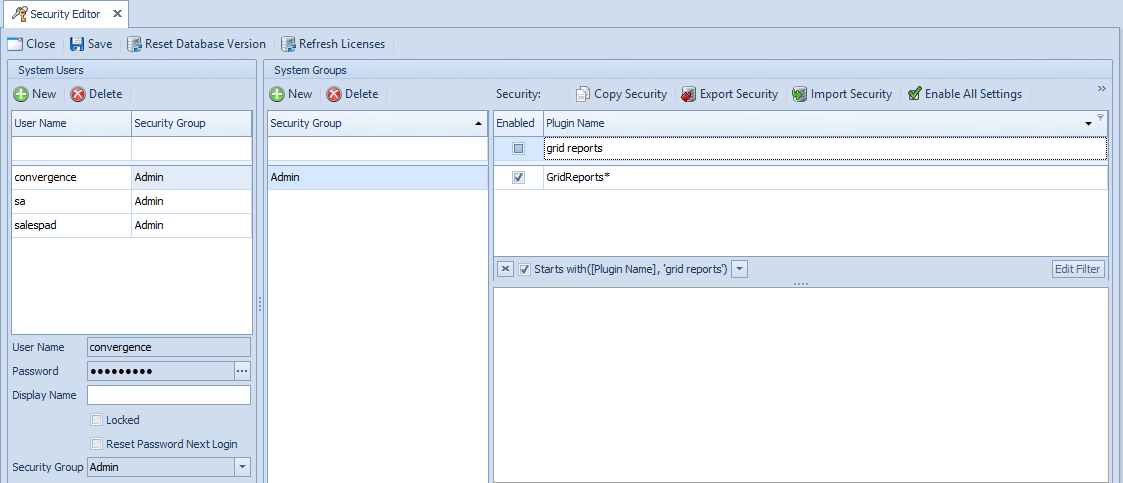
To enable Grid Reports in DataCollection, go to the Security Editor (Modules > System > Security Editor) and filter to Grid Reports. Make sure Grid Reports module is checked for the desired user group and save your changes. Log off and log back in for changes to take effect.
Usage
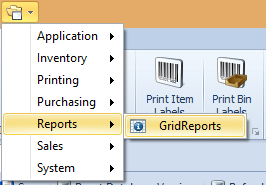
To activate Grid Reports, use the following steps:
- Go to the Modules folder.
- Scroll down to Reports.
- Click Grid Reports.
The following screen will appear:
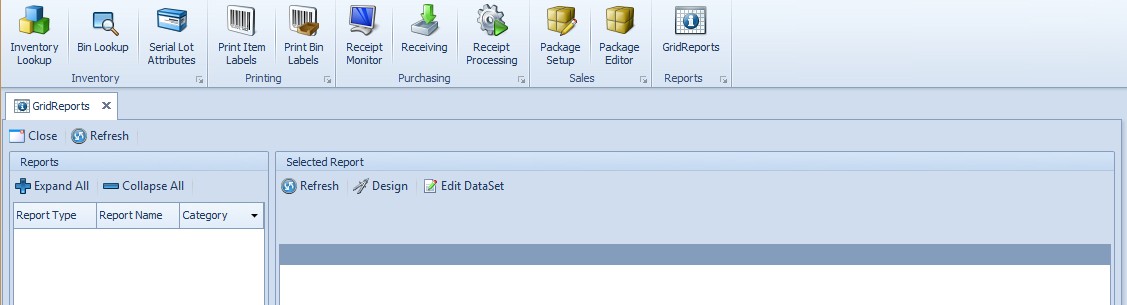
Grid Reports Screen
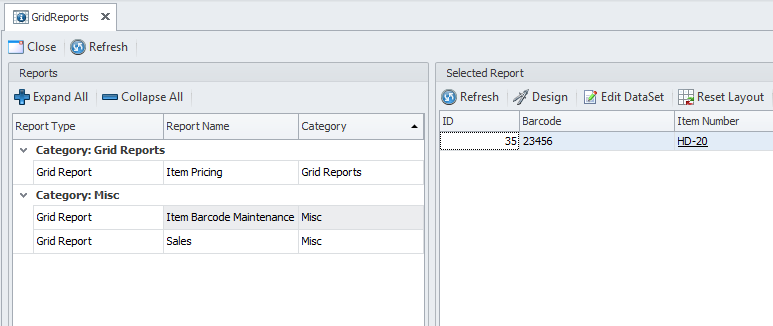
Reports Panel
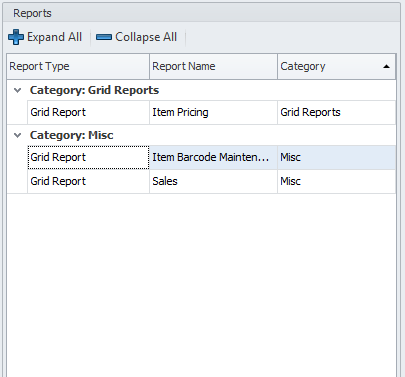
Expand All: Expands report categories.
Collapse All: Collapses report categories.
Report Name - Column header that displays the given name of the reports.
Report Type - Column header that displays the type of report, such as grid or printed report.
Selected Report Panel
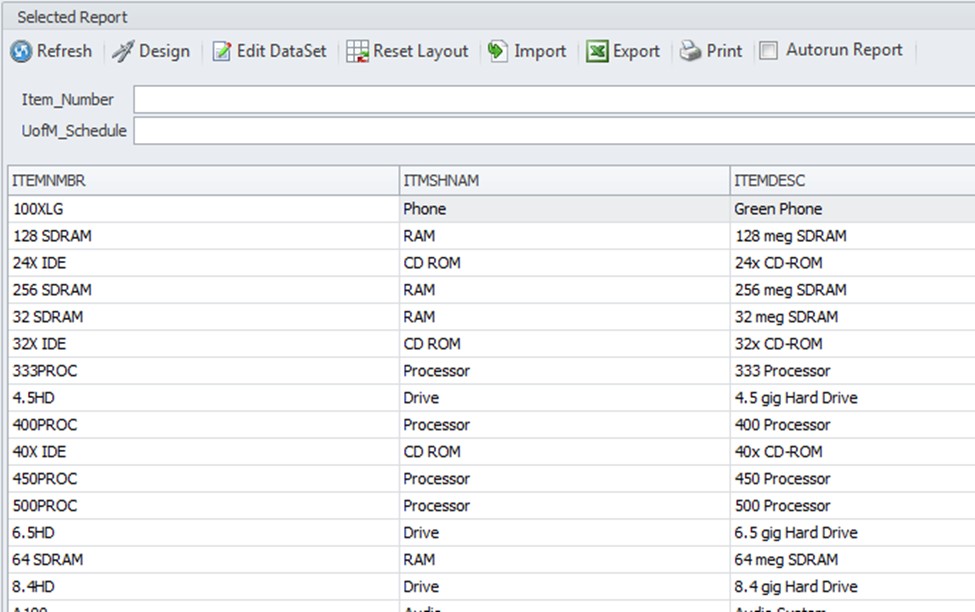
Actions Toolbar
Refresh - Runs the grid report and updates any changes made to the report.
Reset Layout - Resets any layout changes made to the report to the default setting.
Import - Allows users to import an existing *.xml or *.sprept file to create a new report.
Export - Exports the report data into an Excel file.
Print - Opens a Print Preview window allowing users to print grid report data.
Autorun Report - Determines if the report will automatically update data when it is selected from the Reports Panel.
Note: Design and Edit DataSet functions are only available in Report Manager.
Grid Reports Reference Guide
For a complete list of available XML attributes and tags, please refer to SalesPad Quick Reports Reference Guide.
SalesPad Support
Comments