Summary
The CRM Module provides a variety of different options for customers to work with different contacts, opportunities, prospects, and other functionalities of CRM. The latest version of the CRM build provides different options such as the new table in import manager for importing prospects. There are a variety of different ways to use the business objects and maximize the amount processes a business is using.
Requirements
- Must have SalesPad 4.3.2.0 or 4.3.1, which is the official release of the CRM module.
- Obtain the separate DLL from SalesPad Support (this must get dropped in the folder).
- See SalesPad Requirements for more information.
Search
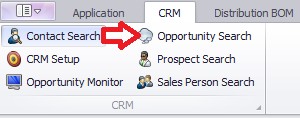
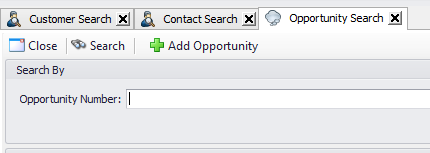
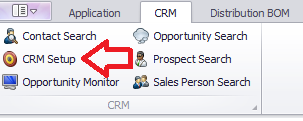
Click on the CRM ribbon, then select Opportunity Search.
The following window will appear:
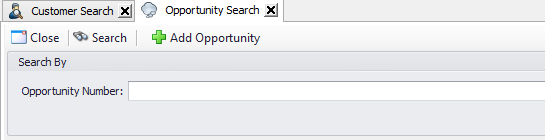
Enter in a number to populate a result
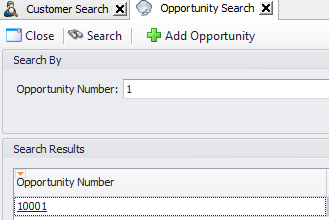
Click on the Opportunity Number to bring up the Opportunity Card.
Create Opportunity
To create an opportunity, you will need to follow the following steps.
Click the CRM tab, and the following screen will appear.
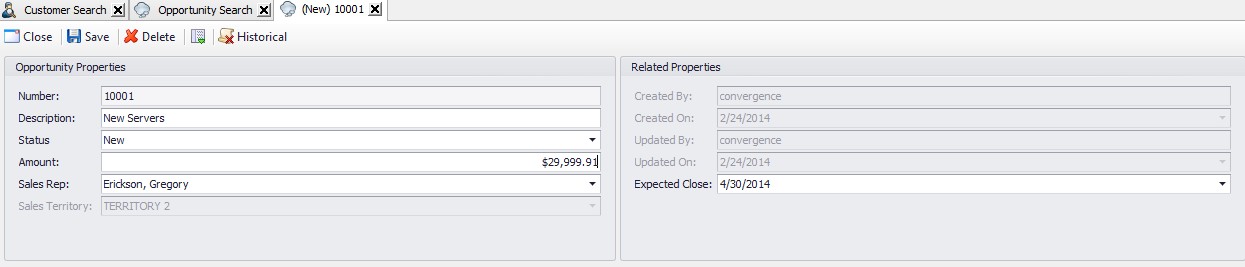
Click Add Opportunity the following screen will appear:

Enter all of the necessary information and click Save.
Note: To make further changes, click Save or Delete on one of the tabs below the Opportunity Card.


Note: Click Historical to make a historical record of an opportunity.
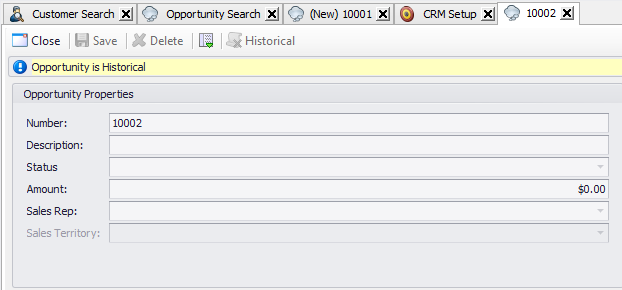
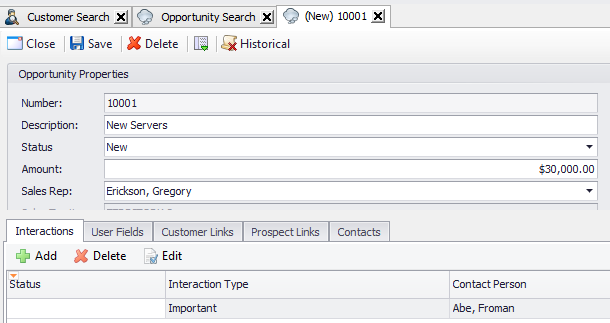
Opportunity Card
The Opportunity Card is broken up into several parts that are listed below:
- Number – Corresponds to the opportunity number.
- Description – Gives a brief explanation of the opportunity.
- Status – Shows the current stage of the opportunity.
- Amount – The price associated with the opportunity.
- Sales Rep – The person handling the opportunity.
- Sales Territory – The area that the opportunity is in.
Properties
Properties show the different options for opportunity properties.
Created By – Shows who made the opportunity. Created On – Shows when the opportunity originated. Updated By – Shows who modified the opportunity last.
Updated On – Shows when the opportunity was modified.
Expected Close – Shows when the opportunity is predicted to close.
CRM Setup Opportunity Status
This allows the user to set up the different statuses allowed for opportunities.
Click on CRM Setup.
Scroll down to the Opportunity Status tab.
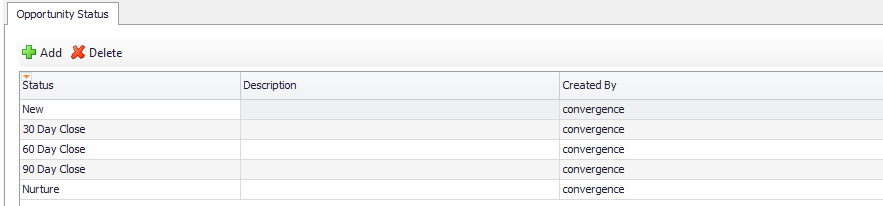
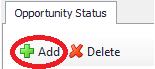
Click Add.
The following row will appear:
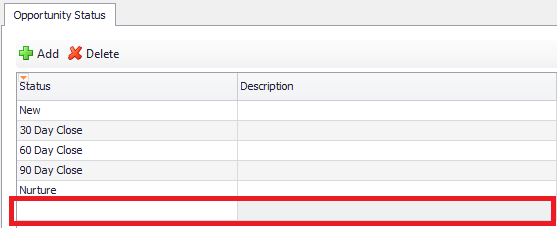
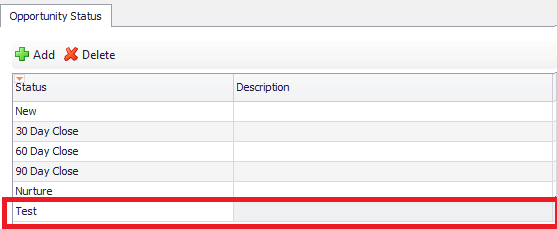
Create details for the Status, Description, Created By, Created On, Updated By, and Updated On columns.
To Delete
Click on CRM Setup, then scroll down to the Opportunity Status tab. Select the row desired to delete.
Click Delete and the row will disappear.
Assigning Customers
This will allow customers to be assigned to a particular opportunity.
Click on CRM, then pull up an Opportunity through an Opportunity Number.

To create a new link, click Add.

Note: Clicking Delete will delete a link
The following screen will appear:
Click New to add a New Customer.
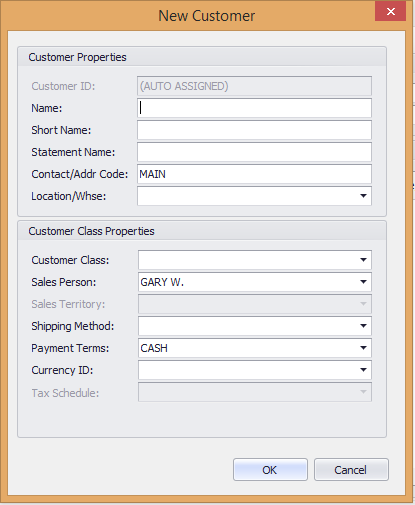
Click OK to add new information
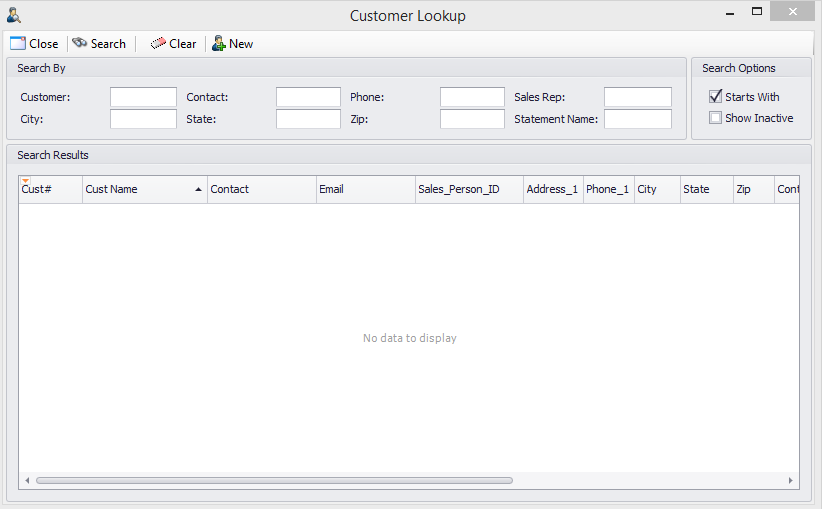
To search, enter criteria and click Search. To erase all information, click Clear.
By checking the Show Inactive box, all inactive results will be shown as well.
Monitor
This gives users access to the Opportunity Monitor.
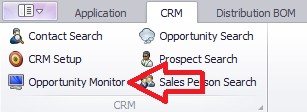
Click on the CRM ribbon, then click Opportunity Monitor.
The following screen will appear:
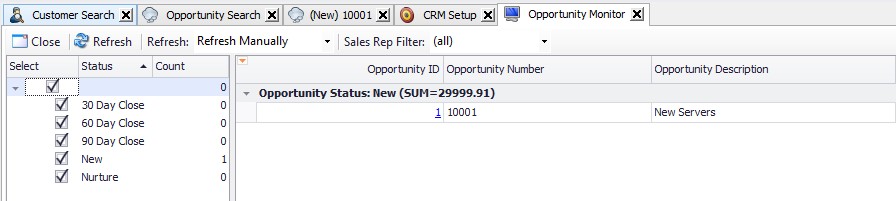
This will allow you to monitor various Opportunities.
Convert to Quote
Open the Opportunity that needs to be quoted, then click the Actions dropdown between the Delete and Historical buttons.

Click Convert to Quote.

The following screen will appear:
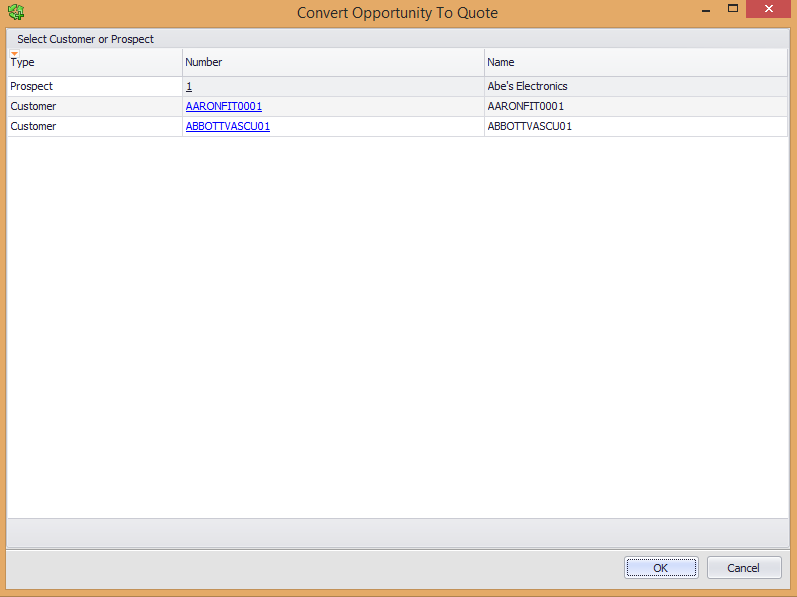
Select the customer that needs to be quoted and click OK. The following screen will appear. Use the desired tabs to enter criteria in the quote.

Prospect Links
Open the Prospect Search in the CRM ribbon and click on Prospect Links.

Click on the listed Opportunity to edit. Click Add to add a new link, or click Delete to erase a link.
Interactions
Open Opportunity Search in the CRM ribbon. Click Edit to modify an Interaction.

Click Add to create a new Interaction. Click Delete to erase an existing Interaction.
User Fields
For more information on User Fields in SalesPad, please refer to the User Defined Fields documentation.
Security
In the Security Editor in SalesPad, search for *Opportunity. This will show you all of the forms and plugins associated with the Opportunity functionality.
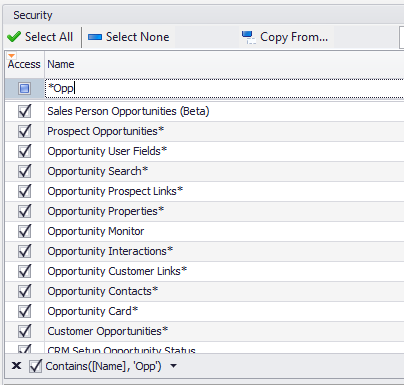
Check all of the boxes to turn on the module.
SalesPad Support
Comments