Overview
SalesPad Mobile allows users to define Cataloge of items belonging to the pairing of a Customer and a Doc ID. These Catalogs allow users to define a group of items and the quantities that a Customer should have in stock. This allows sales representatives to quickly and efficiently populate Sales Documents with the items their customers need while in the field.
Security Settings
A number of security settings govern the setup and use of Catalogs and Catalog Items.
For the Catalog Managment screen in the server, the following securities and sub-securities need to be set to True:
- Catalog Manager
- Can Create Catalog Lines - If True, users in the current group can create new catalog line items
- Can Create Catalogs - If True, users in the current group can create new catalogs
- Can Delete Catalog Lines - If True, users in the current group can delete existing catalog line items
- Can Delete Catalogs - If True, users in the current group can delete existing catalogs
- Can Edit Catalog Lines - If True, users in the current group can edit existing catalog line items
- Can Edit Catalogs - If True, users in the current group can edit existing catalogs
- Can Run Catalog Update Proc - If set to True, users in the current group can run the spgm.UpdateCatalogLines proc from the Catalog Maintenance screen
To change the options for the Add Item Button in SalesPad Mobile, the Add item Button Options Security can be configured under the Access Security > Documents > Add Item Button Options.
- Can Add Catalog Items - If True, users in the current group can access the Add Catalog Items screen from the Sales Document card while in Edit mode

Setup
In order to use the Catalog functionality of SalesPad Mobile, some setup is required in the SalesPad Mobile Server. In order to access tools for configuring Catalogs and Catalog Line Items, the user must open the “Catalog Maintenance” screen. This screen is secured and is not available by default.
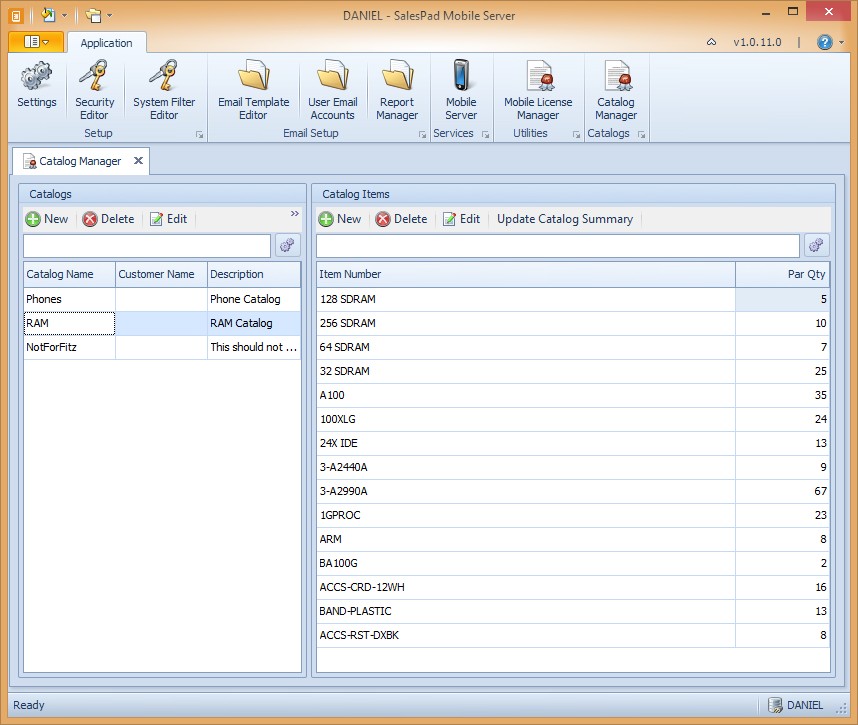
Catalog Grid
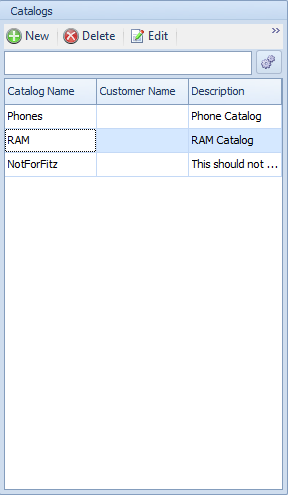
The pane on the left side of the screen is for managing Catalogs. Each Catalog in this list is keyed to a specific combination of Customer and Document ID. A new Catalog can be created by selecting the New button above the Catalog Grid. Doing so will bring up the Catalog Entry screen.
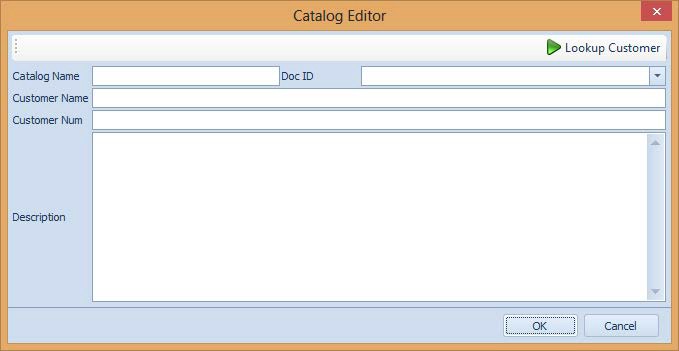
From the “Catalog Editor” screen, the user can configure all the fields important to the Catalog header:
Catalog Name – A non-unique identifier for the Catalog being created.
Doc ID – Sales Documents with this same Doc ID will be able to use this Catalog.
Customer Name and Customer Num – Belong to the customer with which this Catalog is associated.
The Lookup Customer button at the top of this screen will launch a Customer Search screen, where the user can search for a customer to use with this Catalog.
Description – Allows the user to enter a short description of what this Catalog is used for.
Adjacent to the New button on the “Catalog Maintenance” screen is the Edit button. This button launches the same screen as the New button and allows the user to alter an existing Catalog.
The next button is the Delete button. This button deletes the currently selected Catalog, along with all the Catalog Line Items associated with it.
The final button is the Update Catalog Summaries button. This button runs the spgpm.UpdateCatalogLines stored procedure. This stored procedure is detailed in another section. This button will run the stored procedure for each Catalog.
Catalog Line Item Grid
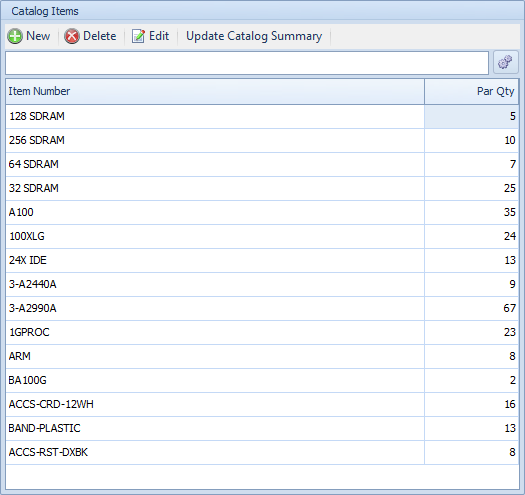
The pane to the right side of this screen is for managing line items associated with the Catalog selected in the left pane. The grid on this pane lists the Item Numbers and Par Quantities for each item. There are also a number of buttons that allow the user to configure the Catalog items. The first such button is the New button.
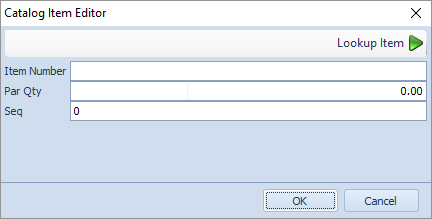
The Catalog Line Item Editor screen has two fields. The first field is Item Number, which corresponds to the Item Number for the Item Master being added to the Catalog. The Lookup Item button will launch a screen that allows the user to search for which item they’d like to add to the Catalog. The second available field is Par Qty.
The next button is the Edit button. This button launches the same “Catalog Line Item Editor” screen as above and allows the user to edit an existing Catalog item.
The third button is the Delete button. This button will remove the currently selected Line Item from the Catalog.
The final button is the Update Catalog Summary button. This button runs the spgpm.UpdateCatalogLines stored procedure. This stored procedure is detailed in the next section. This button will run the proc only for the currently selected Catalog.
Catalog Warehouse
Catalog Line Items make use of the Data Warehouse model of storing their data. This is meant to speed the process of loading summary information. This does not mean that whenever a change is made to the Catalogs or their Line Items, the spgpm.UpdateCatalogLines stored procedure must be run for those changes to be visible in the server.
The stored procedure may be run at any time by selecting one of the two buttons in the header of the two grids on the Catalog Maintenance screen. The Update Catalog Summaries button above the Catalog Grid will run the stored procedure for each catalog. The Update Catalog Summary button above the Line Item Grid will instead only run the stored procedure for the selected Catalog.
The most convenient option for handling the running of the stored procedure is to configure a SQL Job to run the proc itself. The job could be configured to run once a night and would ensure that reps in the fields have up-to-date history when adding Catalog Items. Instructions for configuring a job to run the UpdateCatalogLines proc can be found in the support document Configuring the Catalog Warehouse Procedure.
Usage
In order to make use of the Catalog Items functionality on the device, the user must navigate to a document in Edit mode.
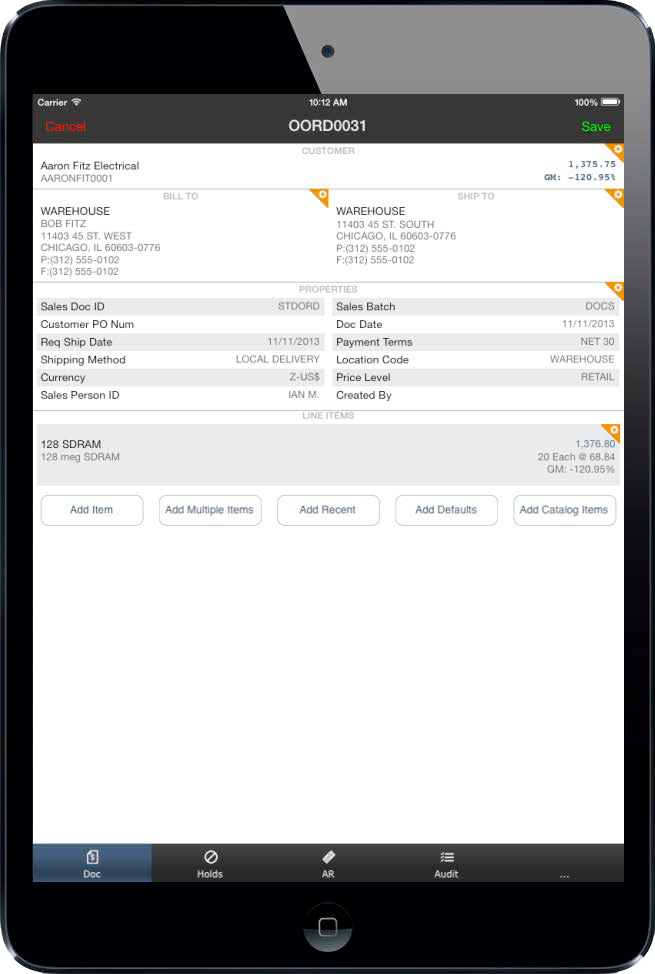
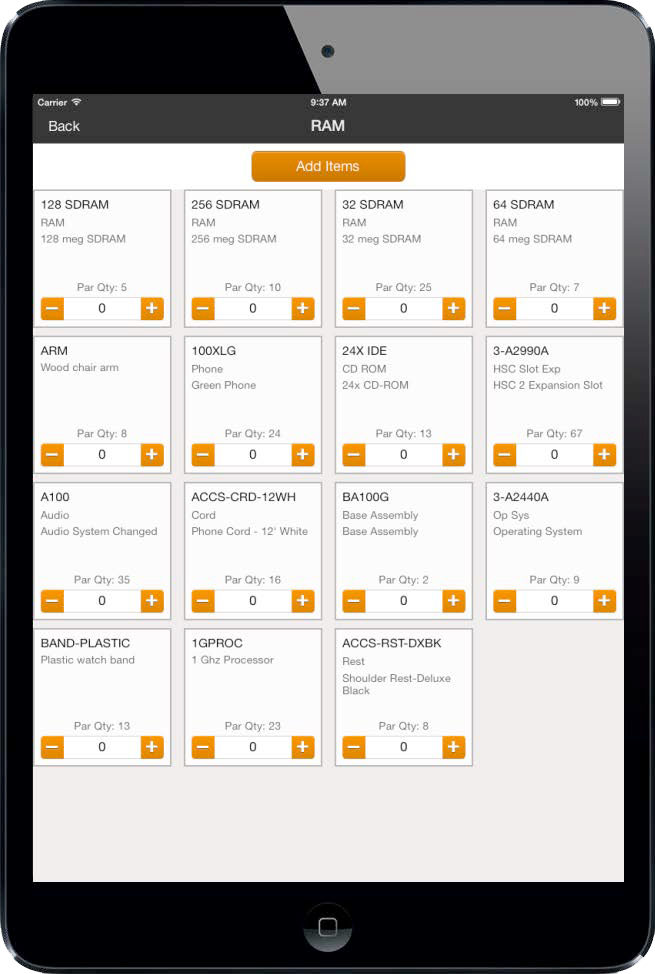
Underneath the header of the document, there is a button titled Add Catalog Items. If there exists a Catalog with Customer Num and Doc ID matching those of the current document, selecting this button will launch a screen displaying a grid of items belonging to that Catalog.
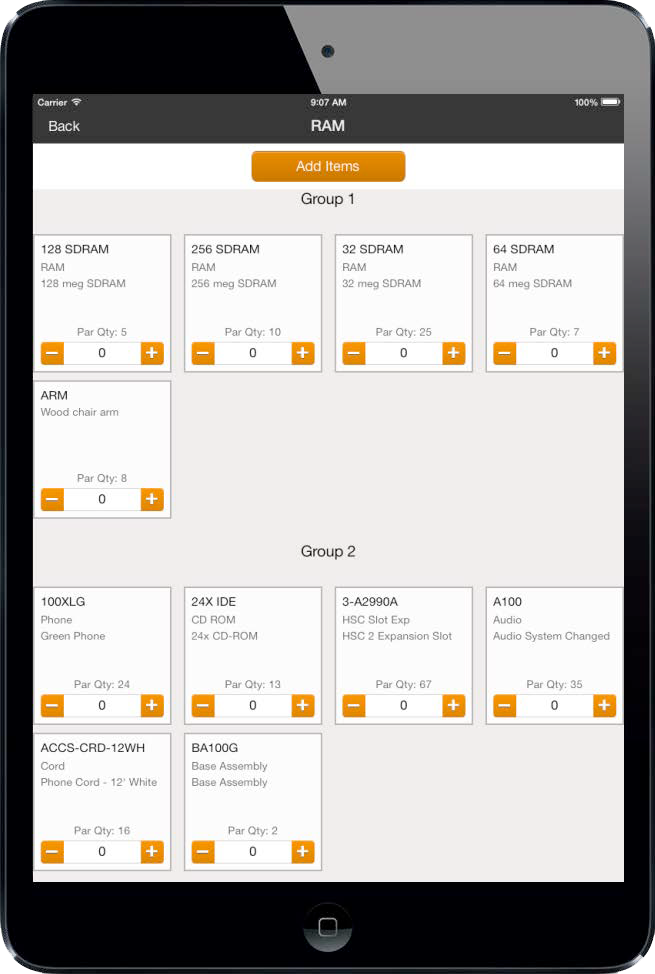
If the Group Catalog Items By Item Group security setting is set to True, the items in the Catalog will be sub-grouped by their Item Group column.
If the Can View Catalog Item Details security setting is set to True, selecting an item on this screen will cause the bottom section of the screen to display history information relating to this item, including a summary of sales over the past four weeks, pricing information for the item, and a list of the last ten historical orders the item appeared on for this Customer and Doc ID pair. This section will only appear on iPads and Android Tablet devices.
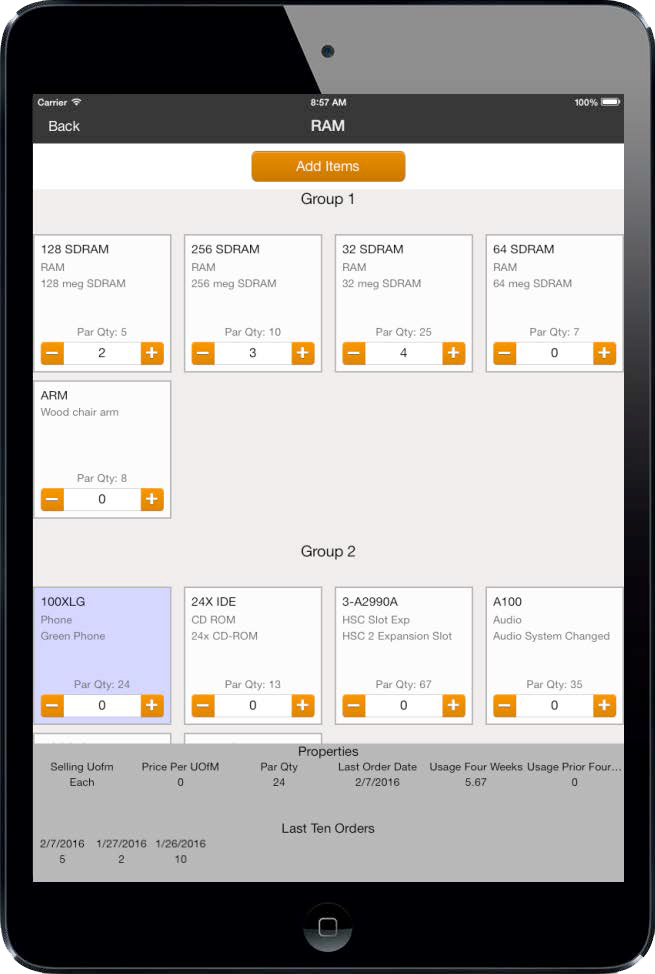
Clicking the Add Items button on this screen will add each item to the current document with the quantity specified.
SalesPad Support
Comments