Overview
A/R Transaction Entry allows users to create and edit A/R Transactions from the Customer Card. A/R Transaction Entry is located on the A/R tab on the customer card. You can use this module to create a Credit Memo, Debit Memo, Warranty, Finance Charge, Sale / Invoice, Service / Repair document, or Return. In this document, you will learn how to create, edit, and print a Customer A/R transaction. Any relevant securities and settings will be shown at the end of the document.
Usage
Navigate to the A/R tab on a customer card in SalesPad Desktop. Then, select the Transaction Entry tab located within the A/R tab.

Creating an A/R Transaction
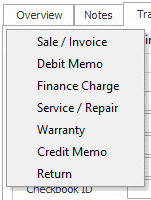
A transaction can be created by clicking on the New button on the Transaction Entry tab. A dropdown will appear, allowing the user to select the type of A/R Transaction they wish to create. This list is populated using the Allow Transaction Types sub-security for the Customer A/R Transaction Entry security.

Editing Existing A/R Transactions
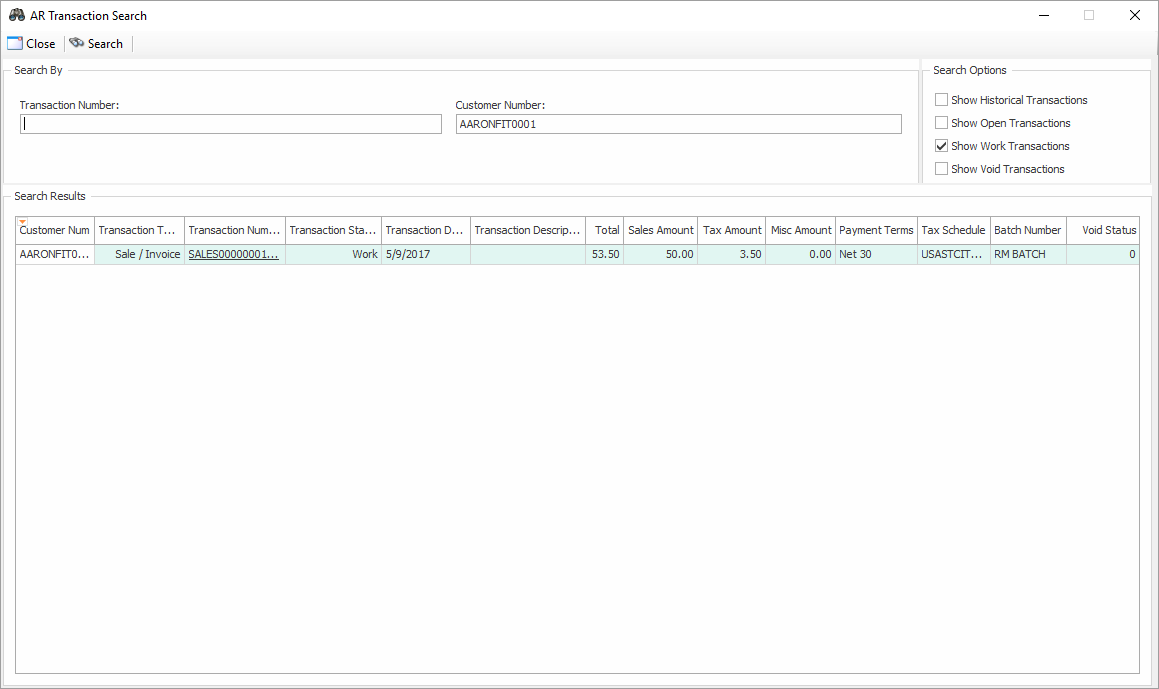
Users can edit existing A/R Transactions by clicking on the ellipsis (…) button located on the Transaction Num field. This will present the user with the A/R Transaction Search screen.

Users can then search for a transaction by number, or by using the auto filter row. Once a transaction is selected, the A/R Transaction Entry window will then populate with information from the selected transaction.

Printing
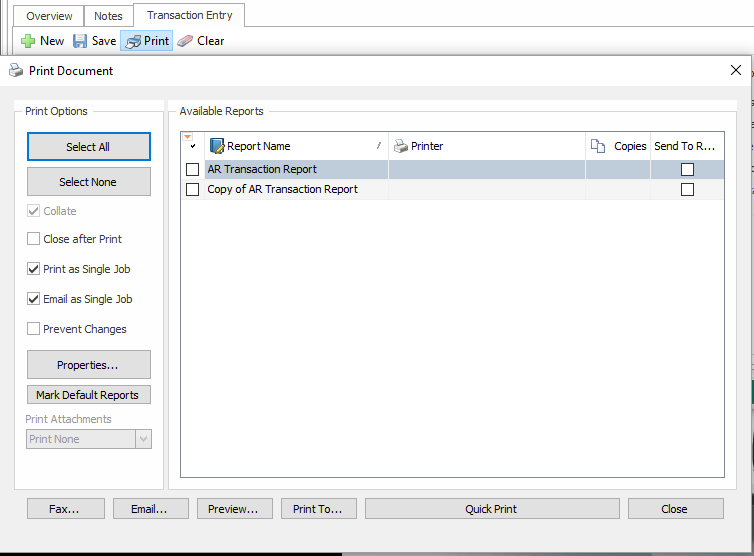
Users can print A/R Transactions using the Print button located in the toolbar of the Transaction Entry tab. Clicking this button will present the user with the “Print Document” window. Here, users can select the report they wish to print. Reports can be created and edited in Report Manager. For more information about designing reports, refer to our Reports documentation.

Security
Customer A/R Transaction Entry* – Allows users to use the A/R transaction entry in the Customer card
Note: Securities with an asterisk (such as Customer A/R Transaction Entry) have sub-securities that are listed in the middle section of the Security field. Sub-security descriptions appear in the bottom section of the field. Review and customize these as desired.
SalesPad Support
Comments