Overview
The SalesPad Purchase Line Excel Import tool allows users to load large amounts of purchase line items quickly onto an existing order.
Note: The import will only work for Excel versions 2003, 2007, and 2010.
Security
To use the Purchase Line Excel Import tool, Purchase Line Excel Import must be enabled in Modules > Security Editor.
Creating an Import Definition
First you will create an import definition in the Import Manager module.
- Go to Modules > Import Manager (located under System)
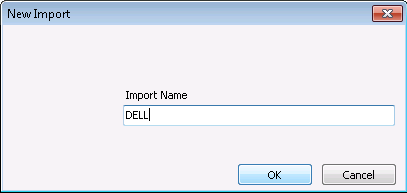
- Create a new import format by clicking Add under Import Definitions

- Enter an appropriate name for the import and click OK
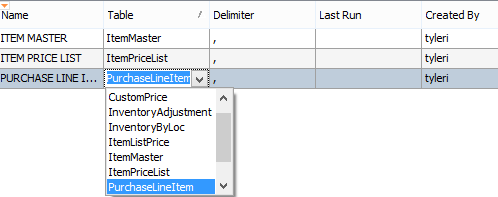
- Select PurchaseLineItem from the Table dropdown on your new import
Note: The Line_Seq field must be specified within the Excel document, starting with 16384, and adding 16384 for each subsequent line item.
Creating the Mapping
Next, you need to create the mapping from the PurchaseLineItem business object to the Excel document. The Excel document must be formatted so that the first line contains the column headers, with data on subsequent lines. The column headers must use database-safe names (i.e. no spaces, special characters, or reserved words).

Note: You must rename the page tab default name of Sheet1 in the Excel document to Import. Failing to do so will result in a Failed to start error message.
To create the mapping:
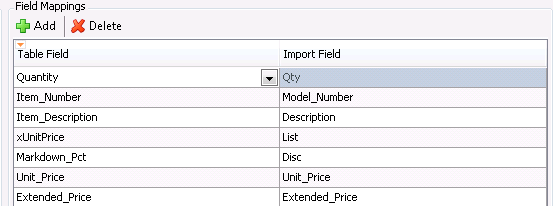
- Click Add under Field Mappings
- Click the dropdown under the Table Field column to see the list of available columns for the PurchaseLineItem business object
- Click the column labeled Import Field and type in the name of the corresponding column in the Excel document. See the sample map below:
Importing
Now that you have defined an import map, you can load the lines into an existing document:
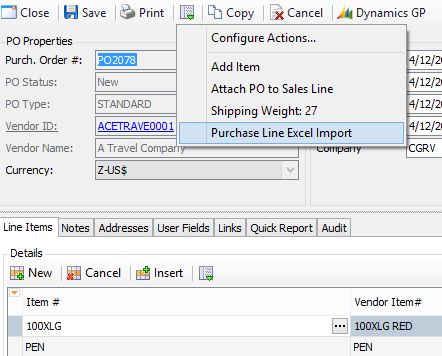
- Open the desired document
- Select Purchase Line Excel Import from the Actions dropdown menu (
 ) on the line items tab:
- This will bring up the import dialog. From the Import Format dropdown, select the import you created, and navigate to the desired Excel document.
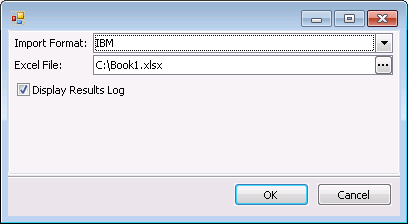
- Click OK and the import will begin
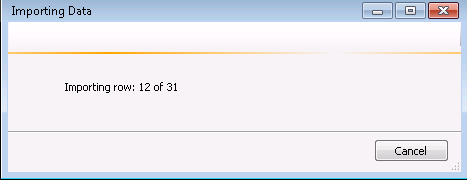
- When the import is finished, click Close to return to the document.
Note: Any items found during import that were not found in the item master will be marked as non-inventory.
SalesPad Support
Comments