Overview
The User Field Editor now includes an Export Screen that allows you to select the specific UDFs you want to be exported. Additionally, the Import Screen in the Sales Pad User Field Editor has been
updated to allow you to filter by table/ business object and select specific User Defined Fields ( UDFs) to import.
Usage
Export Screen
User Fields can also be exported to . xml files, through the Export screen.
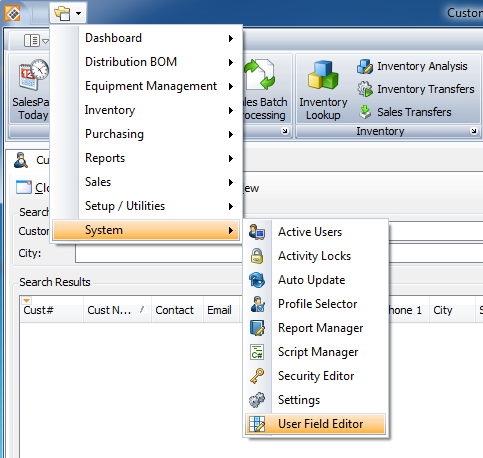
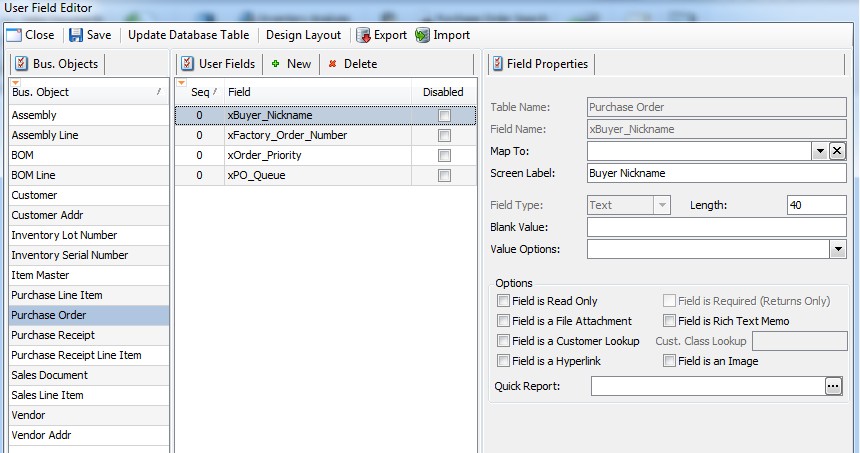
Open the User Field Editor in Sales Pad ( Modules > System > User Field Editor). Click the Export button.

A window pops up, from which you can select the user fields you want to export. The window shows a list of available user fields for the selected business object ( table). By clicking the drop- down on the
top right corner, you can switch between tables or show all the UDFs, regardless of the table they are part of.
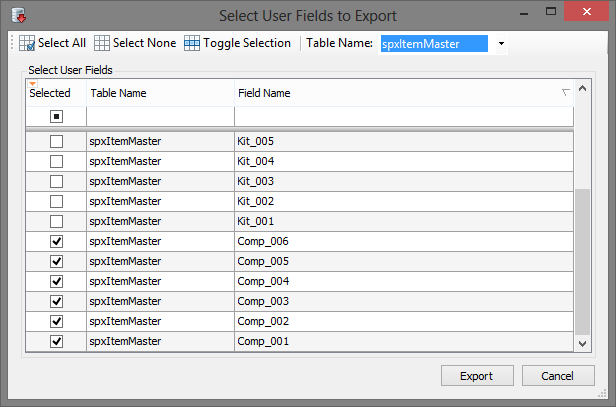
Select the fields you want to export by checking the check box under the “ Selected” column. You can multi- select the table and click “ Toggle Selection” to select/unselect multiple fields. You also have the option to “ Select All” or “ Select None.”
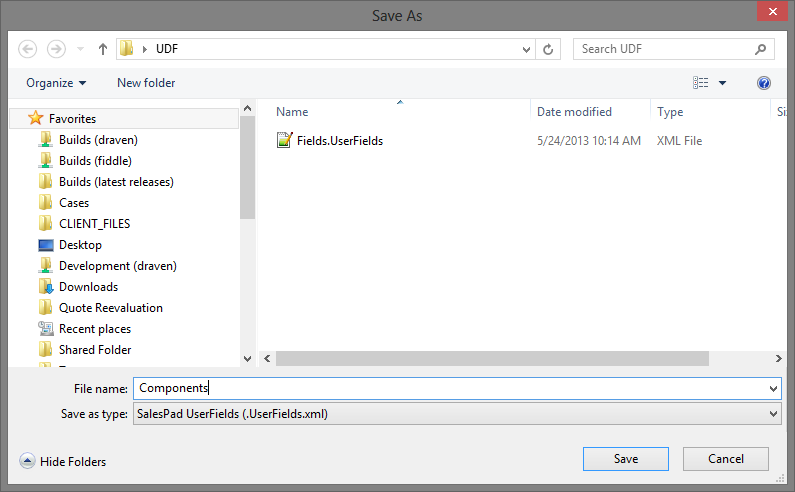
Click Export. This will open up the “ Save As” dialog box, from which you can browse the location and name of the . xml file that is going to be saved.
Import Screen
Open the User Field Editor in Sales Pad ( Modules > System > User Field Editor)
Open the business object you want to import and select the UDFs you want to import.
Click the Import button.

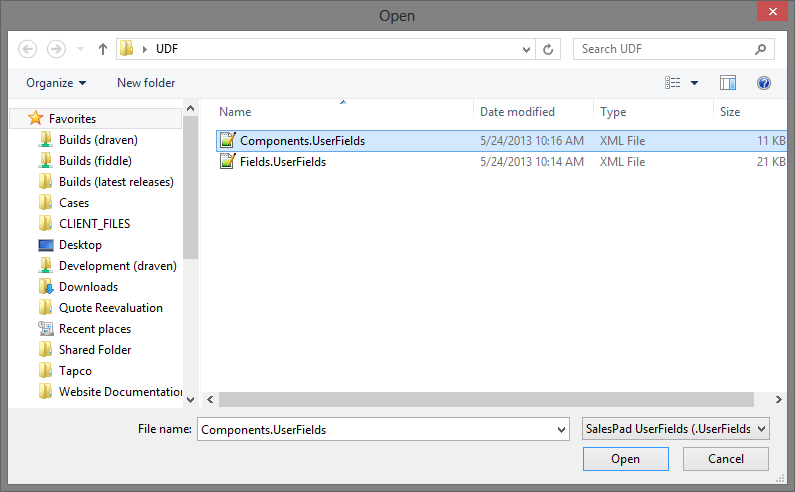
A dialog box opens. Browse to the location of the UDF’ s . xml file and Click Open.
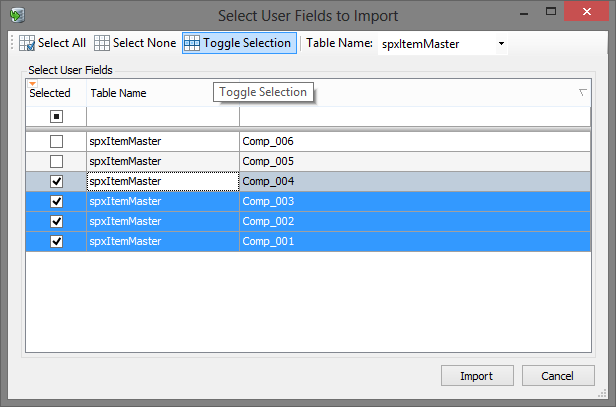
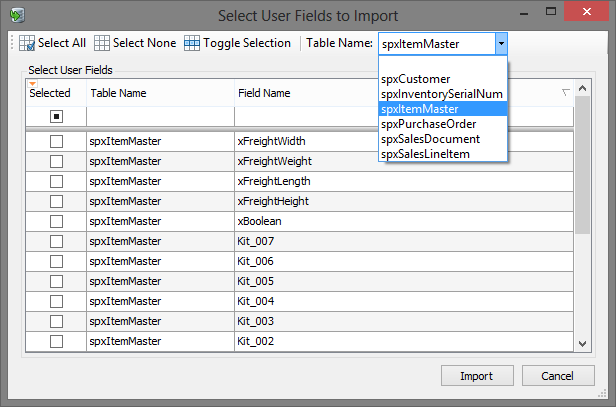
The Select User Fields to Import screen appears. Choose the user fields you want to import by clicking the check box under the “Selected” column on the left side of the screen.
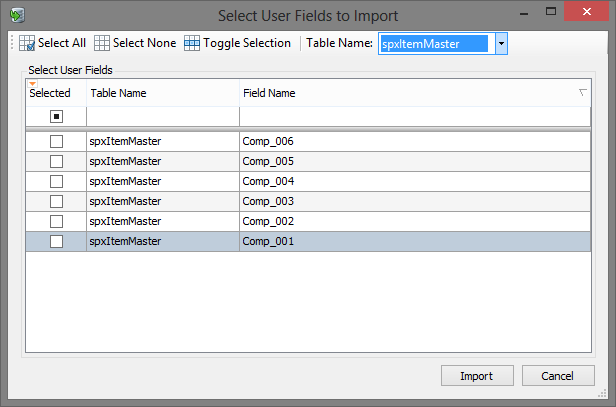
You can multi- select the table and click “ Toggle Selection” to select/unselect multiple fields. You also have the option to “ Select All” or “ Select None.”
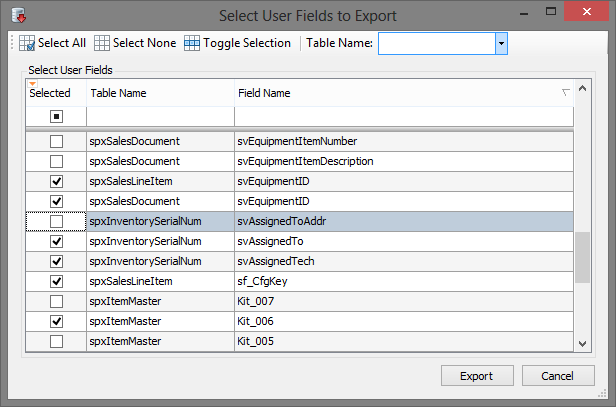
If the fields to import are from different tables, you can switch ( or remove) the business object filter by clicking the Table Name drop- down. Once the fields to import have been selected, Click Import.
You will return to the User Field Editor. For each imported user field, select the corresponding business object ( table), click Save, and click Update Database. If user fields from multiple business objects are imported, you must repeat this step for each business object.
SalesPad Support
Comments