Overview
With proper security enabled, returns can be created in SalesPad from the Customer Card or from a posted invoice.
Note: Unlike in Dynamics GP, SalesPad does not allow users to assign status such as in use or damaged to returned items during return entry, but instead has the Returns Warehouse setting, which returns inventory into a specific warehouse so items do not automatically get put back as sale-able inventory when the return is posted.
Creating a Return
Typically, users can only return line items up to the quantity invoiced. However, the Return Greater Than Invoice Line security sub-setting under Create Return will allow a return larger than a related invoice if set to True in the Security Editor.
From The Customer Card
- Open the Customer Card
- Select a Return document type from the header:
- A return document opens. Add line items to be returned, as you would any other document type. If payments are being refunded, see the From a Posted Invoice section below

From Direct Sales Entry
- Go to Modules > Direct Sales Entry
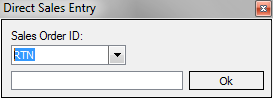
- Select a Return Order ID type
- Enter the customer number
- Click OK. A return document will open
- Add line items to be returned, as you would any other document type. If payments are being refunded, see the From a Posted Invoice section below
- Click Save
From A Posted Invoice
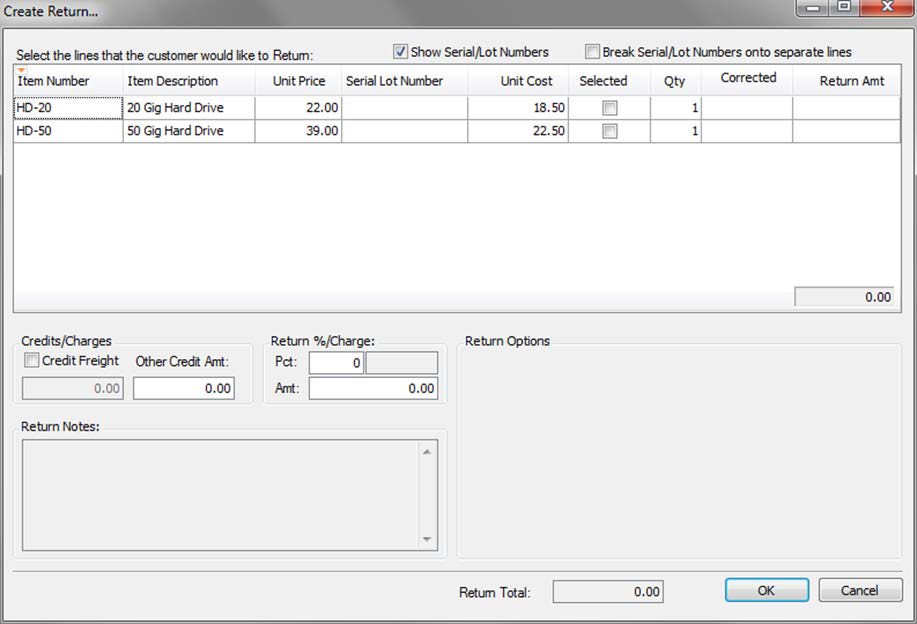
Creating a return from a posted invoice is the most precise return method. It opens a Create Return screen where you can select from item numbers the customer purchased on the specified document, and allows you to return serialized items by specific serial number.
- Open the invoice (either through the Customer Card or Modules > Sales Documents)
- Click Return. The "Create Return..." screen appears, listing all item numbers on the invoice:
 An On Row Changed script is available to allow checking and setting particular fields on the return lines as they are changed on this form.
 - Select the lines the customer would like to return. If Show Serial/Lot Numbers is selected, and the item(s) to be returned are serialized, you can select the serial number for the item to return.
- The grid will look different based on whether or not your Invoice Document ID has a Return Document ID specified, and if that document ID has Return AutoFulfill unchecked (as of version 4.6.3.1).
With no Return Doc ID specified, or when there is a Return Doc ID specified with Return AutoFulfill checked, each serial/lot number will be on its own separate line, to allow users to decide with serial/lot number to fulfill automatically.
When the Return Doc ID is specified and the Return Doc ID does not have Return AutoFulfill checked, the serial/lot numbers will not be on their own separate line and will need to be fulfilled separately.
- Enter the Qty and the Return Amount. You can adjust the price for a partial refund by entering an amount to reduce by in the Corrected column. Return Amount and Corrected amount are per unit, so if the quantity being returned is more than one, the corrected amount is the amount reduced for each. Example: A return amount reduced by ten dollars will adjust the price refunded to $20 less than the total.
- If applicable, select Credit Freight and enter the amount of freight to credit back to the customer underneath and any other amount to credit back under Other Credit Amt
- If a restocking fee is charged, enter a percentage or fee amount under Return %/Charge
- Enter any Return Notes or Return Options. Fields in the Return Options section are customizable and will be different based on company UDF setup (refer to the User Define Fields document for more information) on the sales document. Return options are passed to the return document from the invoice. An example might be a Reason for Return dropdown
- Click OK. A return document is created
- Click Save
- Enter any comments in the Comments & Notes window and click OK. The return will go through its defined workflow process


Note: The original sales document will appear under the return document’s Related Documents tab, and the return document will appear under the original sales document’s Related Document tab.
Copying a Return
To copy a return,
- Click the Copy button in the header of the return document:
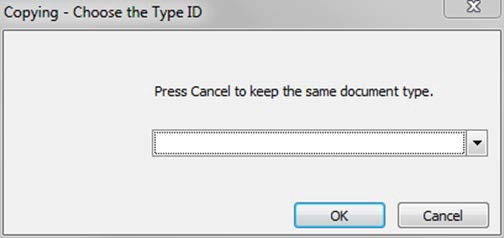
- In the dialog box that appears, choose a document type ID and click OK, or click Cancel to use the same document type:
- You will be asked if you would like to choose another customer:
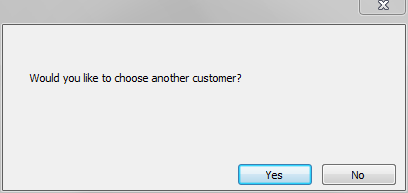

If you click No, a sales document with the selected document type will open for the same customer, with duplicate line items and information.
If you click Yes, the "Customer Lookup" screen appears:
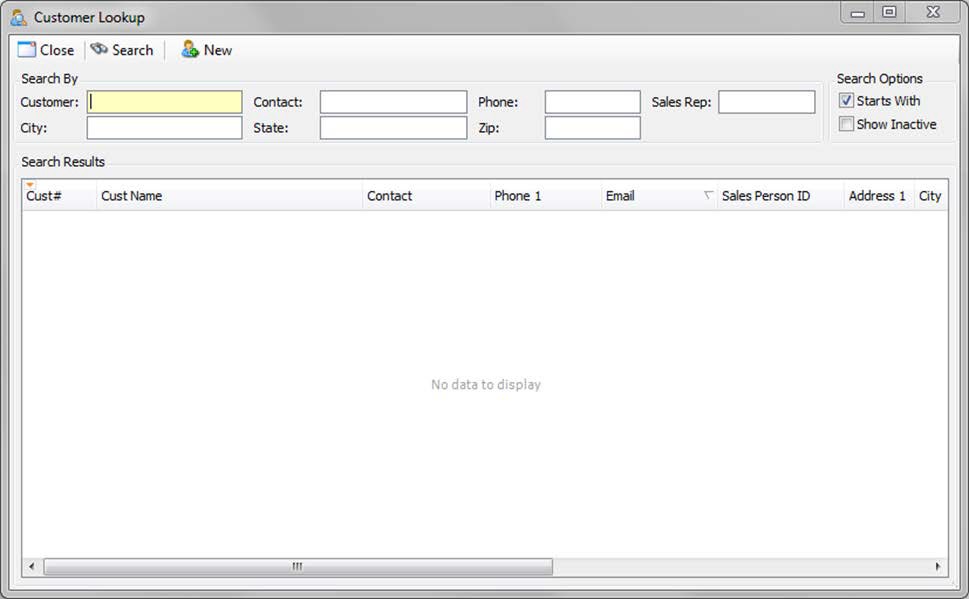
Find the customer to copy the return to and click their Customer ID. A sales document with the selected document type will open for that customer, with duplicate line items and information.
Note: For more information on the different tabs on Return documents (and all sales documents), as well as other sales document actions, refer to the SalesPad Sales Document Entry document.

Security
Create Return – Allows users to create returns.
Can Create Returns (sub-setting under Customer Card) – To allow returns from the Customer Card
Can Create Returns (sub-setting under Direct Sales Entry) – To allow returns from Direct Sales Entry
Return – To enable printing on a return
Can Copy Return (sub-setting under Sales Document Entry) – To allow users to create a copy of a return for modification, or assignment to a new customer
Sales Document ID Lookup – Necessary for creating returns from historical invoices
Settings
Return Named Note - Specifies the named note to be used for a return
Returns Warehouse - Specifies the default warehouse that will be used when creating a return document. Leave blank to use the warehouse from the originating document or the customer’s warehouse
Use Trade Discount For Price Corrections - If True and a price correction is entered on the return creation screen, the trade discount field will be used to store the price correction. If false, the markdown amount will be used for the price corrections
Allow line items to receive price updates - Specifies the document types for which line items will receive price updates (* for all)
SalesPad Support
Comments