Notice
The Email Add-in for GP is currently unsupported. Please reach out to your Account Executive should you have any questions.
Overview
The Email Add-in for GP will allow a user to save a SalesPad task as a Microsoft Outlook calendar event, and allow a user to save a Microsoft Outlook email message as a note under the Interactions tab of the customer’s Customer Card. Emails are matched to a customer card within SalesPad when the Customer Card Contact Addresses tab contains an email address that matches the To or From email address on the email in Outlook.
Note: SalesPad for Dynamics GP (SalesPad) and Microsoft Outlook must be installed for use. This add-in does not work with Outlook 2007, or previous versions. The instructions below are for Outlook 2010. Due to changes made in the registry on install, Email Add-in software may be flagged as dangerous by anti-virus/anti-spyware software. It is safe to ignore any warnings and continue with the installation. The Outlook Add-In is compatible with 64-bit Outlook.
USAGE
Installing the Add-in
Please close Outlook before proceeding.
Download and install the add-in (follow the on-screen instructions). Once the add-in is installed, restart Outlook.
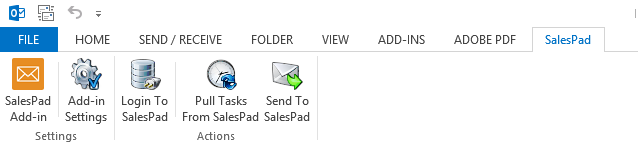
There will be a new tab called SalesPad.GP on your Outlook header, which will display the version of the Outlook add-in you are running, as well as settings and actions.
Activating your License
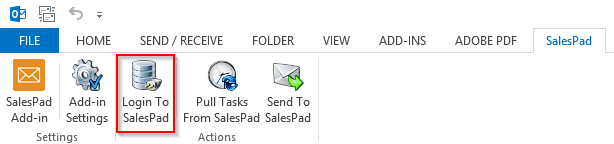
After downloading and restarting Outlook, click Login to SalesPad in the SalesPad tb.
Enter your email address and activation code.
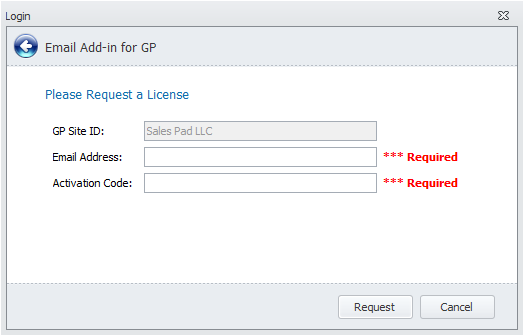
Click Request to connect to SalesPad.
Once you have logged in to SalesPad, the Login to SalesPad button will become Logoff SalesPad button. Please note when logging in that both User Name and Password are Case Sensitive.
You will receive an email from salespad.gp@salespadsolutions.com (This is a notification-only email address – please do not send emails to this address). Open the email and then the attached license. It will be applied automatically.
Adding Emails to SalesPad
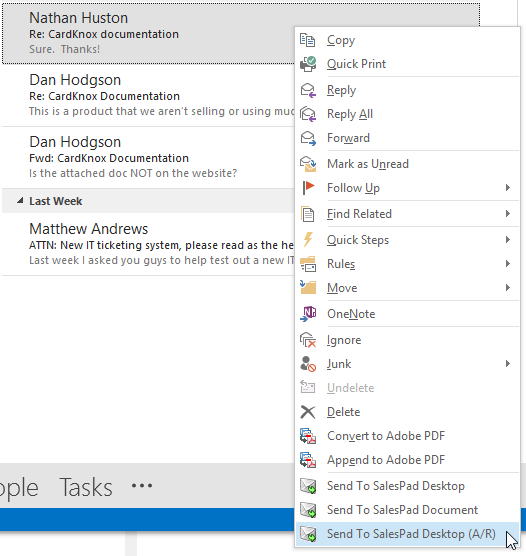
To add an email to SalesPad, either select the email and click Send to SalesPad on the SalesPad tab, or right-click on the email and select Send to SalesPad Desktop.
Note: If no email addresses are associated with a SalesPad customer, you will receive an error message when attempting to add an email to SalesPad.
You can add the needed email address by going to the Customer Card in SalesPad, double-clicking a contact on the Customer Addresses tab to open the contact card, and entering the email address in the Email field. You can also add an Alias to an actual email address, in order to match it to an email address already linked to a customer in SalesPad.
For example, if billing@cavallo.com is linked to a customer in SalesPad, you can add aliases for any individual at cavallo.com, so emails from any of those individuals will be linked to the billing@cavallo.com customer in SalesPad.
To add aliases:
Click Add-in Settings on the SalesPad tab. Under Email Aliases, enter the email linked in SalesPad under the Email column, and the alias to link to that email under Alias:
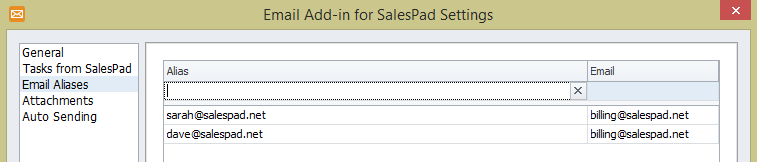
Click Enter to apply the alias. When finished adding aliases, click OK.
In Outlook:
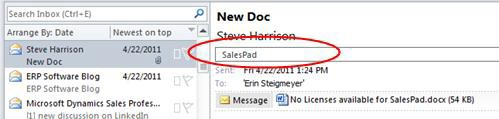
When an email is successfully added to SalesPad, a category label will be added to the email in Outlook.
In SalesPad:
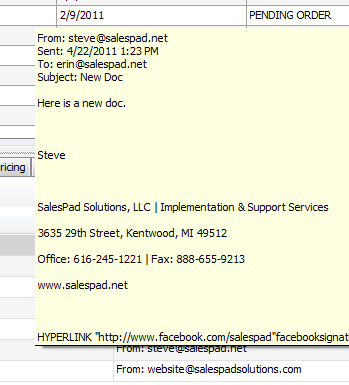
The added email will appear on the matching customer’s Customer Card Interactions tab, in the Notes section (Click Refresh if needed).
The Created date will display the time the email was added to SalesPad (the date the email was sent will appear when the whole email is viewed), the By column will display the SalesPad username of the user who added the email. By default, the email will appear as "Document" under the Interaction Type column.

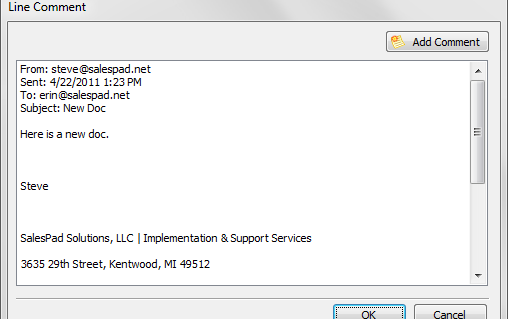
To read the email in SalesPad, you can hover over the Note field to see the entire email in a tooltip box, or if Customer CRM > Can Edit Notes is set to True in the Security Editor, you can click on the ellipsis (…) in the Note field to see the entire email in a pop-up window.
Hover:
Pop‐up:
CREATING DIFFERENT TYPE OPTIONS
To create different Type options for added emails, click Add-in Settings on the SalesPad tab in Outlook.
In the Note Types box, under the General Settings, enter a Note Type and hit Enter. These notes should match the note type options set up in SalesPad, Settings > Customer Notes > Note Type List, that appear in the Type dropdown when entering a new Contact Log.
Click OK.
To use the different Type options, you must right-click on an email in Outlook and select one of the Send to SalesPad options (Clicking Send to SalesPad from the SalesPad tab will always set to the default Type). Each set up Type will appear in this list:
If the A/R type is added and selected, the email will appear under the A/R notes on the Customer Card. If Customer CRM > Show AR Notes is set to True in the SalesPad Security Editor, the email will also appear on the CRM tab; if set to False, the email will only appear on the A/R tab. If a Type set up in Outlook does not match a set Note Type in SalesPad, the email will appear as the default Type (EMAIL), regardless of what is selected.
Note: If you make a change (add a Note Type option) to the right-click menu, the added items will not appear until after Outlook is restarted.
Note: If you need to re-add a previously added email to SalesPad (for example, if it was inadvertently deleted from SalesPad), in Outlook, right-click on the SalesPad category status bar of an email (it must be opened in a separate window) and select Clear “SalesPad”:
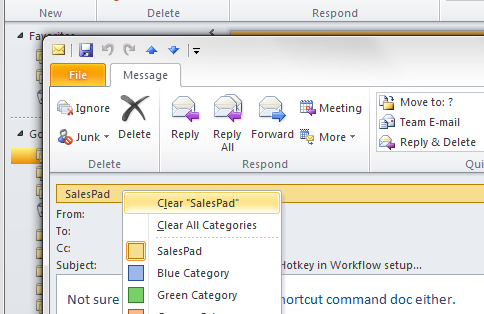
This will remove the SalesPad category label and enable the email to be re-added to SalesPad.
Adding SalesPad Tasks to your Outlook Calendar
Note: SalesPad tasks will be added to your Outlook Calendar as Appointments.
To add your SalesPad CRM tasks with your Outlook calendar, click the Pull Tasks from SalesPad button in the SalesPad tab. All CRM tasks in SalesPad will appear on your Outlook calendar. The appointment will display the Customer Name and SalesPad Task Subject line in the Subject field, and will include start/end time and date. The body section will include a note containing the Customer ID, Customer Name, and Contact Name. If a reminder was set up on the Task in SalesPad, the reminder will also carry over to Outlook.
You can also set up the tasks to be automatically added to your Outlook calendar.
Click Add-in Settings in the SalesPad header
Under Tasks from SalesPad, check the box for Automatically pull tasks into my calendar every _ minutes and select the frequency in minutes to sync. Select the number of days to limit synchronization as well (Do not synchronize tasks older than _ days).

Click OK.
Additional Setting
Add-in Settings > General > Hide all notifications
By default, when certain SalesPad GP Email Add-in actions occur, such as logging in to SalesPad from Outlook, a notification message will appear in the lower right of the screen. To hide these messages, click the Add-in Settings button in hte SalesPad tab, and under General, check the Hide all notifications.

Settings
The following are settings you will want to configure in SalesPad before using the Email Add-In.
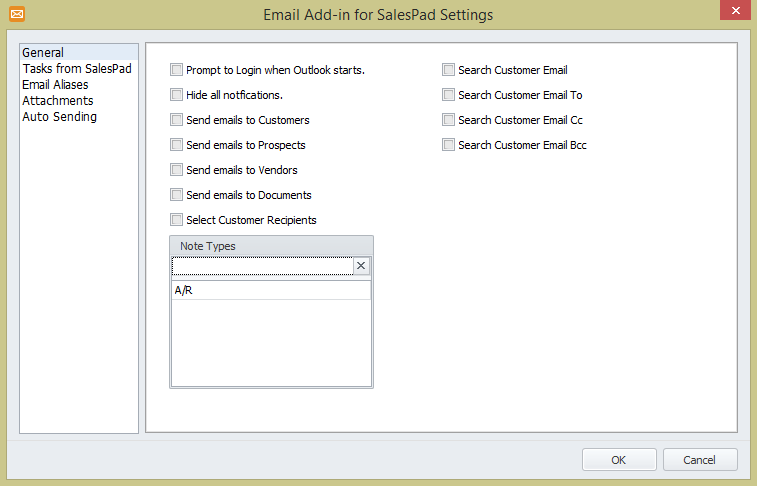
General
Prompt to Login when Outlook starts - This setting will prompt users to log in to the SalesPad Outlook add-in when Outlook is started.
Hide all notifications - This setting will hide all notifications from the SalesPad Outlook add-in.
Send emails to Customers - This setting will allow emails to be sent to the Interactions tab on a Customer card in SalesPad.
Send emails to Prospects - This setting will allow emails to be sent to the Interactions tab for Prospects in SalesPad.
Send emails to Vendors - This setting will allow emails to be sent to the Interactions tab on a Vendor card in SalesPad.
Send emails to Documents - This setting will allow emails to be sent to the Interactions tab on a sales document in SalesPad. Emails will not automatically be sent to documents as interactions.
Note Types - This setting allows the interaction to be created with custom Interaction Types. This will only apply to emails manually sent to SalesPad.
Tasks from SalesPad
You can use these settings to configure how often tasks are pulled onto the outlook calendar from SalesPad. You can also determine how many days back you want to go to synchronize tasks.
Email Aliases
You can use this grid to determine what alias to use with each email. The bottom grid also allows you set up any exceptions for aliases.
Attachments
These settings allow you to determine whether or not you can send attachments through the Outlook add-in. You will need to create a list of allowed file extensions.
Auto Sending
These settings allow you to specify whether you would like to create interactions automatically for sent mail or received mail.
Outgoing Email - When this option is checked, an Interaction will be created if the recipient’s email address exists in SalesPad.
Incoming Email - When this option is checked, an Interaction will be created if the sender’s email address exists in SalesPad.
SalesPad Support
Comments