Overview
Using Report Designer, users can customize any of their reports to display actual images that are attached to a line item. To do this, users must have the proper user defined field set up on the Item Master and add the required script to the report.
User Defined Field
Use the following instructions to create the necessary user defined field:
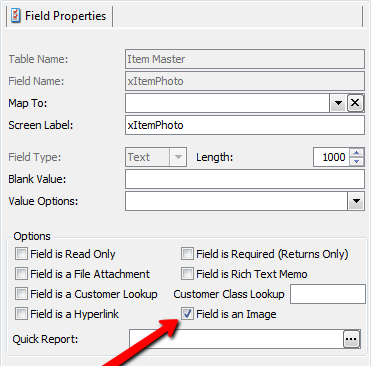
- In the User Field Editor module, create the appropriate user defined field on the Item Master (refer to the SalesPad User Defined Fields document for information on configuring user defined fields)
- Make sure the Field is an Image check box is checked under Options, so the field will store images
Creating the Custom Procedure
To allow pulling the Item Photo user field into the Report Designer, customize the spcpSalesDocumentReport stored procedure to include the Item Photo column needed for the report. Here is an example of this procedure, modified to pull in the xItemPhoto column:
/****** Object:  StoredProcedure [dbo].[spcpSalesDocumentReport] ******/

  /****** This Custom Procedure relies on the Item Master UDF xItemPhoto being created. *****/

  SET ANSI_NULLS ON

  GO

  SET QUOTED_IDENTIFIER ON

  GO


  CREATE procedure [dbo].[spcpSalesDocumentReport]


        @soptype as varchar(30) = null,


        @sopnumbe as varchar(50) = null


  as

  --// cSalesDocument


  select


   sd.Sales_Doc_Type

   ,sd.Sales_Doc_Num

   ,sd.Source


  from spvSalesDocumentSearch as sd


  where

   sd.Sales_Doc_Type=@soptype and sd.Sales_Doc_Num=@sopnumbe


  --// cSalesLineItem

  select sd.Sales_Doc_Type

      ,sd.Sales_Doc_Num

  ,sli.Line_Num

  ,sli.Component_Seq_Num

  ,sli.Item_Number

  ,zItemPhoto = imx.xItemPhoto

  from spvSalesDocumentSearch as sd

  left join spvSalesLineItemSearch as sli on sd.Sales_Doc_Num = sli.Sales_Doc_Num

  left join spxItemMaster as imx (nolock) on imx.Item_Number = sli.Item_Number

  where sd.Sales_Doc_Type=@soptype and sd.Sales_Doc_Num=@sopnumbe
Attach Photo to Item
Perform the following steps to attach a photo to inventory items:
- Navigate to Inventory Lookup and search for the specific item
- Once the item is selected, click on the Item Properties tab and click the ellipsis (…) at the end of the Item Number field. The Item Maintenance screen appears
- Under Item User Fields, double-click on the Item Photo user field that was created and load the image file for that item
Repeat these steps for each item that should have a picture.
Adding Field to the Report
Next, add a picture box field to your custom report. In order to do this, perform the following steps:
- Open the Report Designer (Access the Report Manager module under System, select the report, click Design)
- Right-click on the Detail1 band in the Designer and navigate to Insert Detail Report > “cSalesLineItems”. This will add a DetailReport1 band under the Detail1 band and a Detail2 under that

- On the left side, find the Picture Box icon:

Drag it into the Detail2 area of the report - Select the picture box and find the Scripts setting under the Property Grid. Click the + next to the scripts setting
- You should see a Before Print setting. Click the dropdown arrow in the field and click New
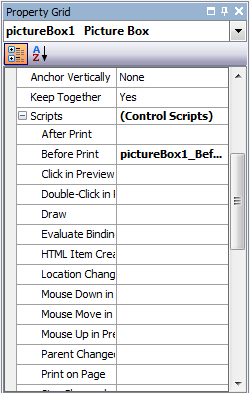
- This will bring up the Scripts section of the Report Designer. Under “pictureBox1_BeforePrint”, enter the following:
string path = String.Empty; try
{
path = DetailReport1.GetCurrentColumnValue("zItemPhoto").ToString();
}
catch{}
pictureBox1.ImageUrl = path; - Save your changes
After completing these steps, the printed report should include the item’s image.
SalesPad Support
Comments