Overview
UPS has deprecated access key authentication in favor of an OAuth 2.0 security model and REST API. Beginning Aug 5, 2024, access keys will no longer be supported for authentication to any UPS APIs. After this date, all integrations must utilize OAuth 2.0 authentication and REST API to continue to transact with UPS services.
For more information, please see UPS's Access Key to OAuth 2.0 Migration Guide.
Required Modules
The following modules are required to use the new UPS REST API:
|
Module |
Replaces |
Requires |
|
SalesPad.Module.UPS |
SalesPad.Module.UPSValidation |
N/A |
|
SalesPad.Module.ShippingV2 |
SalesPad.Module.Shipping |
SalesPad.Module.UPS |
Access Token Maintenance
Overview
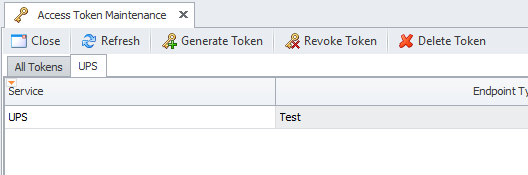
The Access Token Maintenance screen allows you to generate new access tokens for the UPS REST API.
Security
Enable the Access Token Maintenance screen by going to the Security Editor (Modules -> System -> Security Editor) and making sure the Access Token Maintenance checkmark is checked.
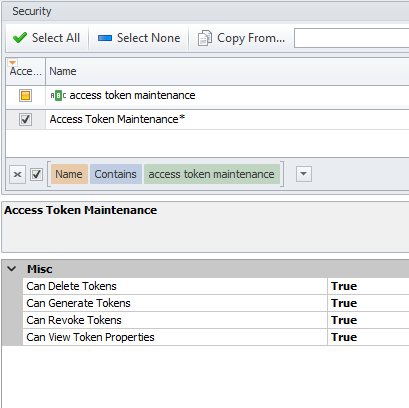
Can Generate Tokens - Can generate new access tokens.
Can Revoke Tokens - Can revoke access tokens.
Can Delete Tokens - Can delete access tokens. This action will not revoke tokens from service.
Can View Token Properties - Can view access token properties.
Generate Token
1. To generate a new access token, click the Generate Token button.
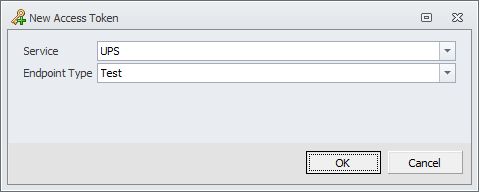
2. A New Access Token window will open. Select the endpoint type and click OK to start the token generation process. Note that production and test environments require separate access tokens.
3. The UPS login screen will open and request that you log in using your UPS credentials. Enter your UPS username and password and click the Log In button to continue.
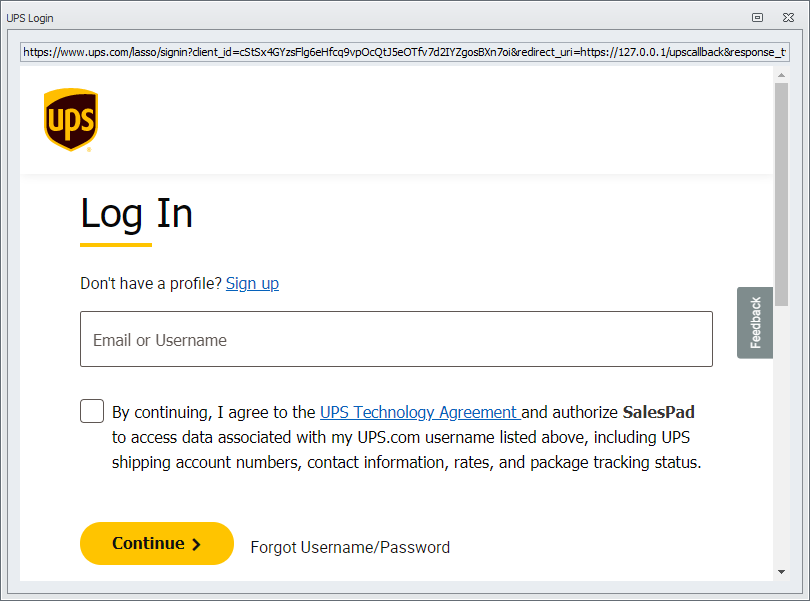
A prompt should display that the token was generated successfully.
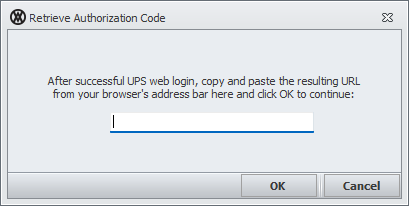
NOTE: If there are any issues with the built-in UPS login, a manual login method is available. Hold the ALT key when clicking the Generate Token button and a separate browser window will open. After logging in, copy the resulting URL from the browser’s address bar into the prompt in SalesPad and click OK. SalesPad will parse out the authorization code and generate an access token.
Revoke Token
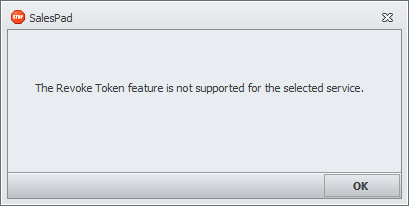
UPS access tokens cannot be revoked. The following message will appear if a user attempts to revoke an existing access token.
Delete Token
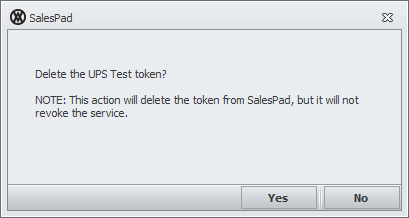
To delete an access token, click the Delete Token button. Click Yes on the following prompt to confirm deletion.
View Token Properties
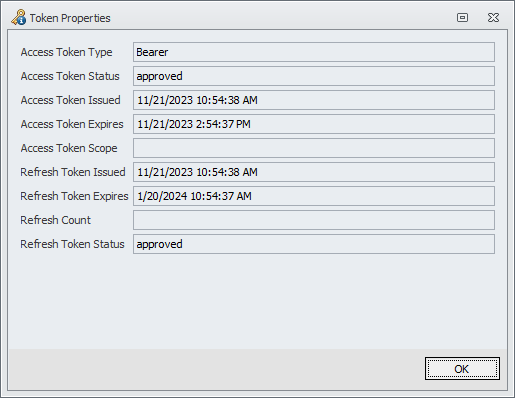
To view token properties, click the Key Information button.
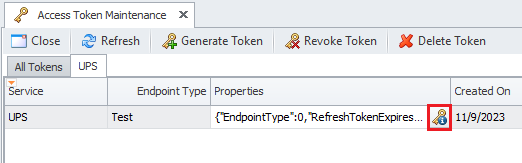
This will open the Token Properties window which displays various token properties, such as issue date, expiration date, and status.
Access Token
The access token must be refreshed every four hours for SalesPad to continue interacting with the UPS REST API. SalesPad will refresh this token automatically when making an API call. Further action from the user is not required.
Refresh Token
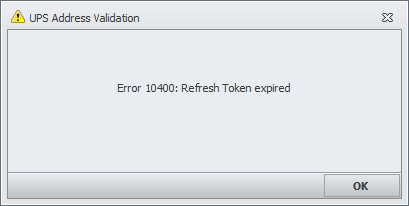
The refresh token is returned when a new access token is generated. It is used to refresh the access token. Unlike the access token, the refresh token lasts three months and must be refreshed manually. A refresh token expired error will appear if a transaction is attempted to be processed with an expired refresh token.
A new refresh token can be obtained by generating a new access token after the refresh token expires.
Token Expiration Reminder
When a user logs into SalesPad, and a UPS access token will expire in the next 7 days or is already expired, then an alert will appear in the Log Messages. This will display information on whether the token is already expired, or when it expires, in order to notify that the manual token refresh step must be handled soon.
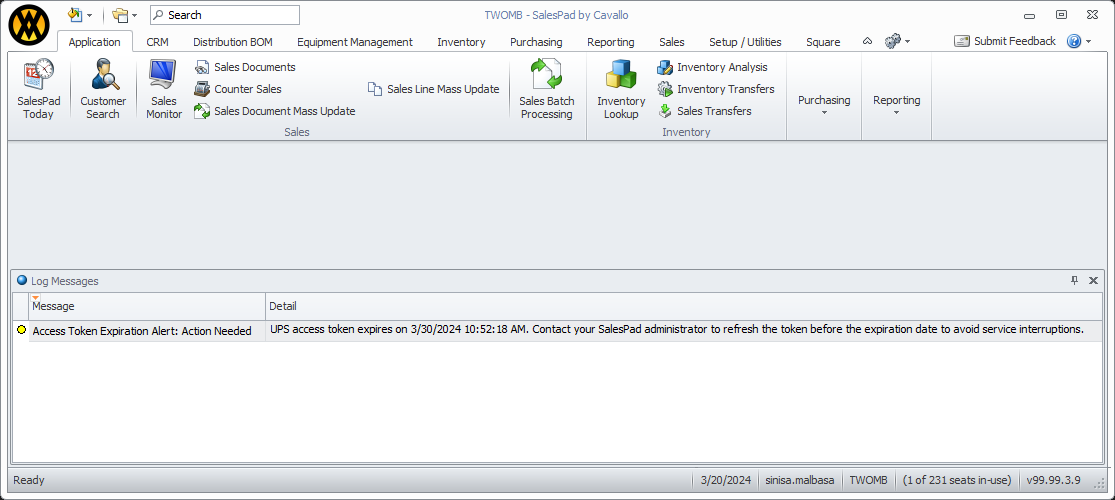
Note that token expiration reminders are available as of SalesPad 5.4.6.
Address Validation
Overview
Address validation is part of the SalesPad.Module.UPS module. This module replaces the legacy SalesPad.Module.UPSValidation module.
Settings
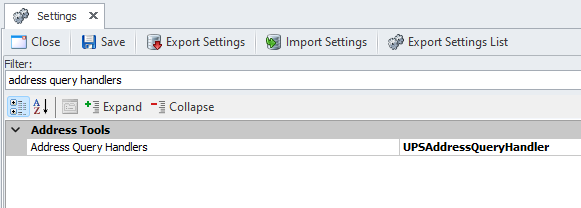
Go to Settings (Modules -> System -> Settings). Set the Address Query Handlers setting to “UPSAddressQueryHandler”.
Filter to “UPS” and configure the following settings.

Automatically Apply Address Recommendations In Workflow - Specify whether to automatically apply changes in workflow when UPS address validation responds with a valid recommendation.
Endpoint Type - Set the endpoint type to ‘Test’ or ‘Production.’
UPS Shipper Number - A UPS account number is a six-digit number that is unique to each individual/corporation that holds an account with UPS.
Customer Address Card
1. Navigate to the Customer Address Card.
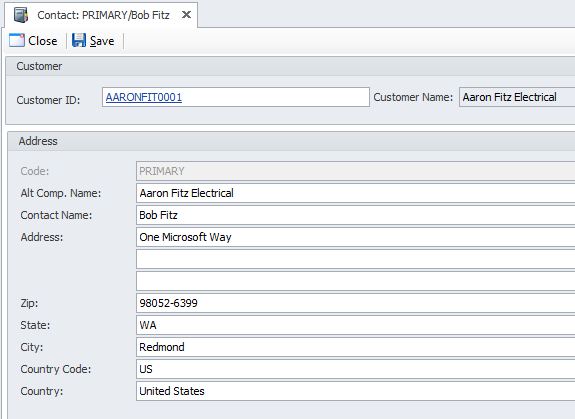
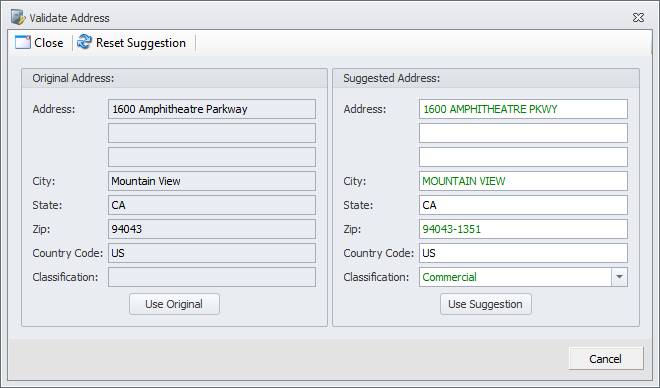
2. Click the Save button when the customer address is ready to be saved and validated. If an address is ambiguous, SalesPad will allow the user to choose which one they would like to use.
Sales Document Entry Addresses
1. Navigate to the Addresses formlet on the Sales Document Entry screen.
2. Click the Save button when the sales document is ready to be saved and have its Ship To address validated. If an address is ambiguous, SalesPad will allow the user to choose which one they would like to use.
Freight Calculator
Overview
The freight calculator is part of the SalesPad.Module.ShippingV2 module. This module replaces the legacy SalesPad.Module.Shipping module.
Security
Go to the Security Editor (Modules -> System -> Security Editor) and make sure that Sales Document Freight Rates and Sales Document Simple Freight Rates are enabled.
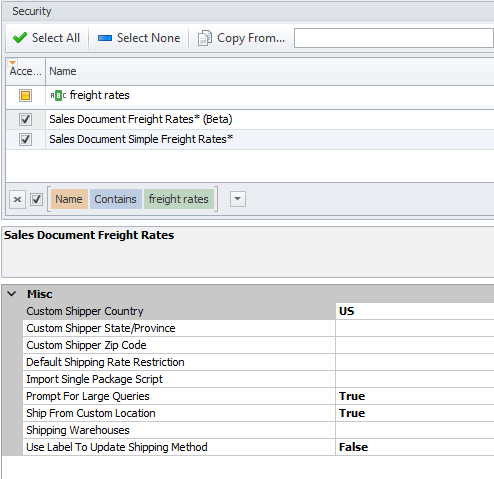
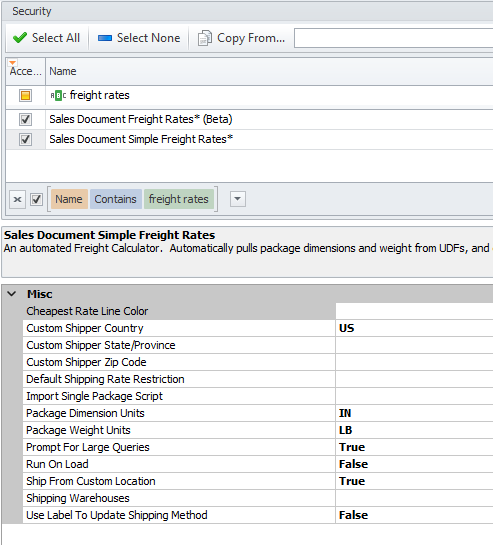
NOTE: Sales Document Freight Rates has the same functionality as the Sales Document Freight Calculator, and the Sales Document Simple Freight Rates has the same functionality as the Sales Document Simple Freight Calculator from the legacy Shipping module.
Settings
Go to Settings (Modules -> System -> Settings) and filter to “Shipping Tools V2”, then configure the following settings.
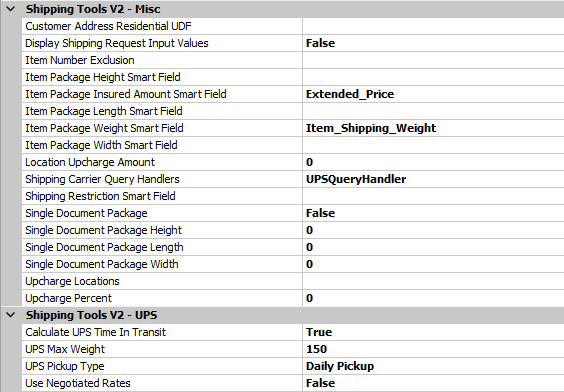
UPS Max Weight - Max weight allowed for calculating UPS rates. Defaults to 150.
UPS Pickup Type - Specify a pickup type for UPS. Defaults to ‘Daily Pickup’.
Use Negotiated Rates - Use 'Negotiated Rates' as opposed to 'Published Rates' from the UPS API. Defaults to false.
Shipping Carrier Query Handlers - Specify the carriers that can be used. Set this setting to ‘UPSQueryHandler’ to obtain UPS rates.
SalesPad Support
Comments